A typical stabilizer (a.k.a. sway bar and/or anti-roll bar) swap takes a half an hour to maybe one hour if the end links are in a bad spot or the bar needs to be fed thru a tight area. The front bar on a Mitsubishi EVO is a whole other problem, requiring a great deal of disassembly just to see the bar in the first place, let alone take it out.
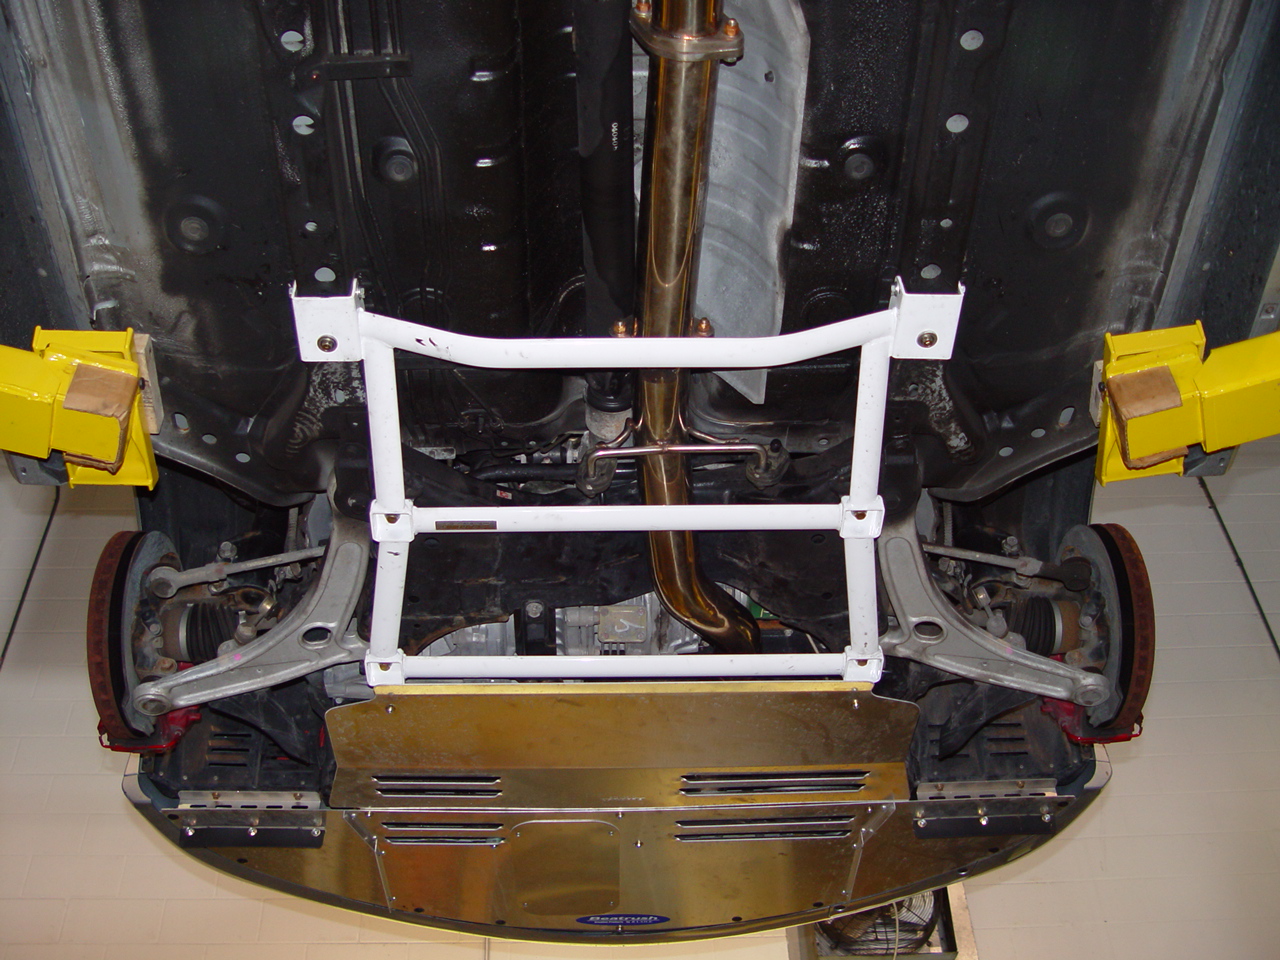
The first thing we had to do is remove all of the belly pans (aftermarket shields in this case) and braces to see what we were up against.
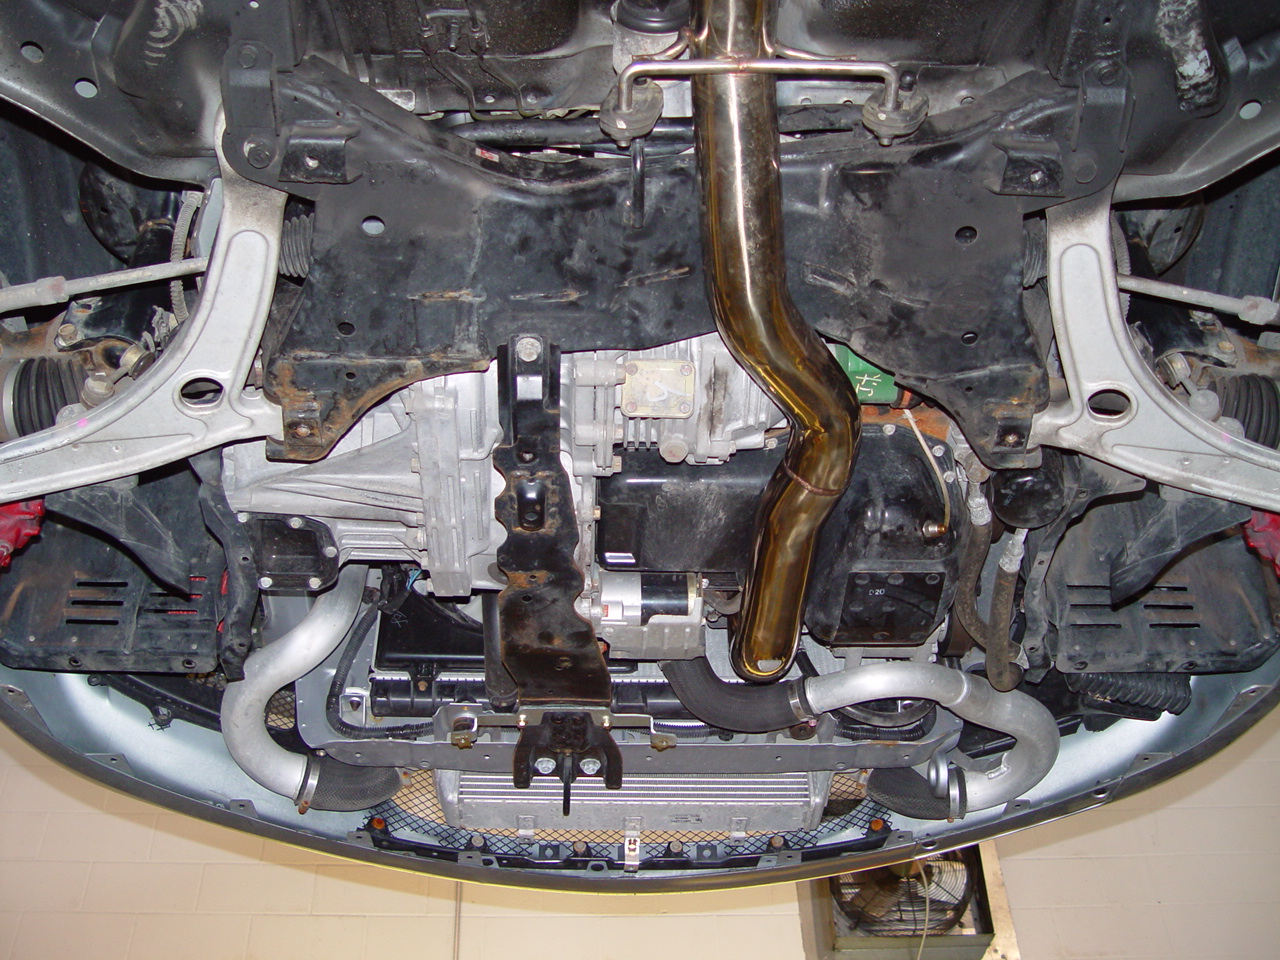
In order to remove the sway bar from its location, the end links need to be disconnected, the down pipe portion of the exhaust needs to be removed, the steering shaft needs to be disconnected from the rack (off the rack and pinion steering, which is mounted on the sub-frame), power steering lines and hoses need to be loosened or disconnected, and lower control arms removed.
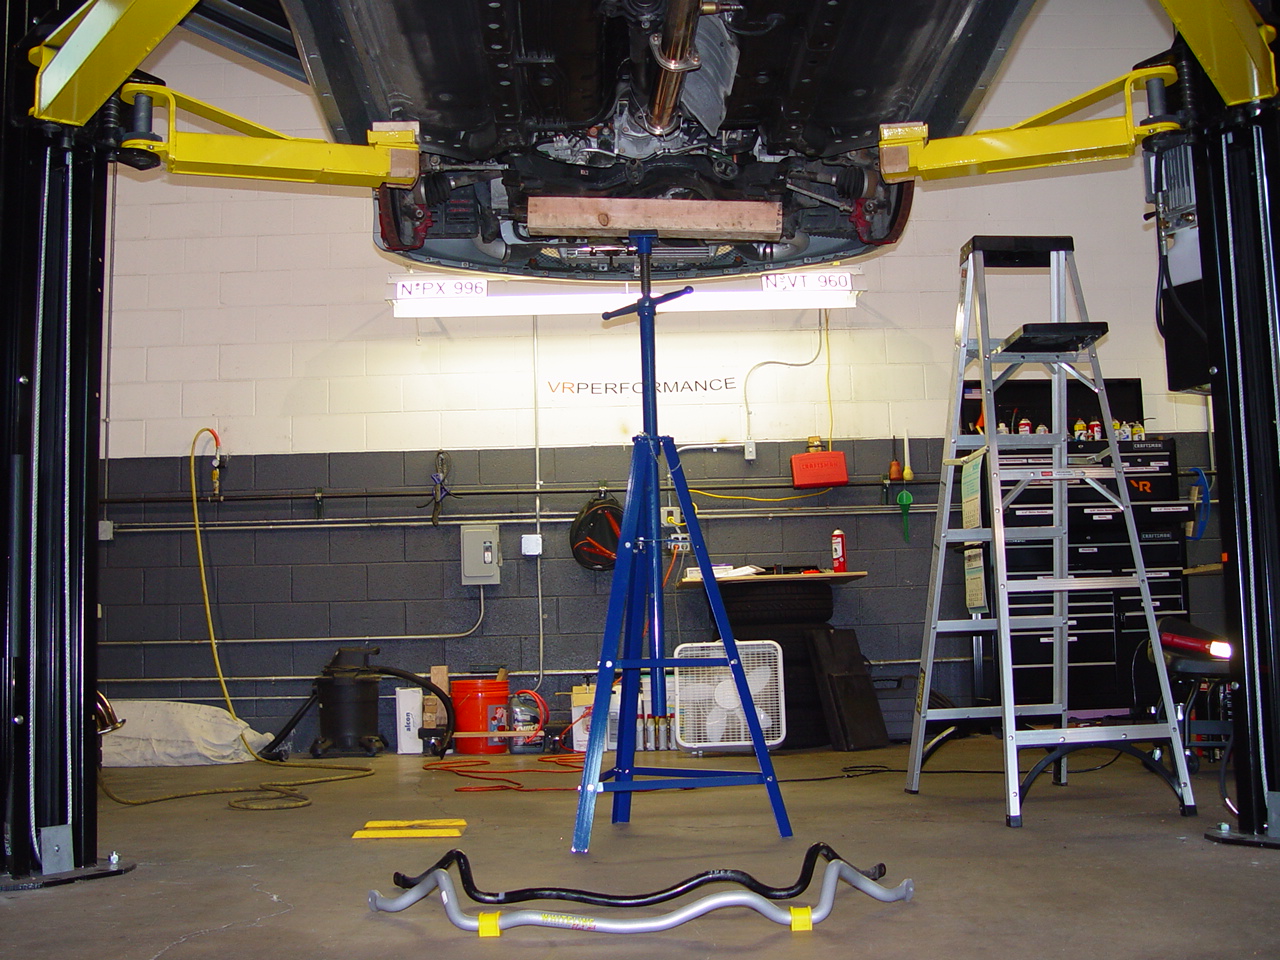
Here you can see the set-up just before we began to lower the sub-frame. We used a sturdy transmission jack and a heavy wood beam to support the rear of the sub-frame. We unbolted the sub-frame and slowly began to lower the rear section taking special precaution not to damage any of the lines that are attached to it. We used the ladder to watch progress from the top of the engine compartment. Of particular interest was making sure the steering shaft spline disengaged from the steering shaft properly—we had to access this thru the driver’s side floor board.

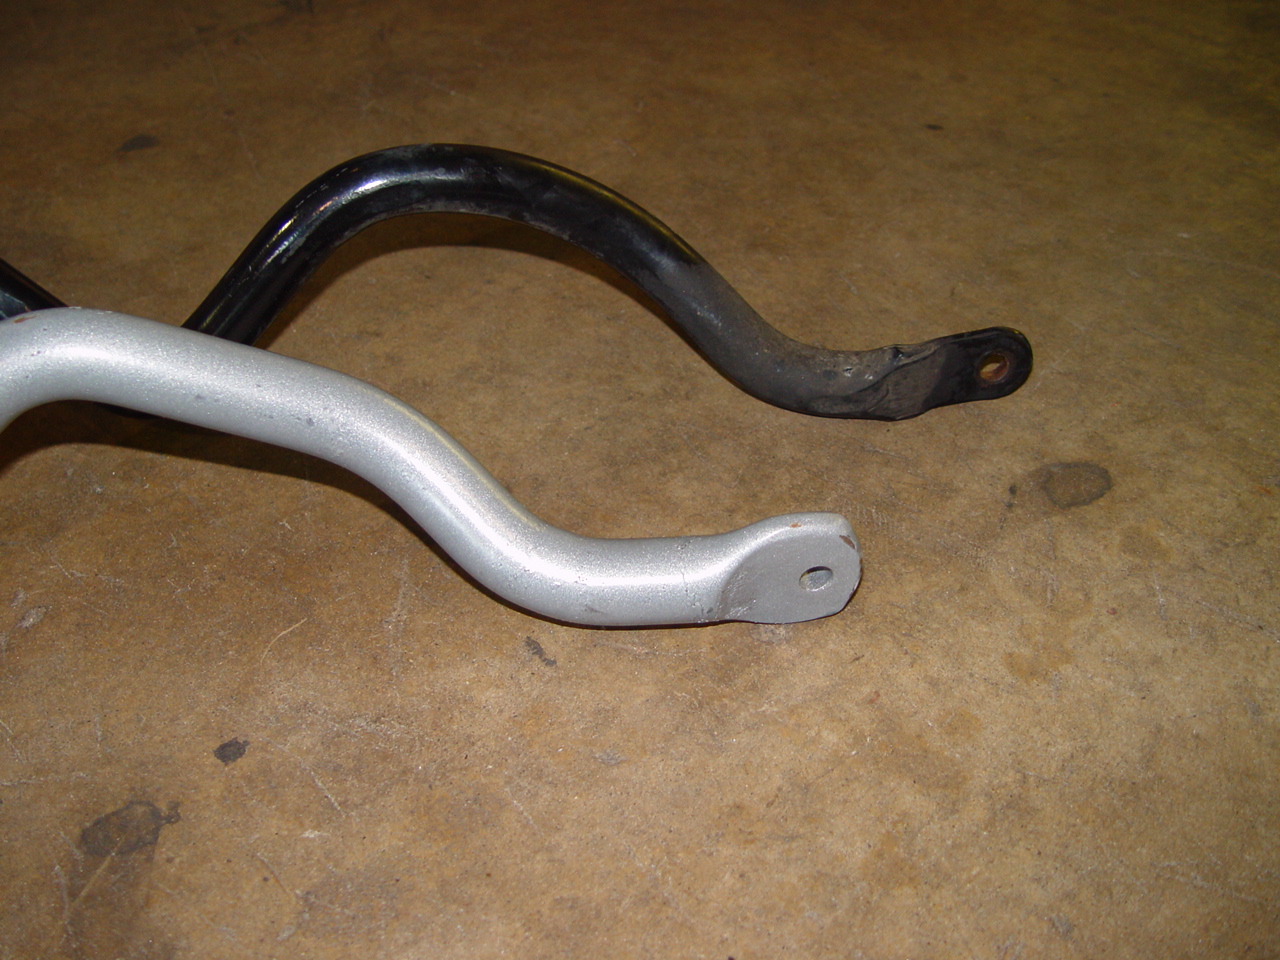
Here are some pictures of the OEM bar in comparison with the Whiteline bar:
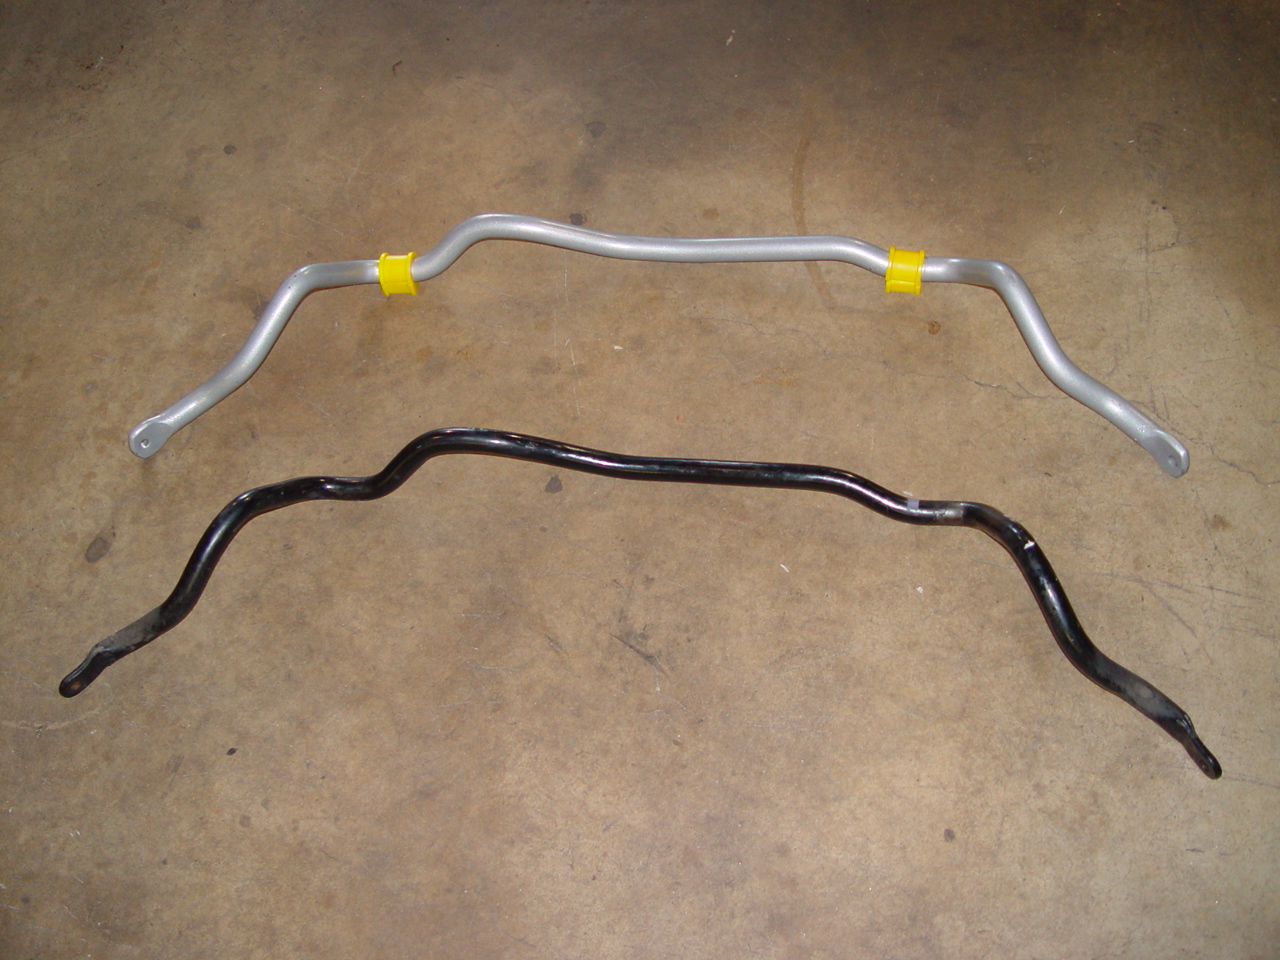
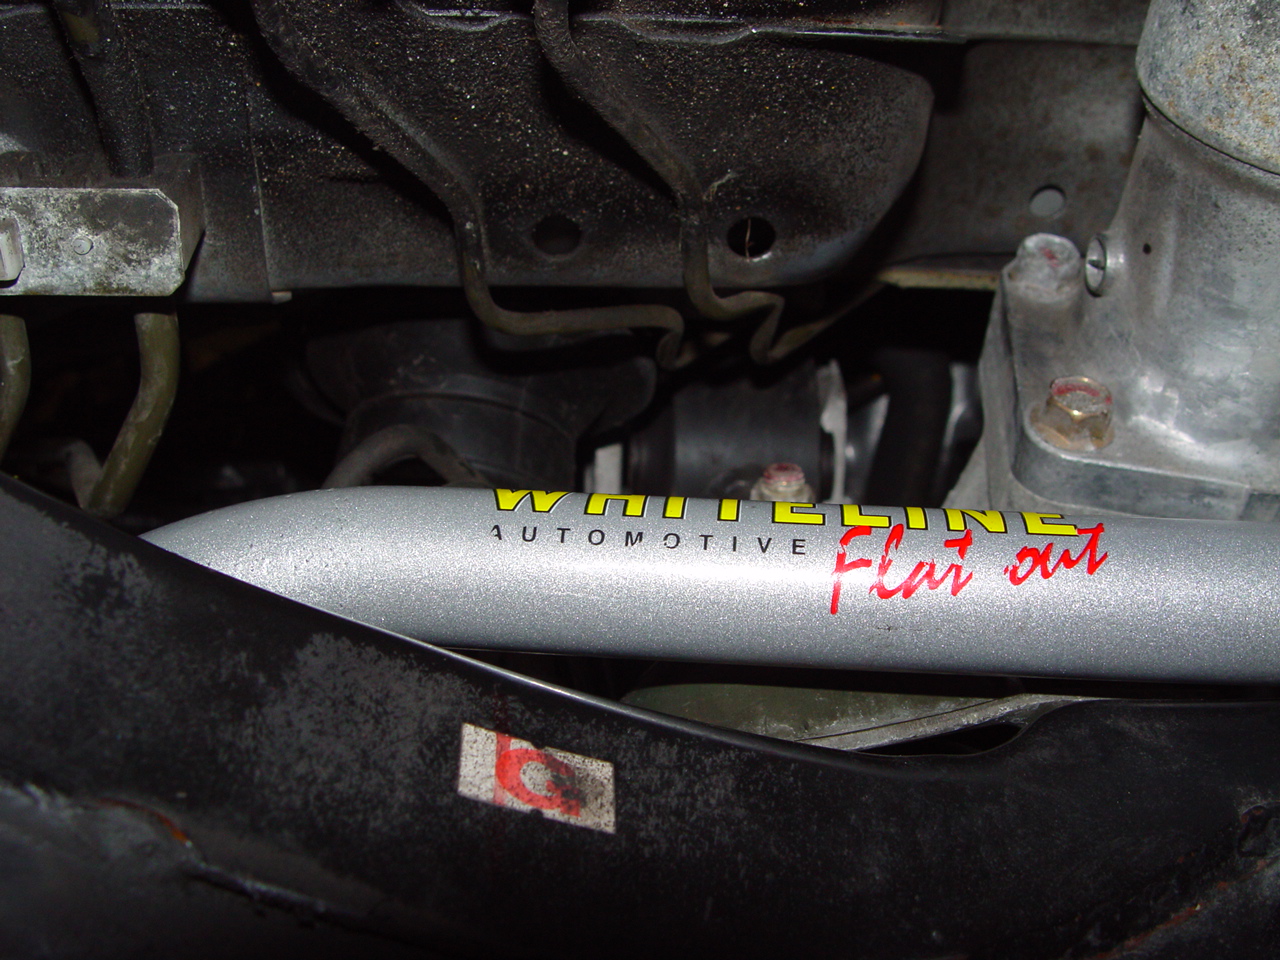
A typical problem that we run into with aftermarket performance parts—and this is almost universal—is fitment. Often times the parts do not fit perfectly the first time and some tweaking is required. In the case of the Whiteline sway bar, we had to move some power steering hard lines. The stock bar was already very tight, and the larger diameter Whiteline bar was worse. Since we could not re-bend the sway bar, the power steering lines had to be tweaked.
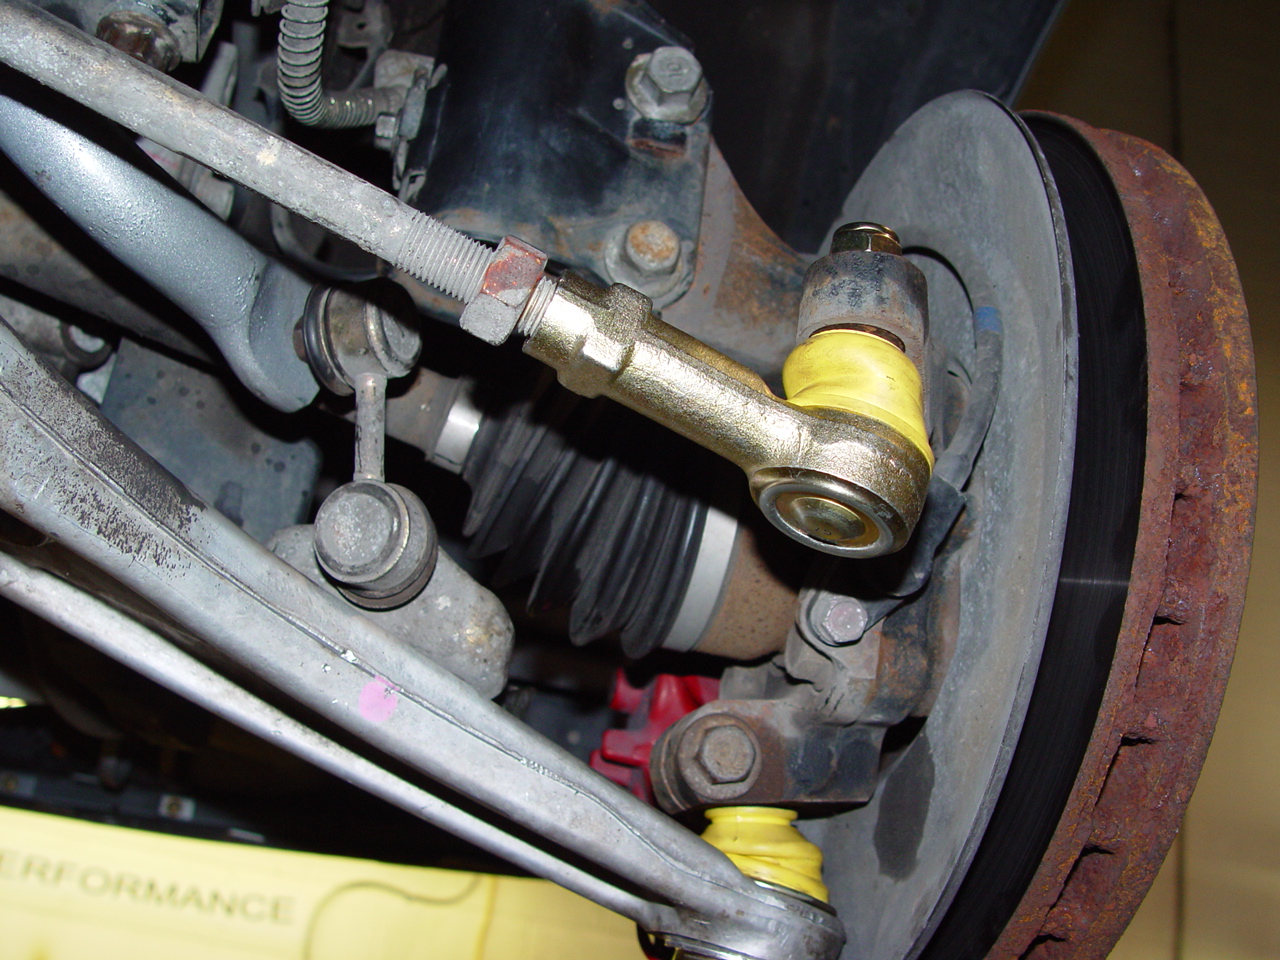
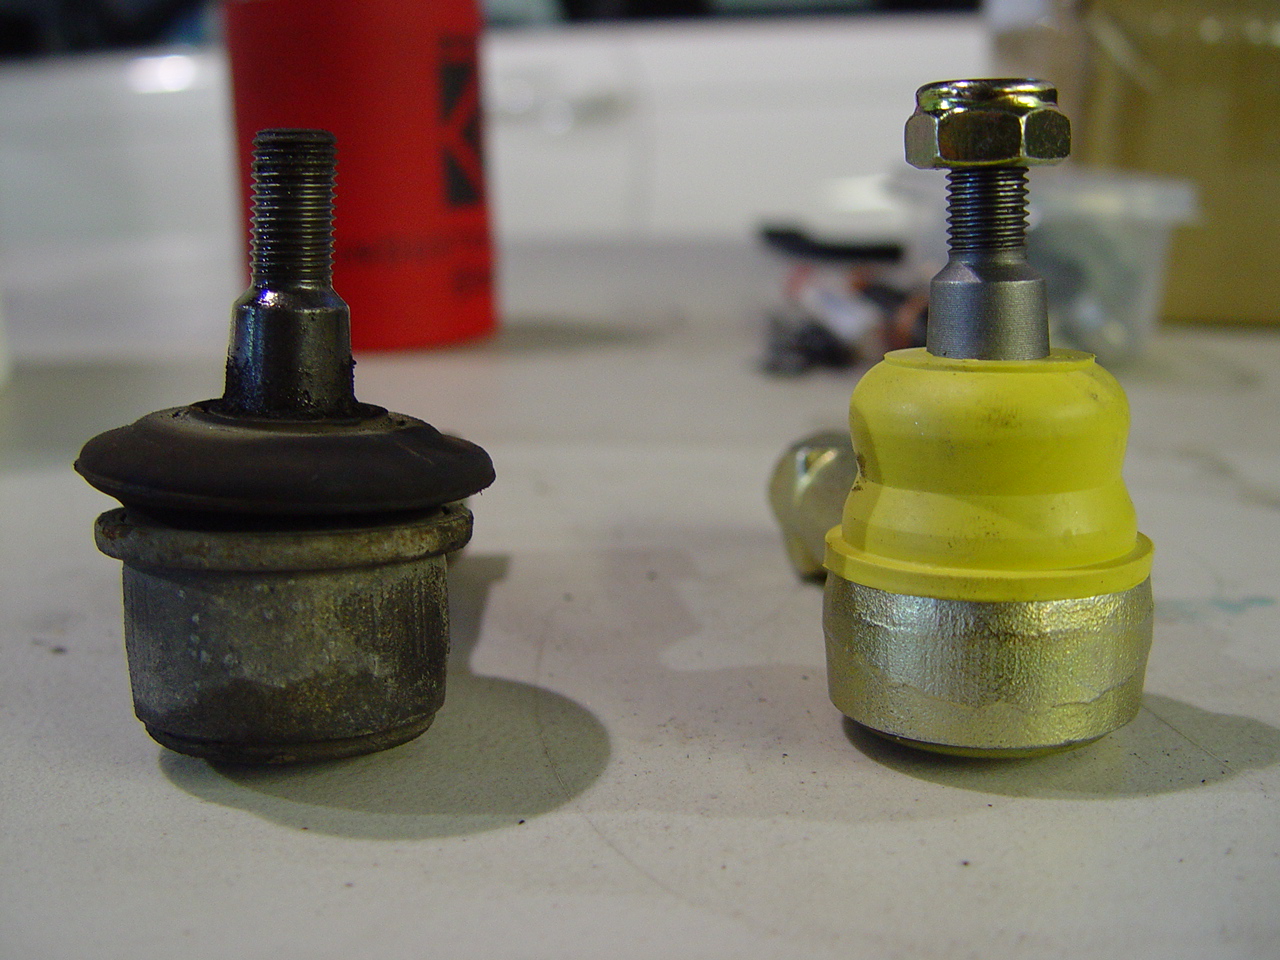
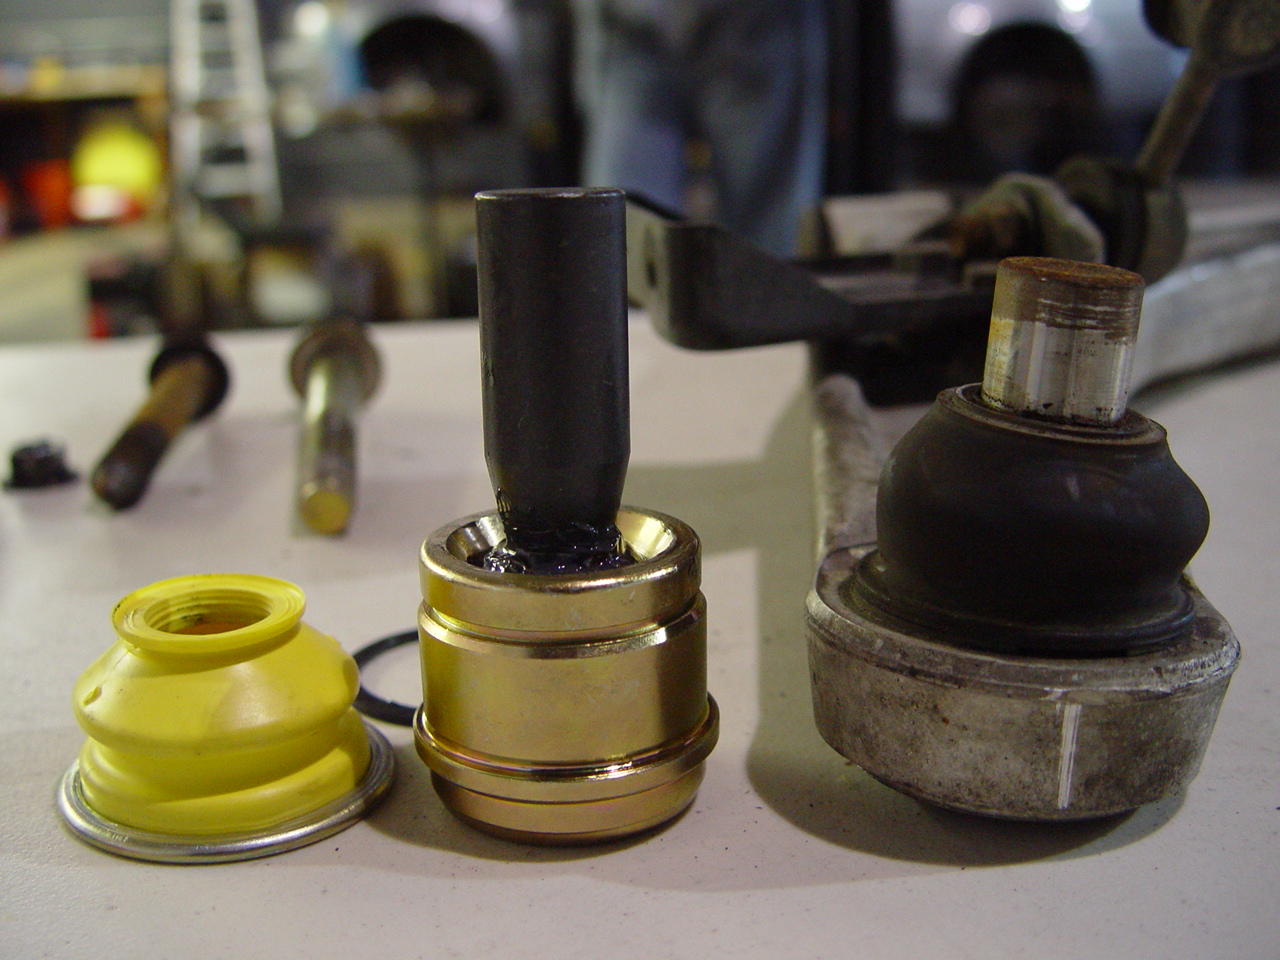
We replaced the OEM ball joints and tie rod ends with a Whiteline Automotive front roll center kit while we had the lower control arms removed. The ball joint requires a special press to remove and install. The roll center kit raises the effective roll center geometry of the front suspension resulting in an increase in roll resistance and a reduction in suspension compression of the outside wheel (during cornering).
Job completed. The new bar is in place, ball joints and tie-rod ends are installed. The final service performed was a complete 4 wheel alignment.