M3 Race Car Build
Lawyers want to argue in front of the Supreme Court, soap stars want to appear in a summer blockbuster and race car drivers want to win for Ferrari—every discipline has its ne plus ultra that those toiling in the trenches aspire to. For an automotive performance shop it is building race cars. Which makes sense, since a race car is the ultimate expression of the performance automobile and a real test (and testament) for its builder. You’re putting your ideas, engineering and craftsmanship up against others in an open competitive arena. What works and what doesn’t is immediately showcased for all to see. Here’s our first attempt at building a race car for the NASA GTS series.
The donor car was a 1996 BMW E36 M3— which was rode pretty hard and put away wet before it came to the shop. And while not a pristine car, it is a great inexpensive vehicle to convert into a race car. The E36 M3 is robust and has relative good power to weight ratio straight from the factory. The example here was already modified for track day use, including upgraded springs and sway bars and a bolt in cage. We quickly decided that these limited “upgrades” were unacceptable for a real race car, even if only at an amateur level.
The first order of business then was to strip the car down to it bare essentials.
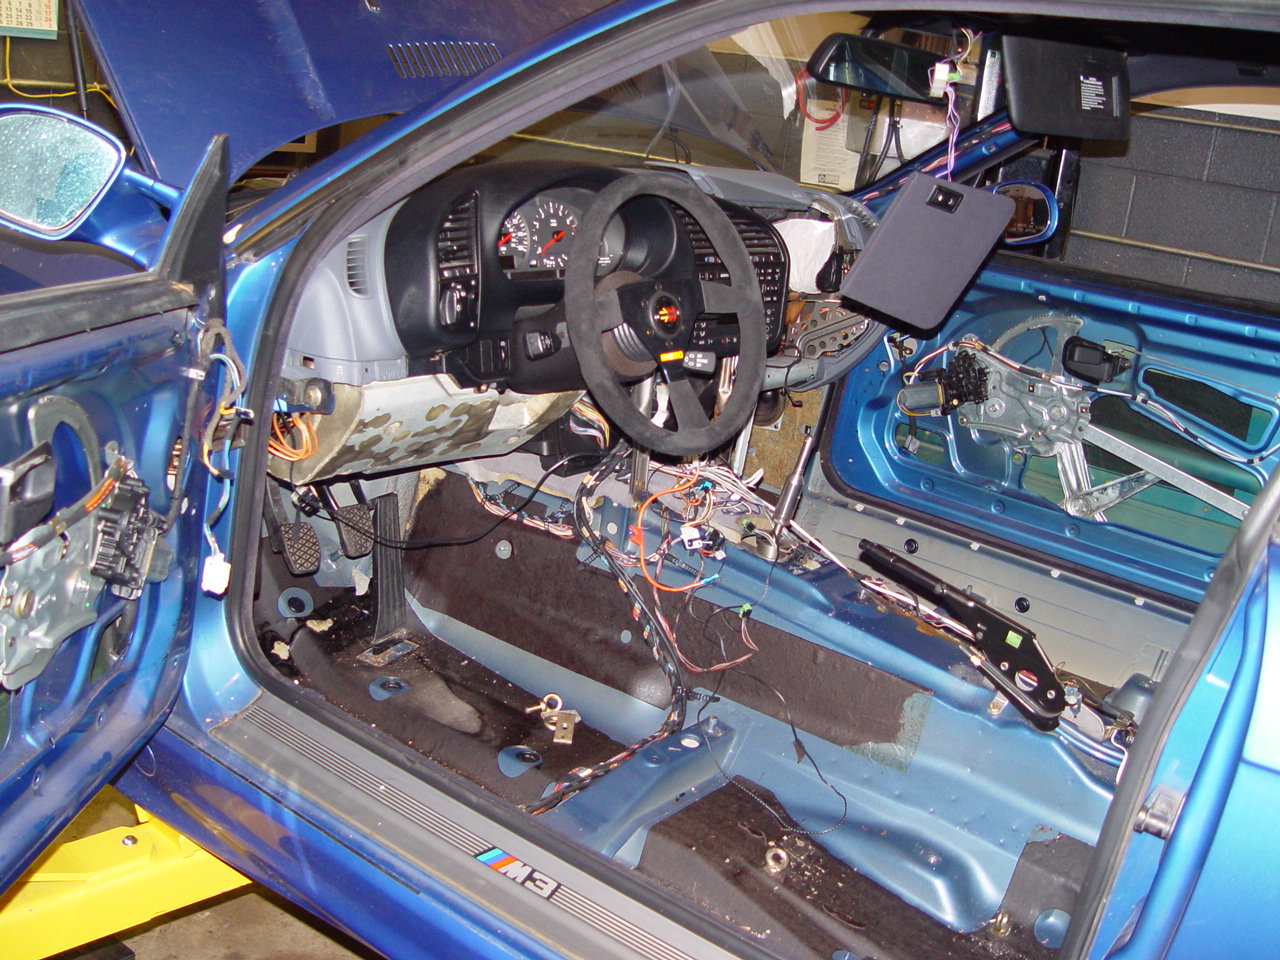
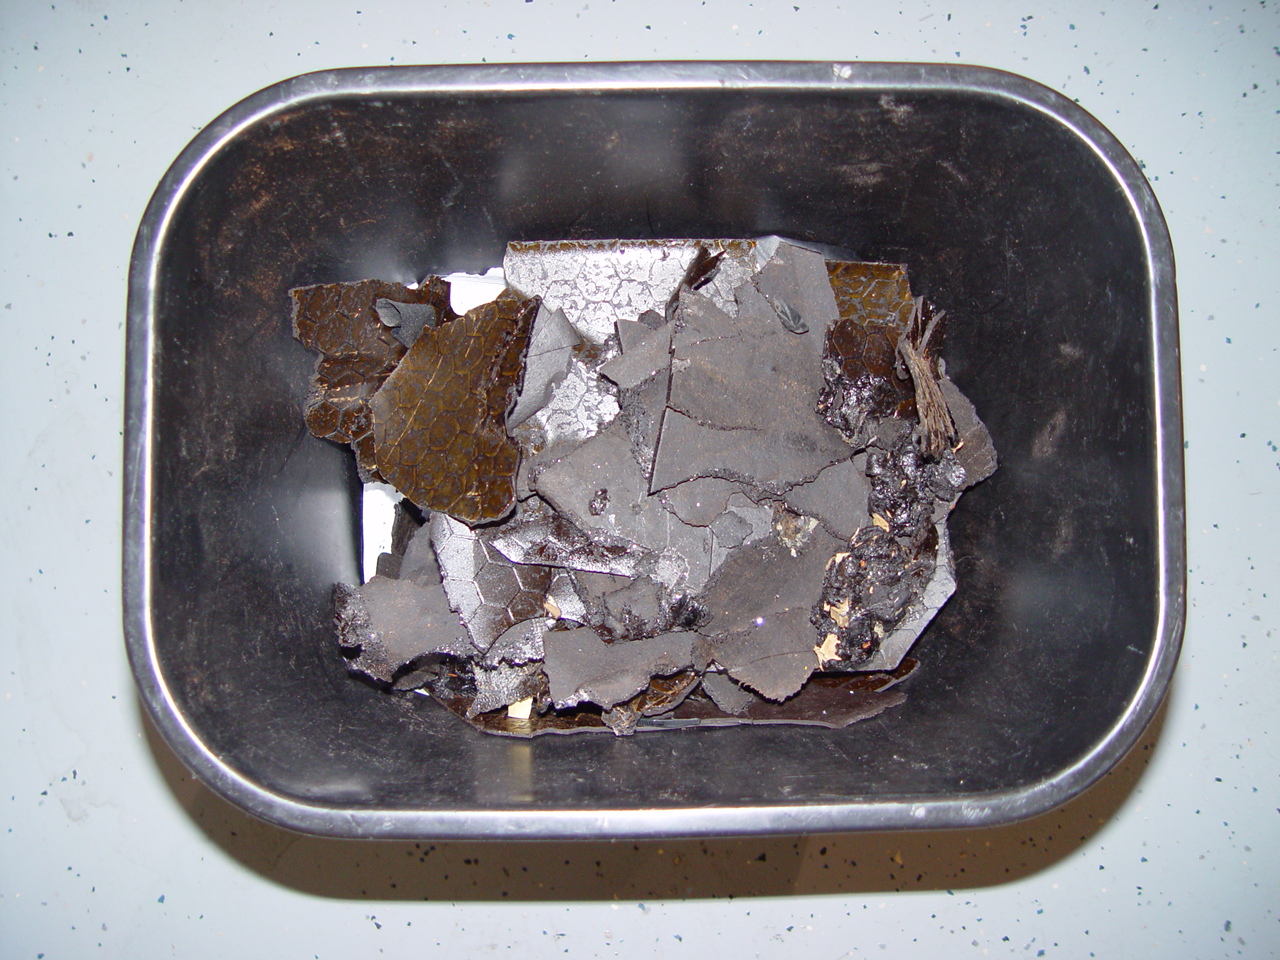
Here you see the beginning of the dismantling of the interior. First we had to remove the bolt in cage and its floor plates. Then we took the seats, center consol, door panels, trim bits, kick panels, knee bolsters, airbags and carpeting out. This revealed all of the sound deadening material that was glued onto the sheet metal tub (the black patches). Several hours of scraping with a putty knife and a heat gun and we were able to remove all of the heavy rubberized material (30 lbs worth!)
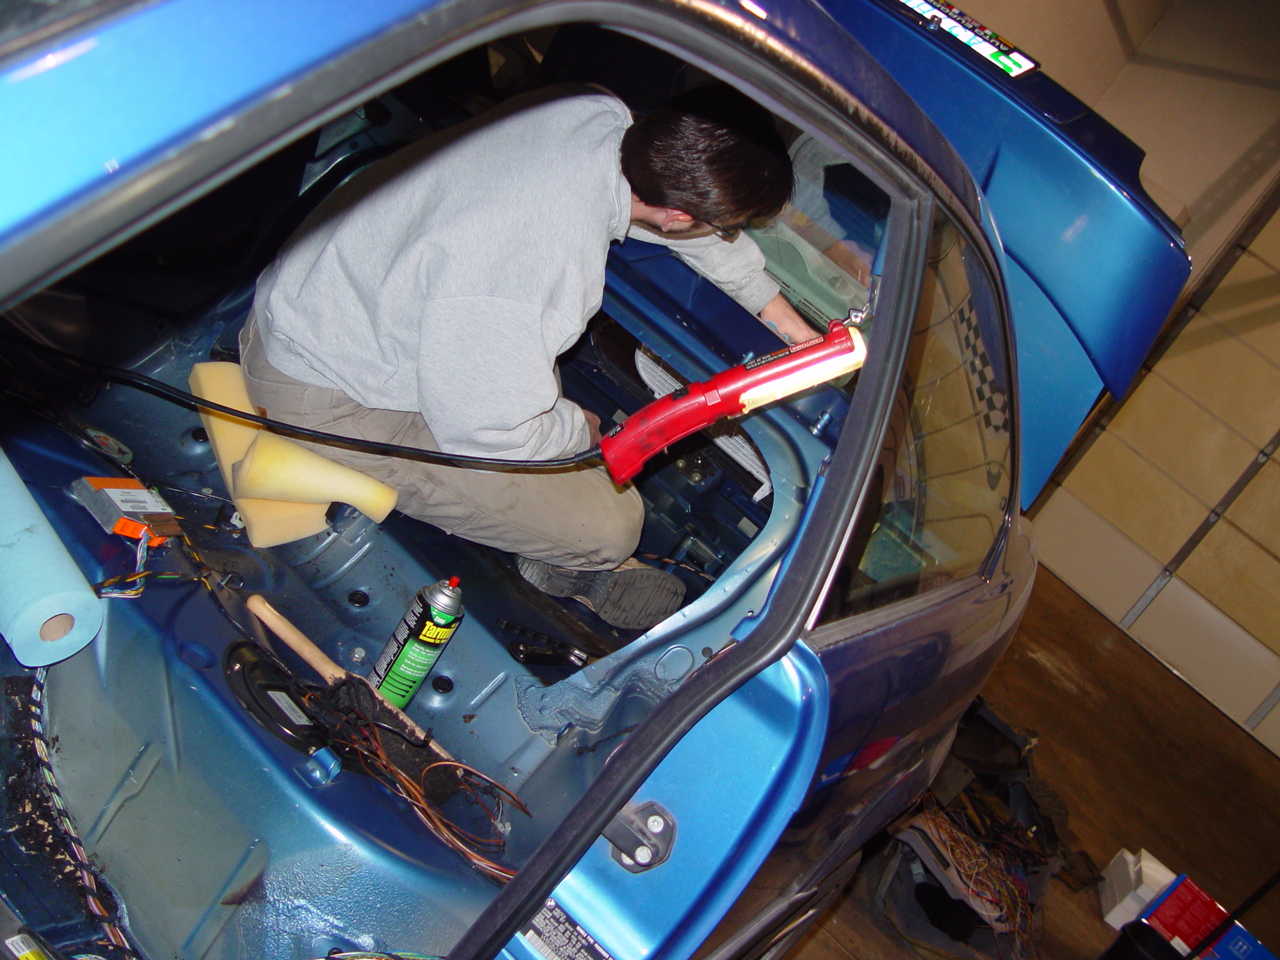
With the trim panels all removed, we next tackled the electronics. The car originally came with a stereo (of course) with large rear speakers, CD changer and amplifier—all of which is not needed in a race car. Side windows, including their power motors, were also tossed as was the power sunroof. This left yards of cable and wiring which we traced and removed. (Along the way we discovered a Valentine One radar detector a previous owner installed under the rear window shelf.)
It took days of careful work to dismantle and strip the interior, but with an estimated weight savings of about 170 to 200 lbs, well worth the cost and effort.
At this point we had to decide what would go back in to the car, since everything we took out was essentially for a street car, very little was reused.
The next big step was to re-install the roll cage. For safety’s sake, and per NASA rules, we had the cage welded in (instead of bolted) and added some extra tubing at the back (see the big x-brace and straight side bars in the photo below).
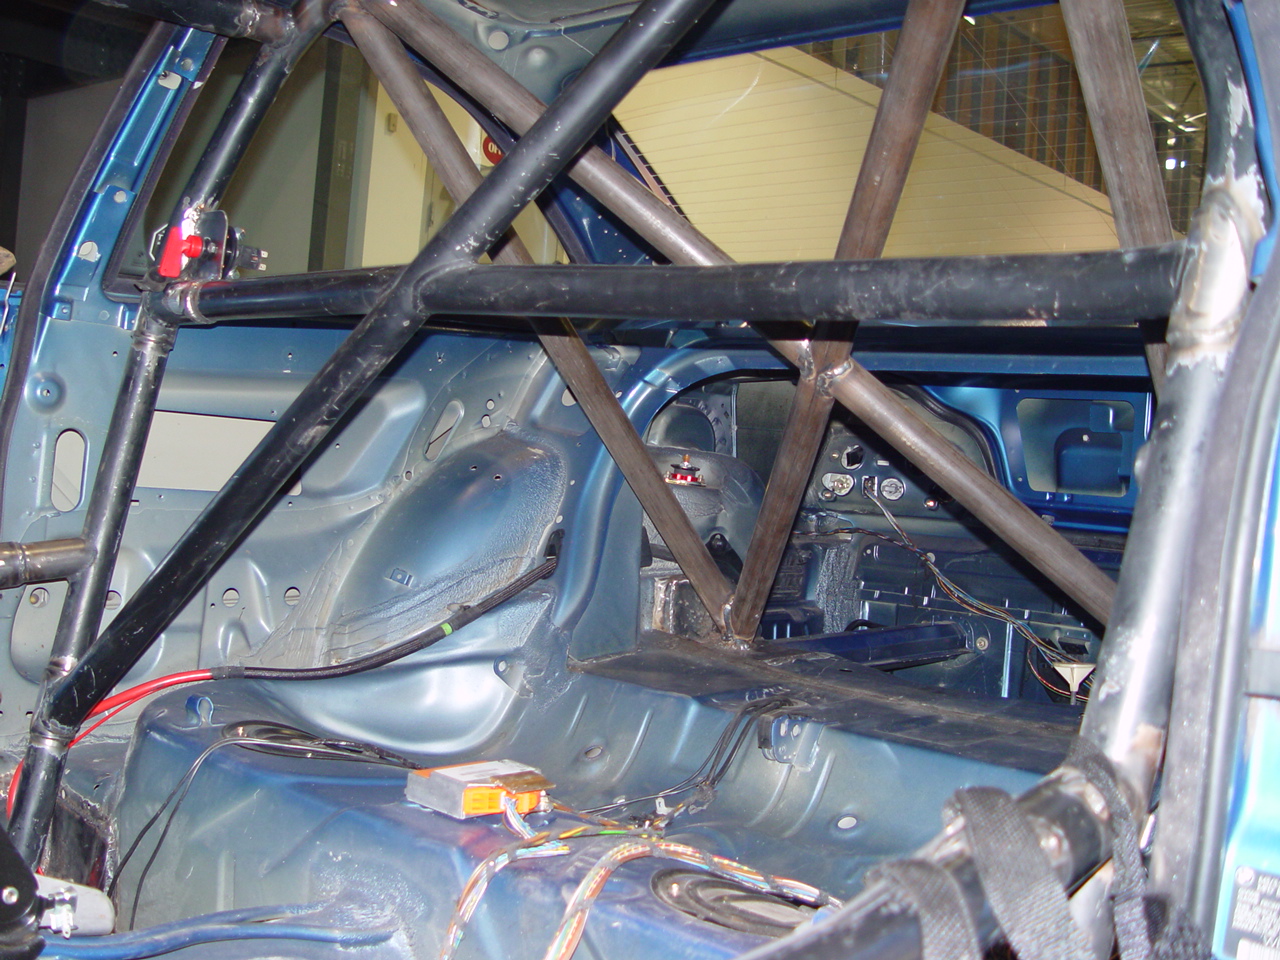
A second door bar was added to the driver’s side with a linking tube to strengthen the individual bars.
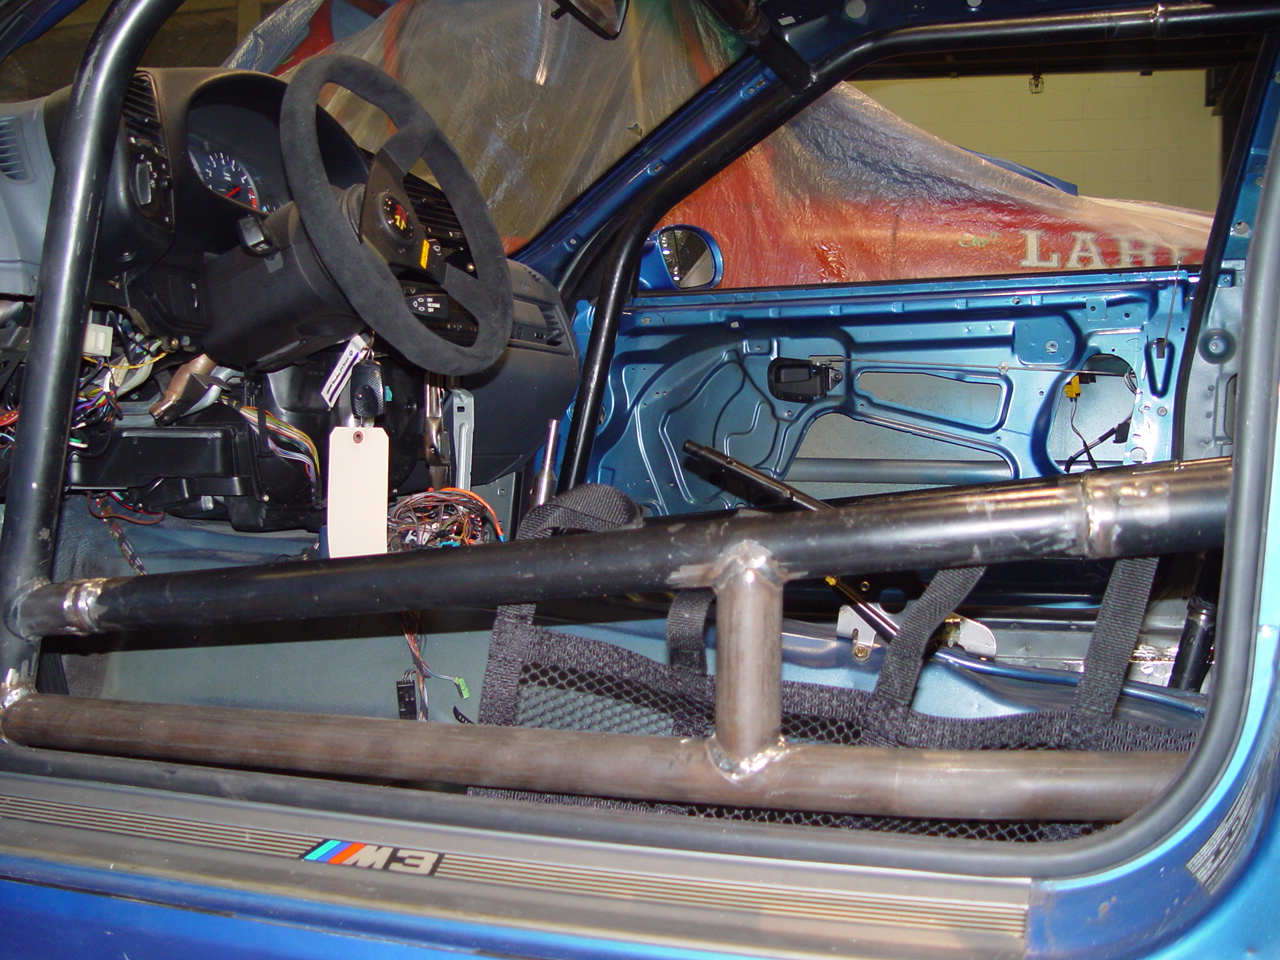
So that the cage would not simply punch through the sheet metal floor, all of the anchoring plates were increased in size (to the maximum allowable per NASA rules) and boxed wherever possible. Here you see some pretty intricate fabricating and welding where the two back bars meet up with the rear shock tower base.
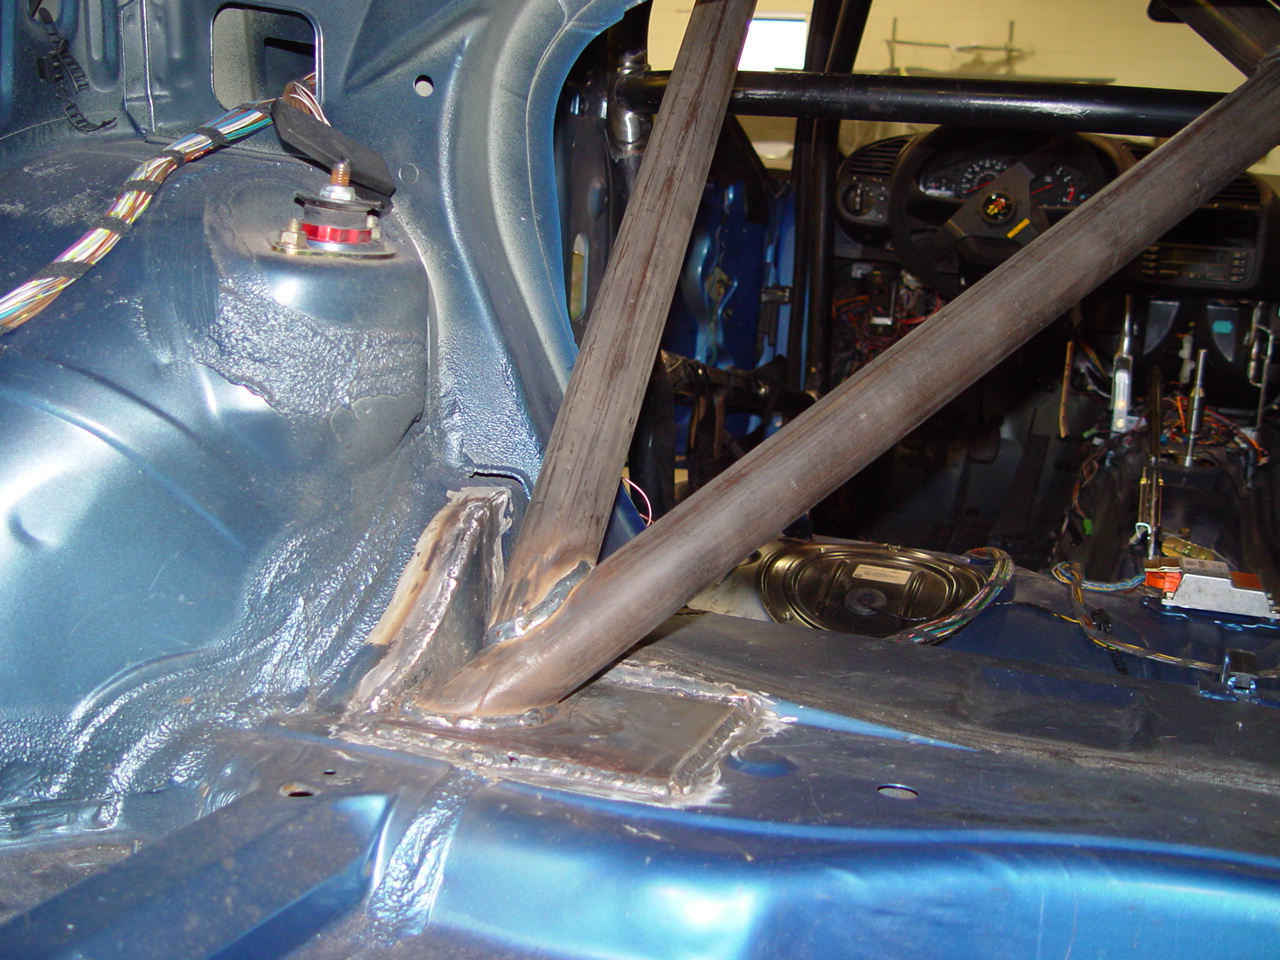
We worked with Dunn’s Welding, a local shop familiar to many area racers, to do all the cage work. And as you can see in the photos, they did an excellent job.
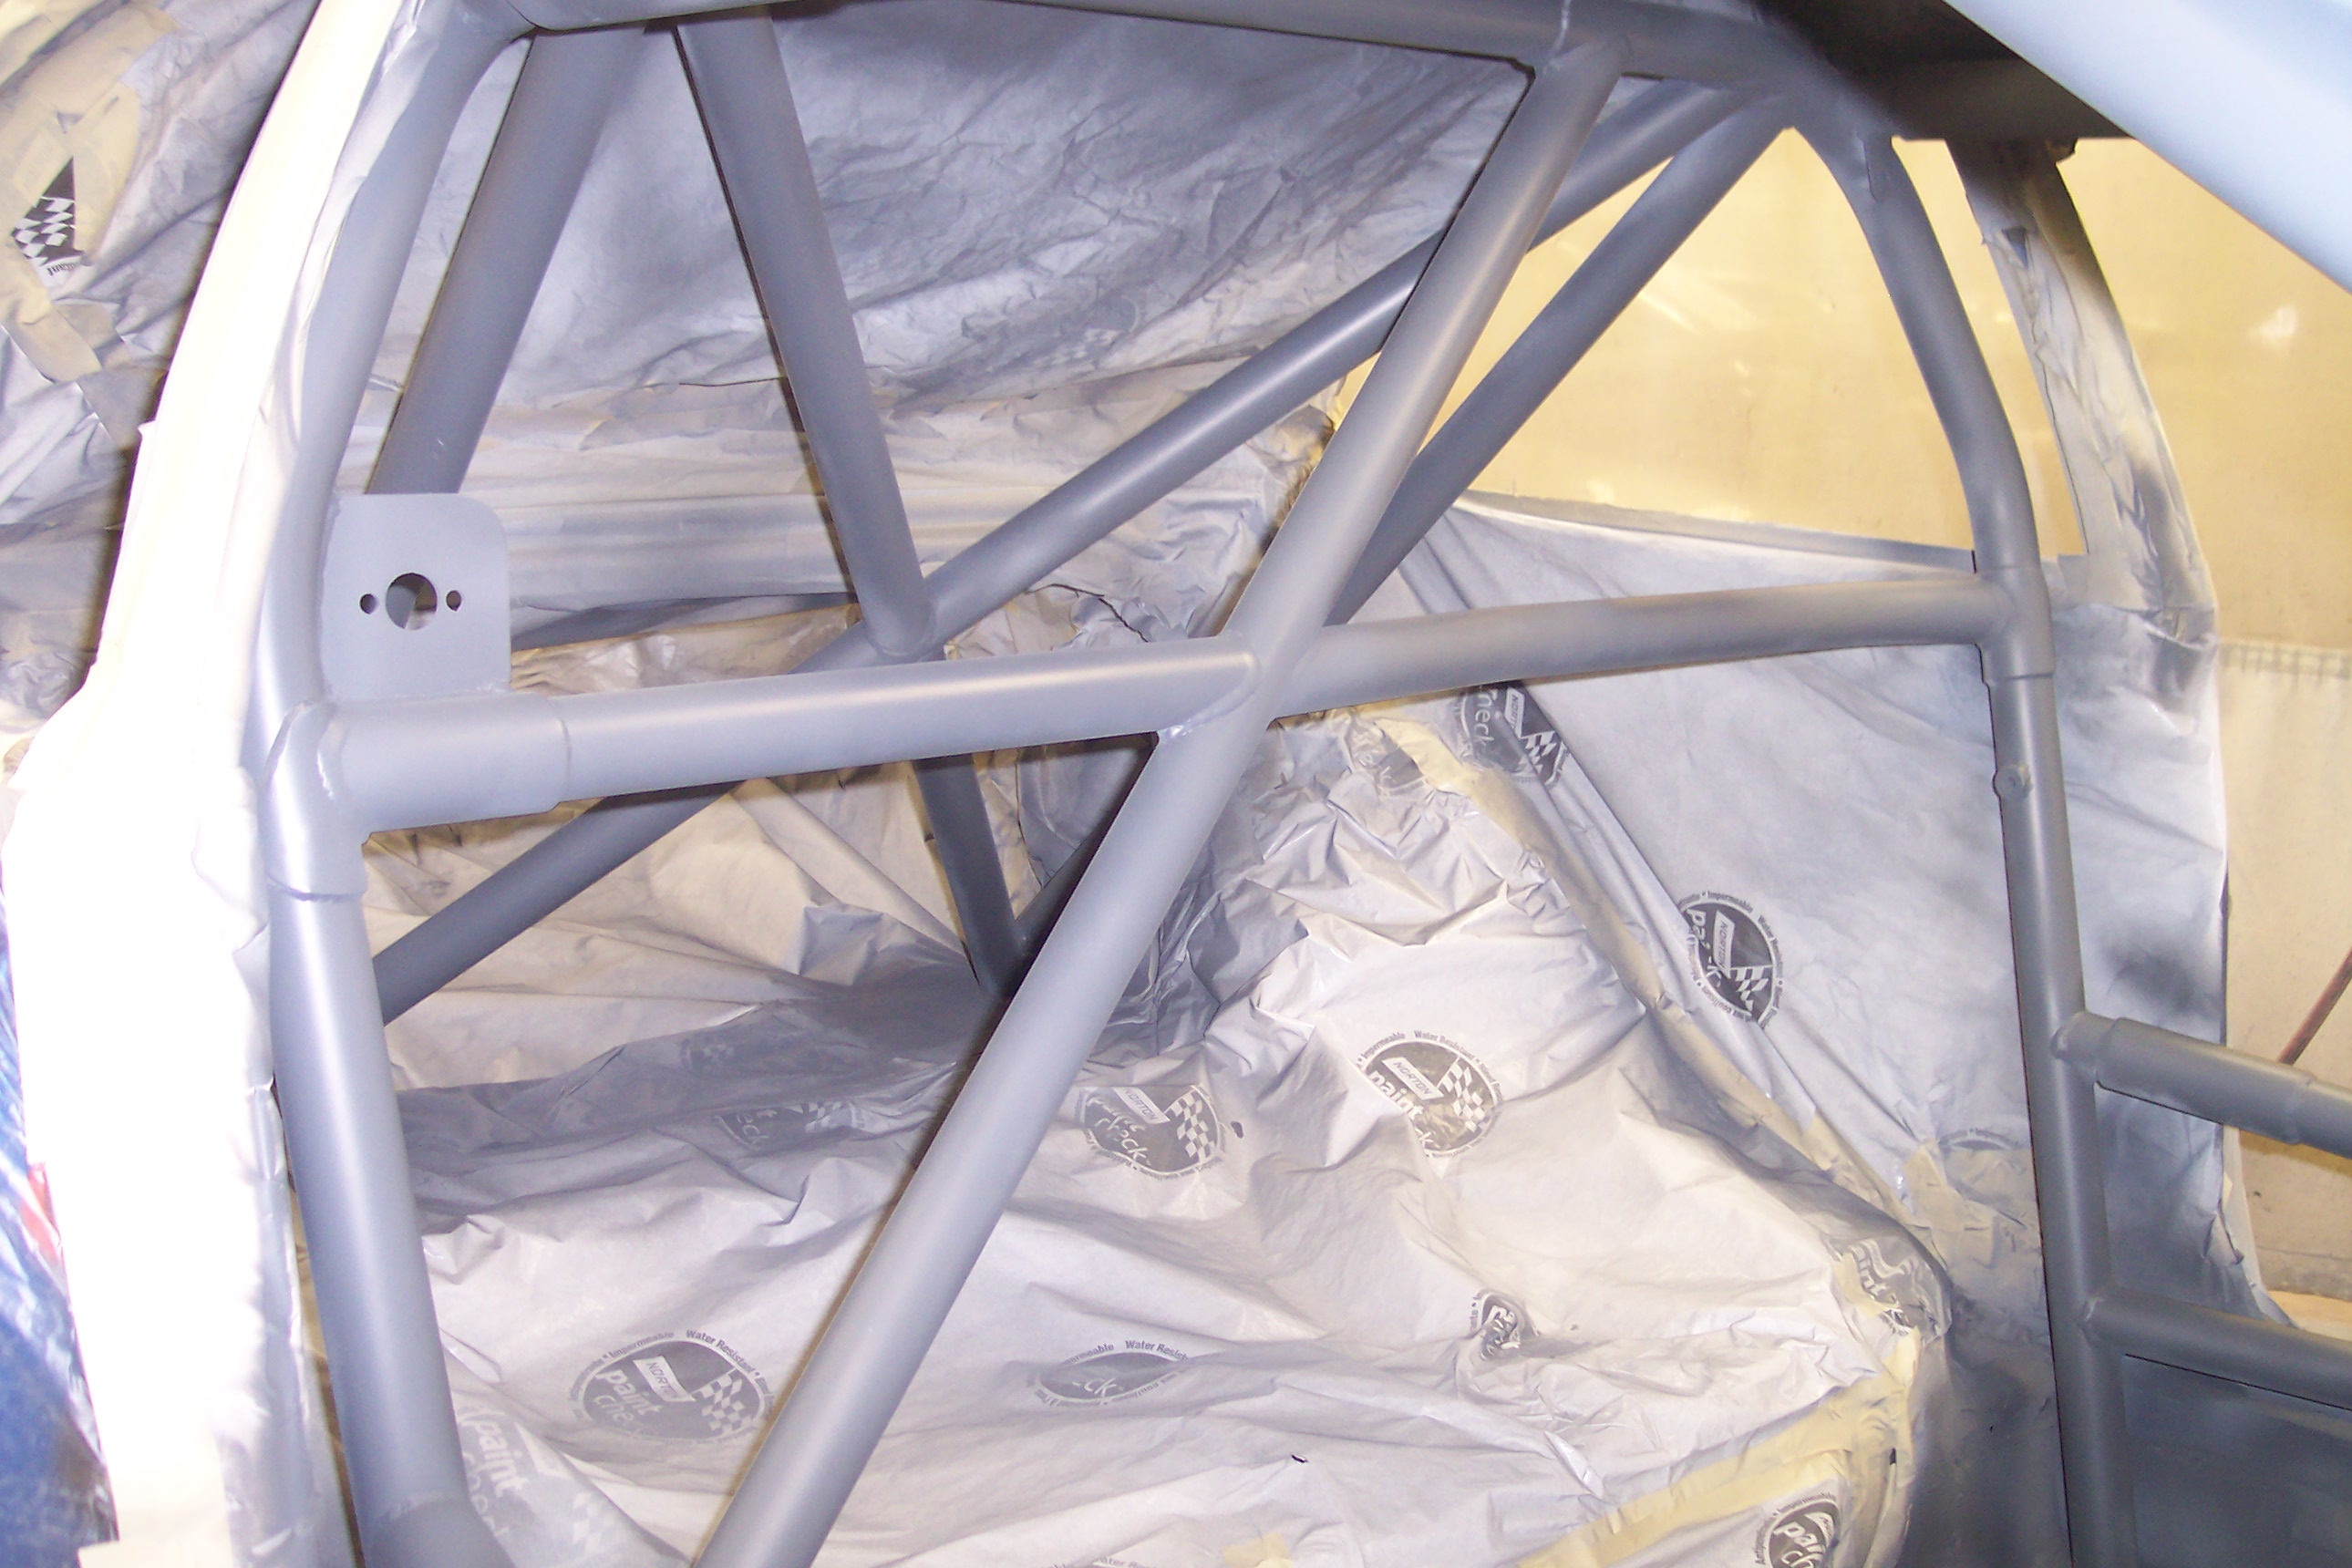
The car was then shipped straight to Automark for prep and paint. Sure we could have gone with a couple of spray cans and painted the bare metal, but we’re not inclined to do things half-assed at VRPerformance. Automark is the best local paint shop and we knew we could trust them to handle the rather difficult job of not only painting an interior, but one with a welded in roll cage. They also permanently affixed the steel sunroof into place by welding on brackets and filling the gap with high strength window sealant (sealant typical of early Ferrari windshields).
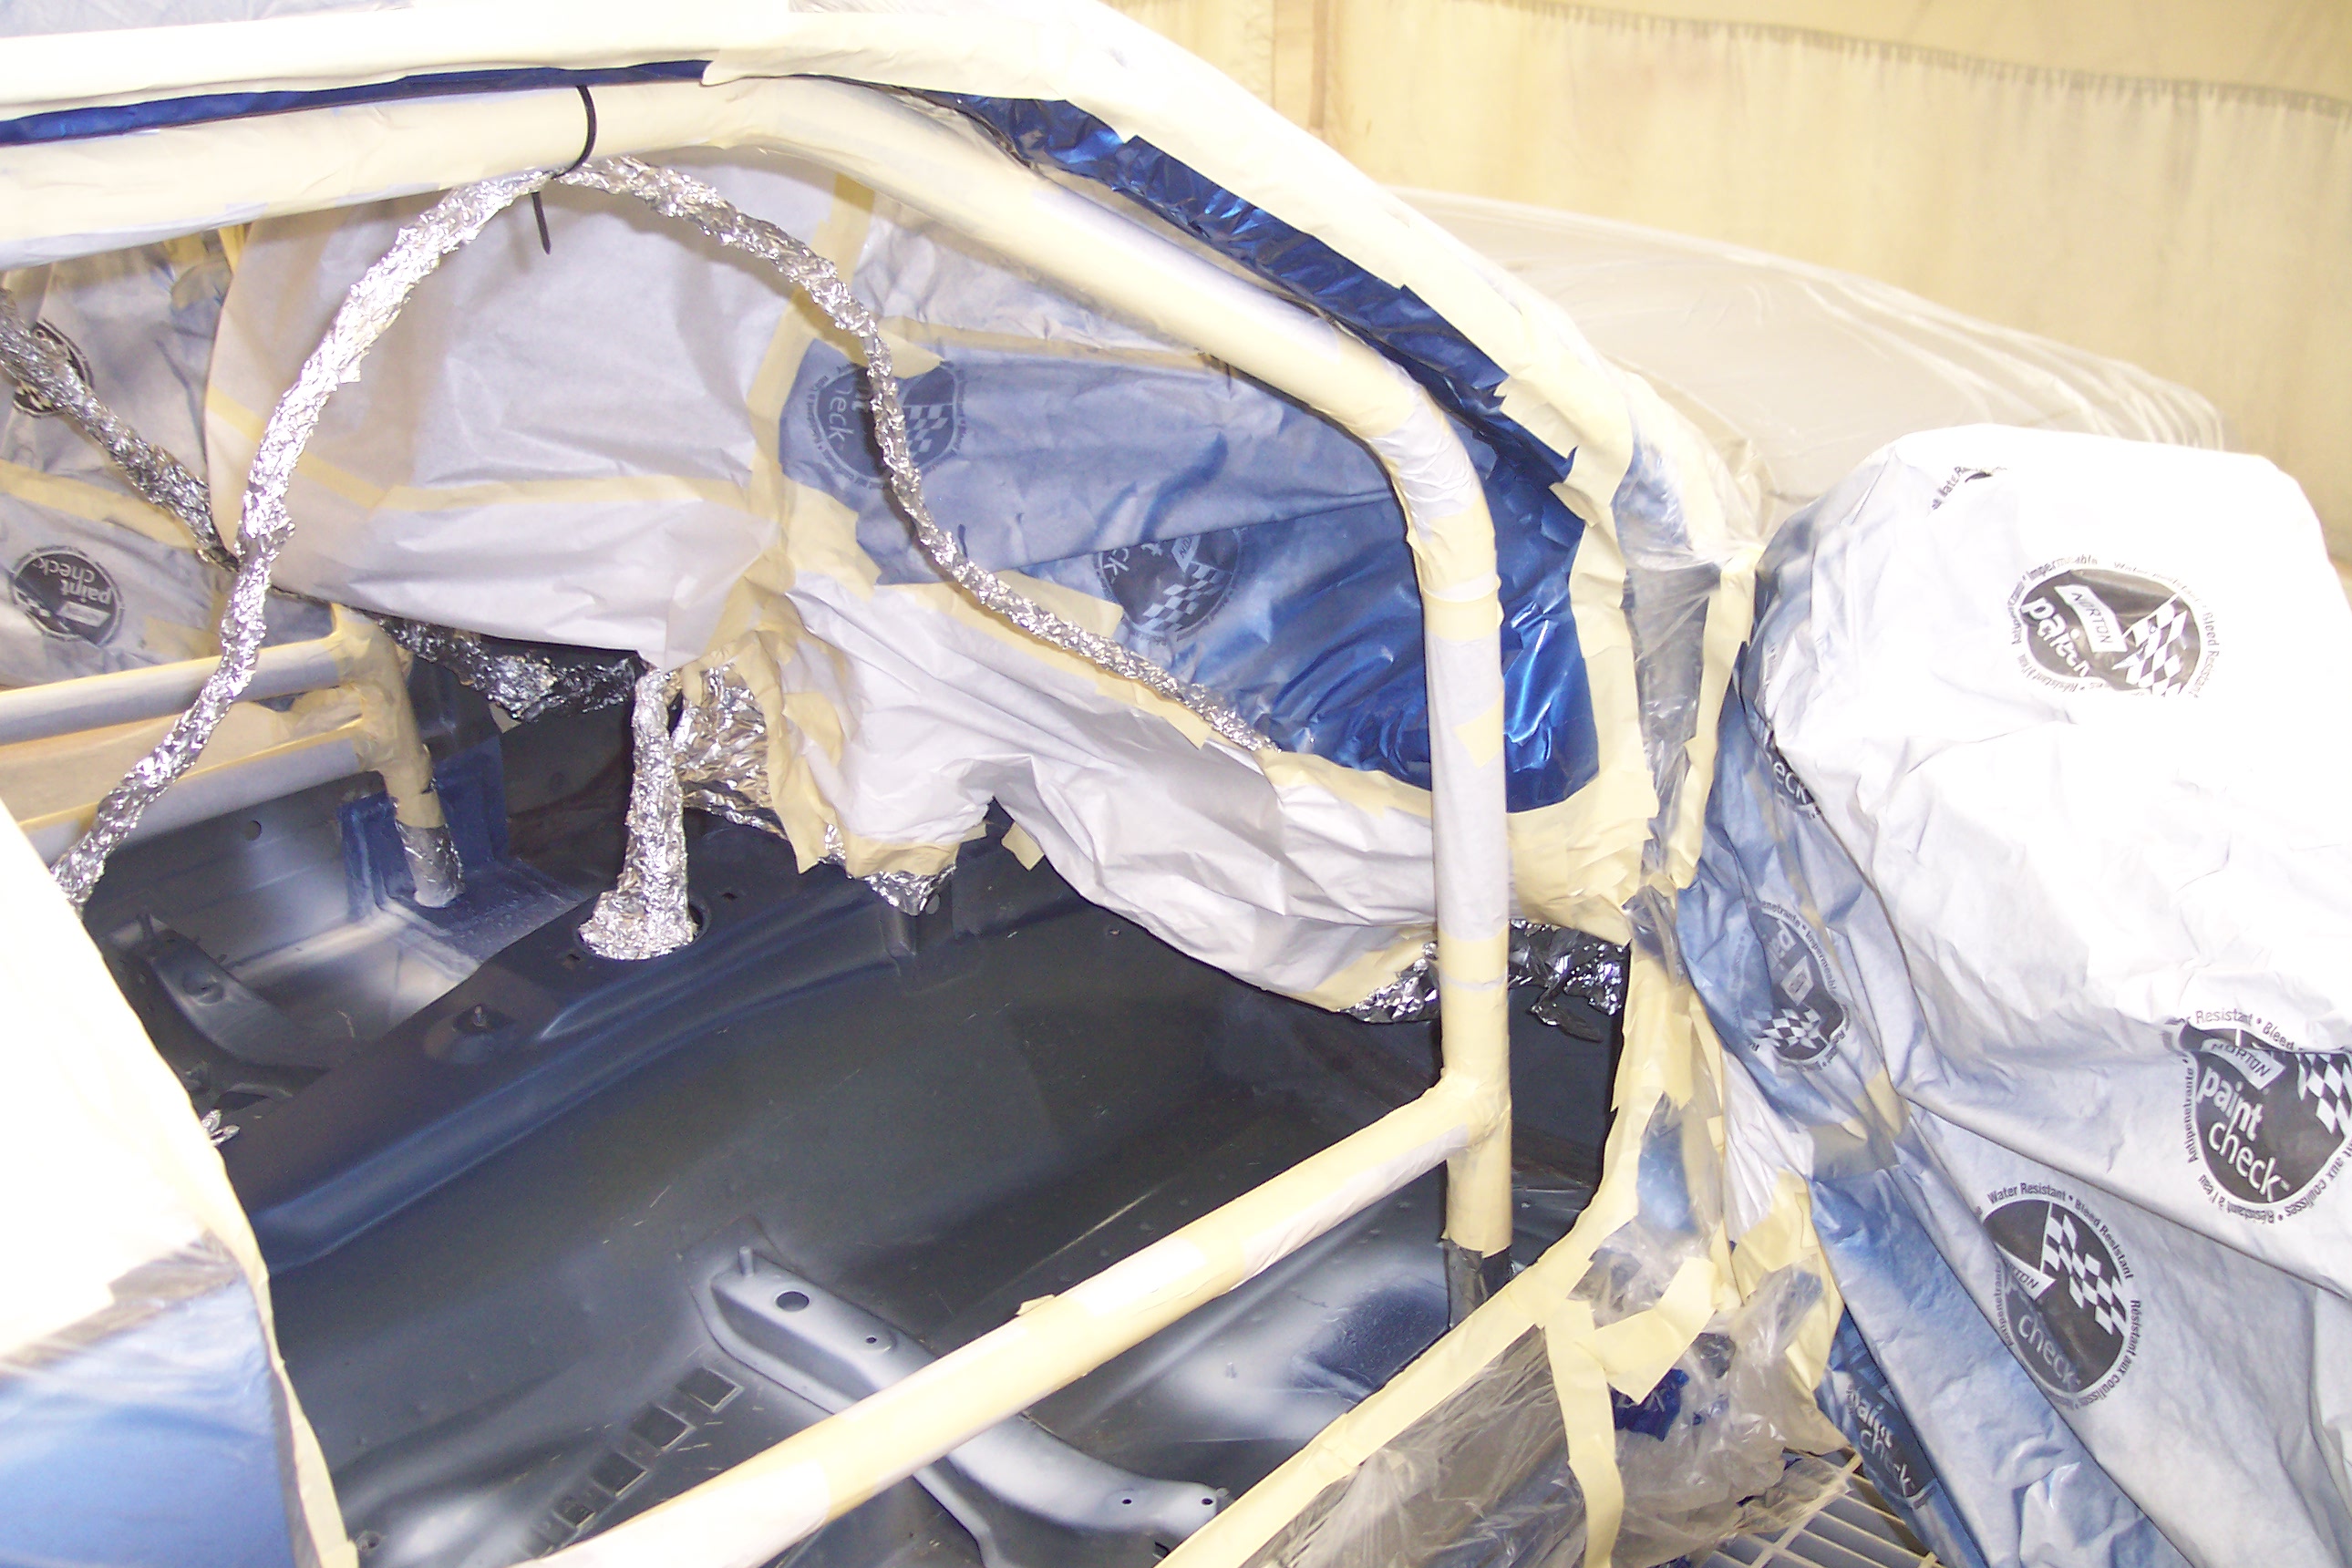
Here you can see lengths the painters had to go through to mask off the car. First they prepped and painted the roll cage.
Next they tackled the rest of the interior, including the floors.
This is a shot of the sunroof bracket being welded in (the upright bars are there simply to hold the panel in place during welding).

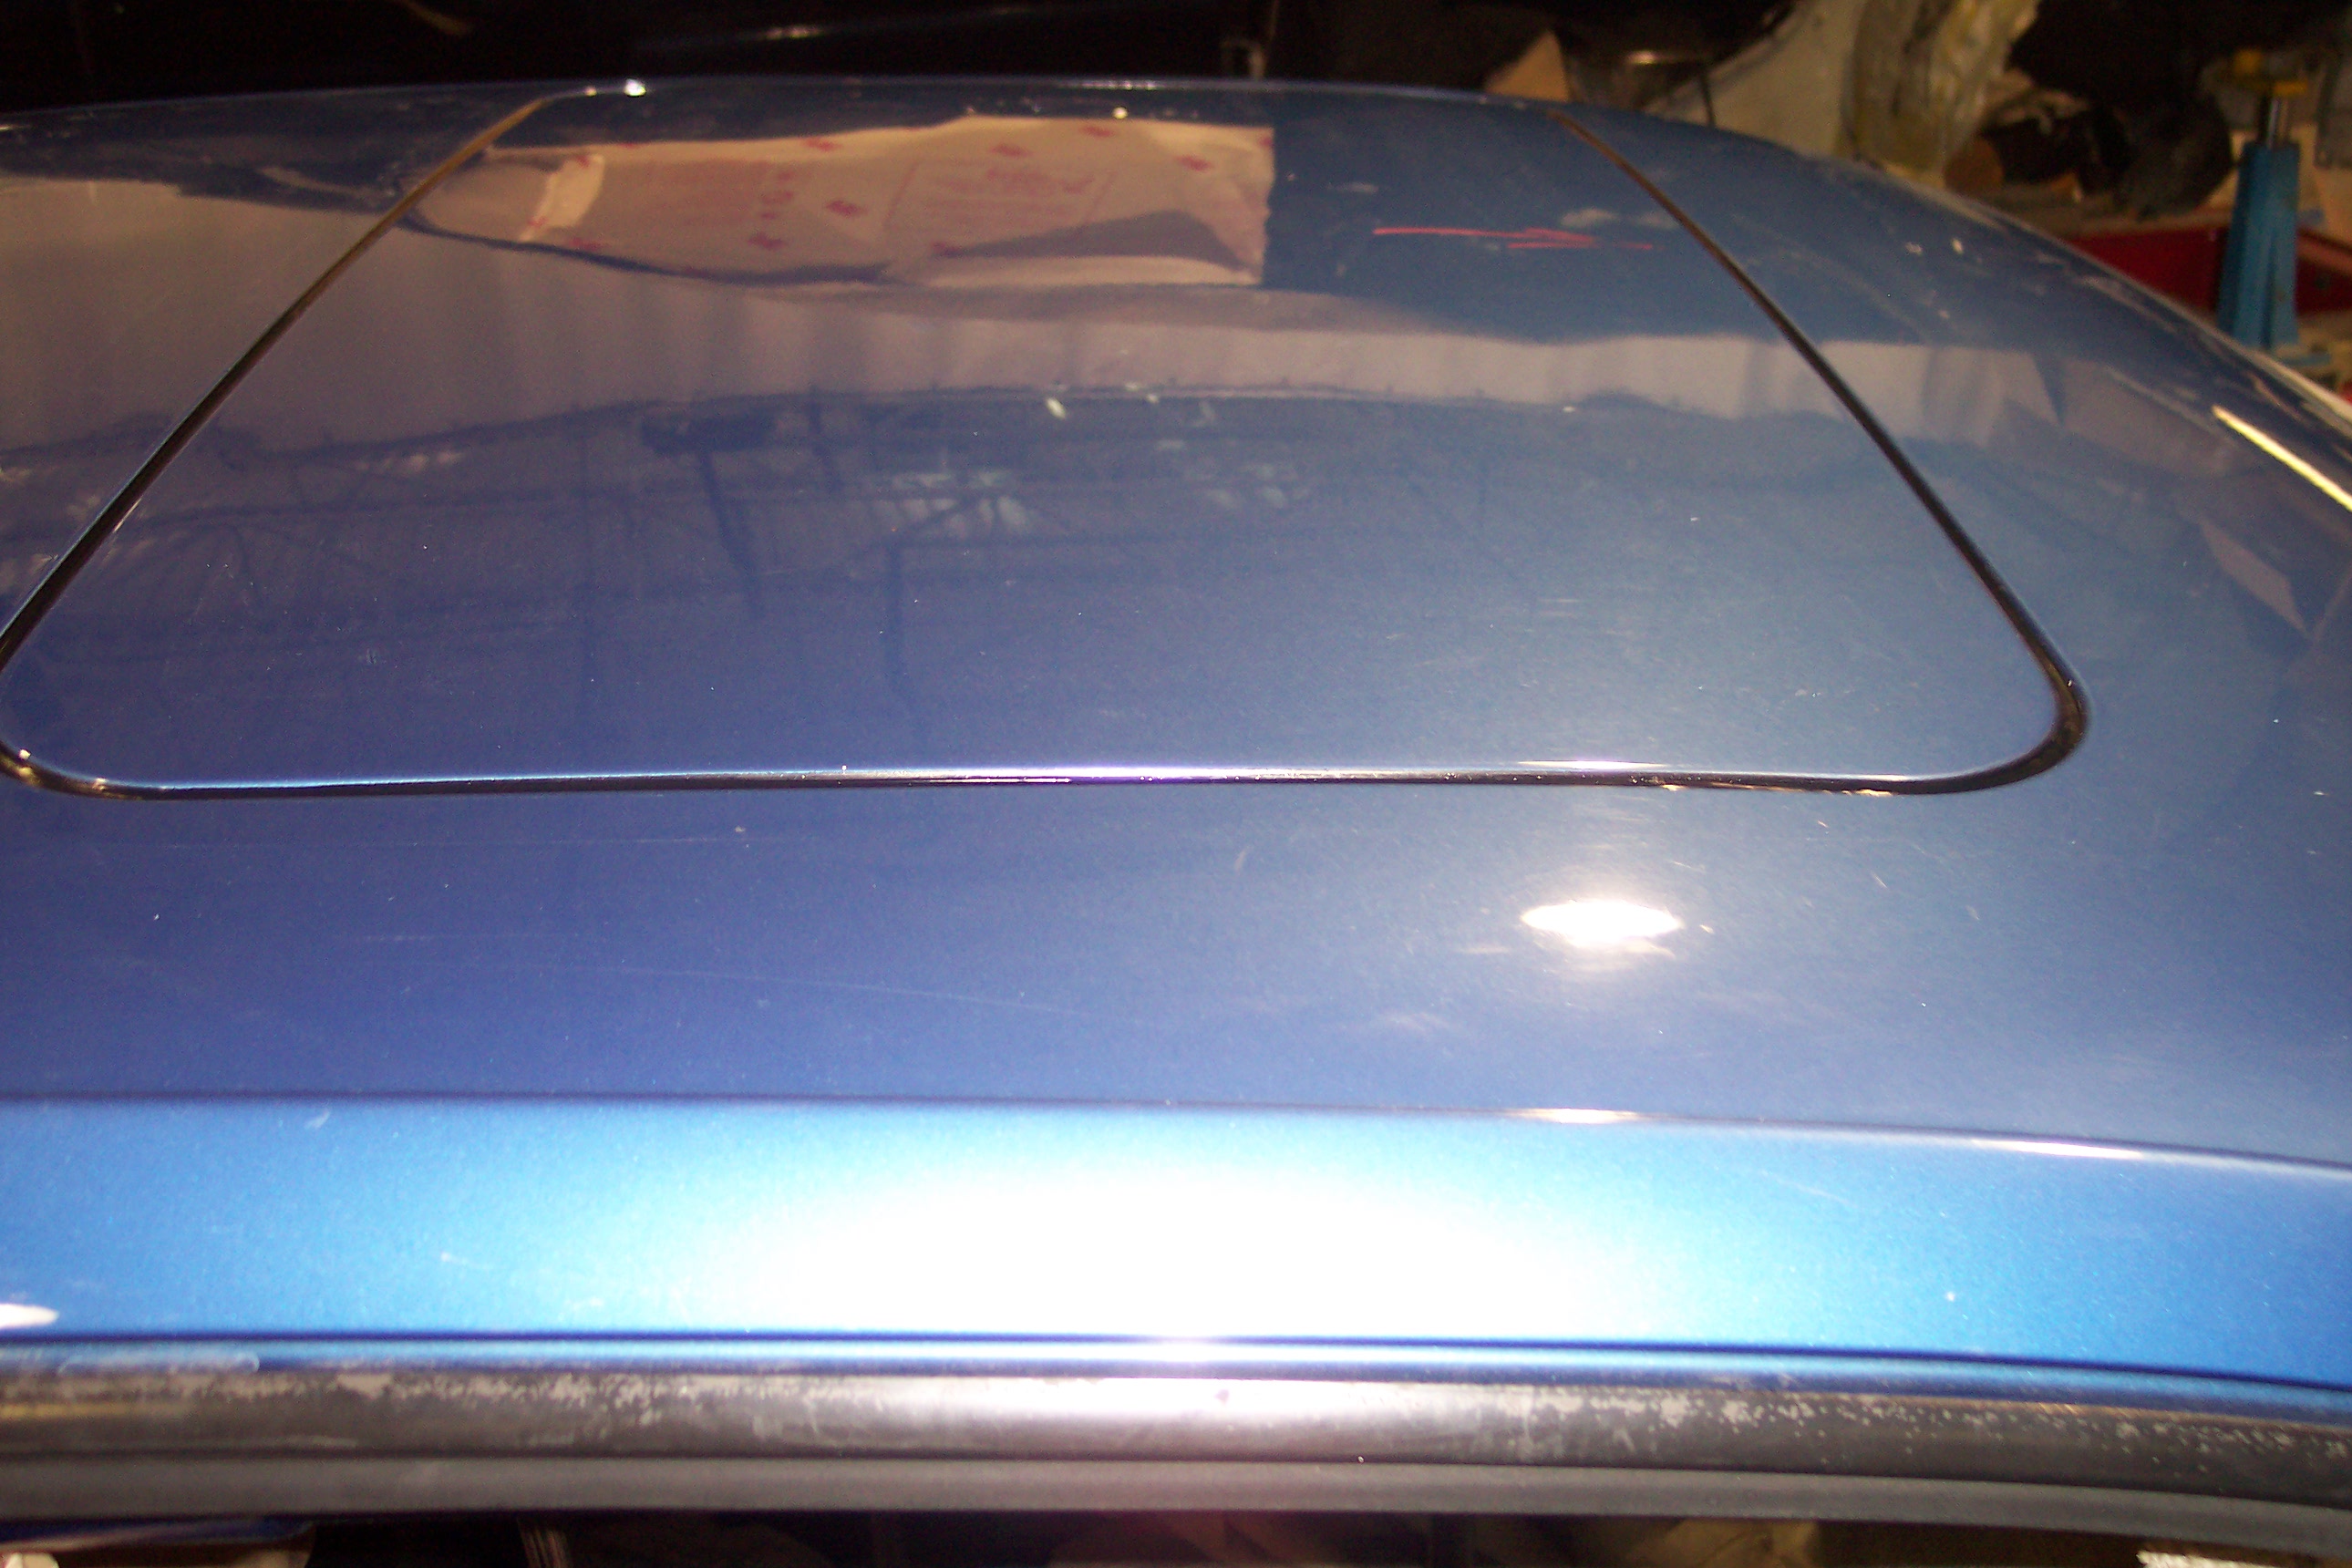
The sunroof installed and sealed.
Check back soon for the next installment, wherein we’ll describe the final car preparation before the first race weekend.