« May 2008 | Main | July 2008 »

June 20, 2008

Front Strut Tower Fatigue on BMWs

This is a note for all of you who run heavier springs on your E36/E46 BMW. We have had a rash of M3s come into the shop with cracked FRONT strut towers lately.

Cars with stock suspension seem to be unaffected, but those with aftermarket suspensions-- particularly those with Ground Control camber/caster plates-- are prone to cracking between the stud holes (cracks already chamfered):

DSC00760.JPG

If the cracks have not propagated too far, the fix is relatively simple. First step is to remove the front suspension and clean up the area:

DSC00757.JPG

Chamfer the cracks and weld:

DSC00765.JPG

Grind and clean:

DSC00777.JPG

Repaint and then put it all back together again:

DSC00791.JPG

Next time you're under the hood of your BMW E36 or E46 3 Series, take a look for the telltale signs of cracked paint around stud slots and/or under the strut tower brace end caps. If you see any cracking, get it fixed as soon as you can.

The Care and Feeding of Your Coil-overs

Height adjustable suspensions have become quite popular of late-- even to folks who do not track their cars. Often referred to by the blanket term "coil-overs", height adjustable suspensions allow the owner to set and change the ride height of the vehicle for any of a number of reasons: to corner balance for the track, winter/summer ride height changes or just to fine tune the "look". But as high tech as some of these kits are, they do need yearly maintenance.

DSC00630.JPG

It is a good idea to exercise those spring perches at least once a year. The spring perch is the ring the spring sits on. On a strut suspension as pictured above, the shock tube is threaded and the spring encapsulates the tube and sits on a two rings, one is the actual perch and the other is a locking ring. Once a season you should take the wheels off, clean up the threads and move the perches up and down. It’s also a good idea to apply a little anti-seize compound to the threads. By moving perches periodically and making sure everything is clean, you will lesson the risk of the parts seizing together. We've had cases at the shop where we have had to cut off the spring perch and replace it with a new one just to adjust the height. A little preventive maintenance can save lots of grief in the long run.

June 02, 2008

E30 M3 Rebuild: Differential

We began this project car with a clear focus on improving the performance of the suspension and the brakes, since the engine already had a thorough going over by another shop a few years back. The one speed area of the performance equation we decided to improve right from the start was changing the gear set in the differential. The biggest bang for the buck is not in adding power to the E30 engine, but changing how the exisiting power gets to the ground. This is espcially important at the track, where this car will consume most of its gas.

Speaking with many E30 M3 experts around the country, we settled on what was considered by almost everyone we spoke with as the best track driving gear ratio for the differential: 4.45. We had E30 expert-- and differential builder extraordinaire-- Ben Thongsai out of Chicago craft the new unit for us. He built up the diff with the aforementioned 4.45 gear-set, 4 clutch limited slip with 50% lock-up. We also had him install the M Coupe cover which has bigger cooling vanes, again with an eye to track use.

Hard to tell what this is, thanks to all the rust, dirt and oil, but here's the original differential still in the car:

DSC00719.JPG

Here we have the old one out, sitting next to the beautiful new unit:

DSC00729.JPG

A close-up showing the M Coupe cooling fins:

DSC00724.JPG

The new differential, installed:

DSC00744.JPG

June 01, 2008

The First 1

The BMW 1 Series has only been showing up on people's driveways in the States for a few months now and already there are enthusiasts ready and willing to fine tune it. A great performance car straight out of the box, it none-the-less comes with the compromises every modern car has. We've talked about this often enough: in order to satisfy the government's regulators, insurance lobbies, and the average consumer, new cars are "sanitized for our protection."

The owner of this particular 135i decided to tweak his car before the break-in process was complete, arguing that you might as well make the car what you want it to be right from the start. Our kind of guy. The biggest item on his list of things to do was eliminate the well documented understeering characteristic that pretty much plagues every new car these days (according to the lawyers, understeer handling is much easier to deal with-- and thus safer-- for most average drivers). He already had specially tuned sway bars installed before he came to our shop; and now he wanted us to install a complete Variant 2 KW brand coil-over suspension to further button down the handling.

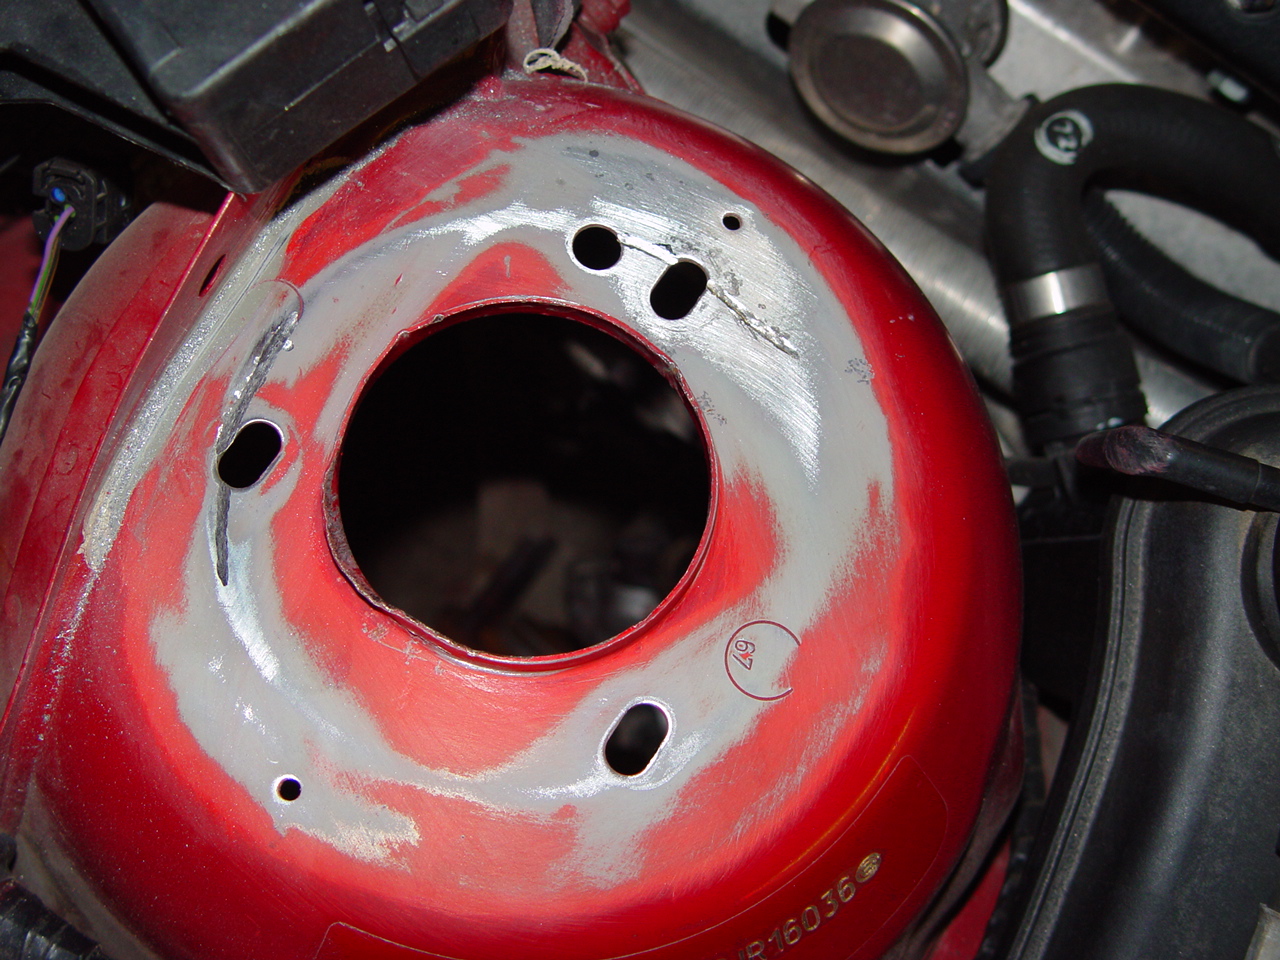
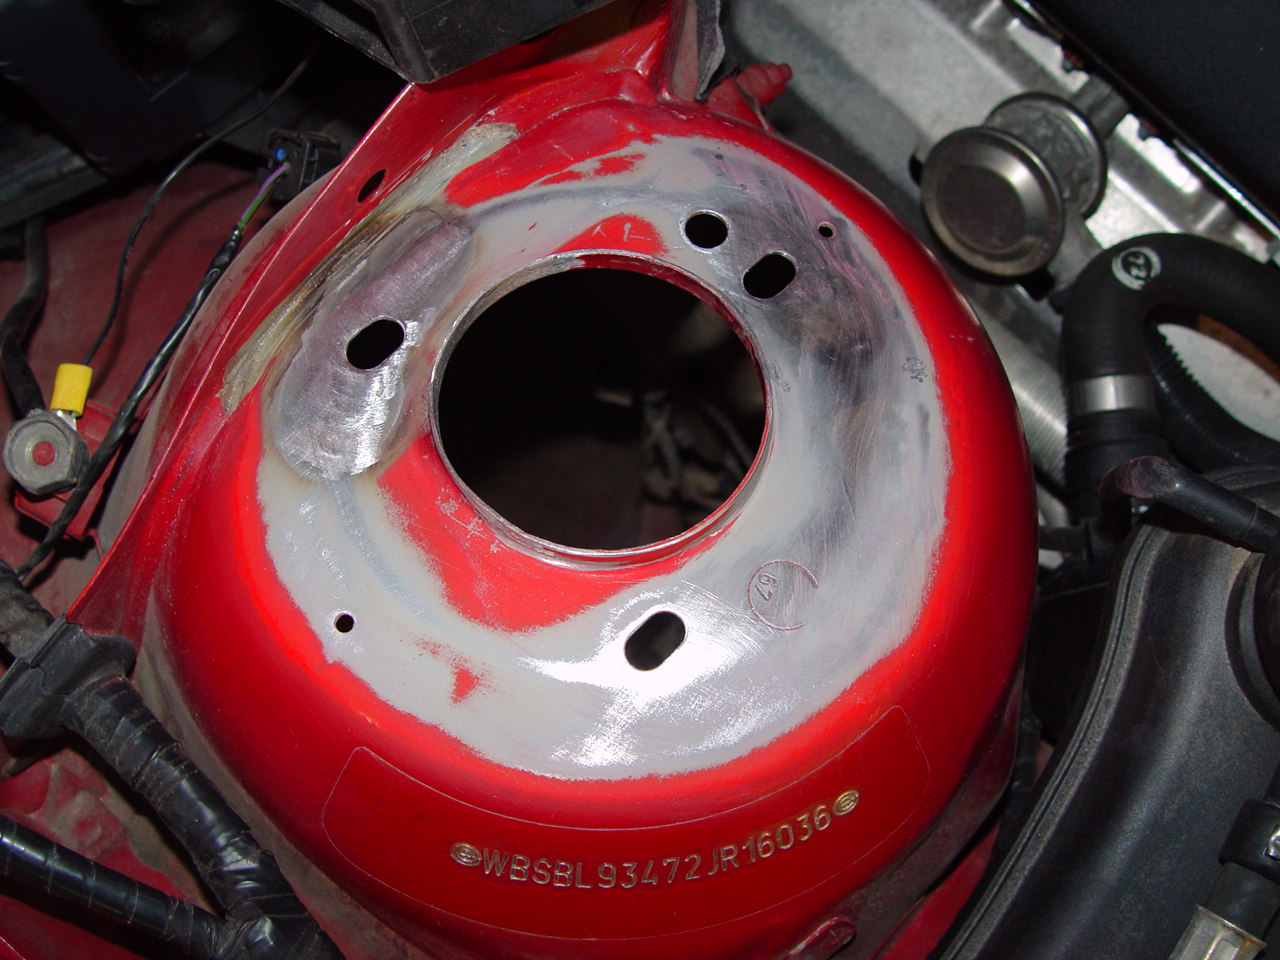
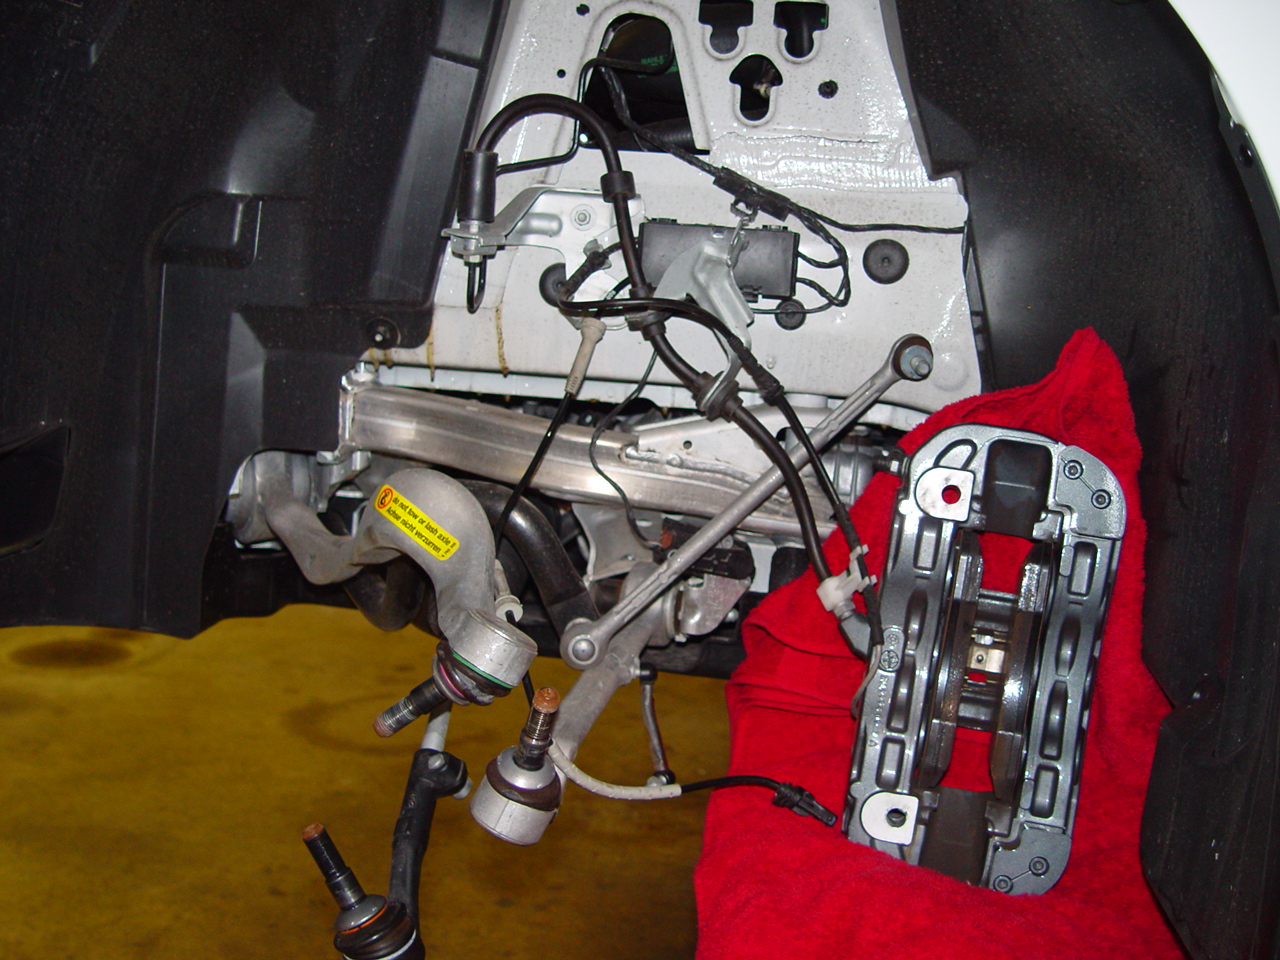
First introduced on the E60 5 Series cars, the front suspension of the 1 similarly utilizes a complex multi-link front suspension with standard strut dampers. The photo below shows the front hub assembly removed and suspension partially disassembled (note the stock 6 piston brake caliper cradled on the red towel):

DSC00804.JPG

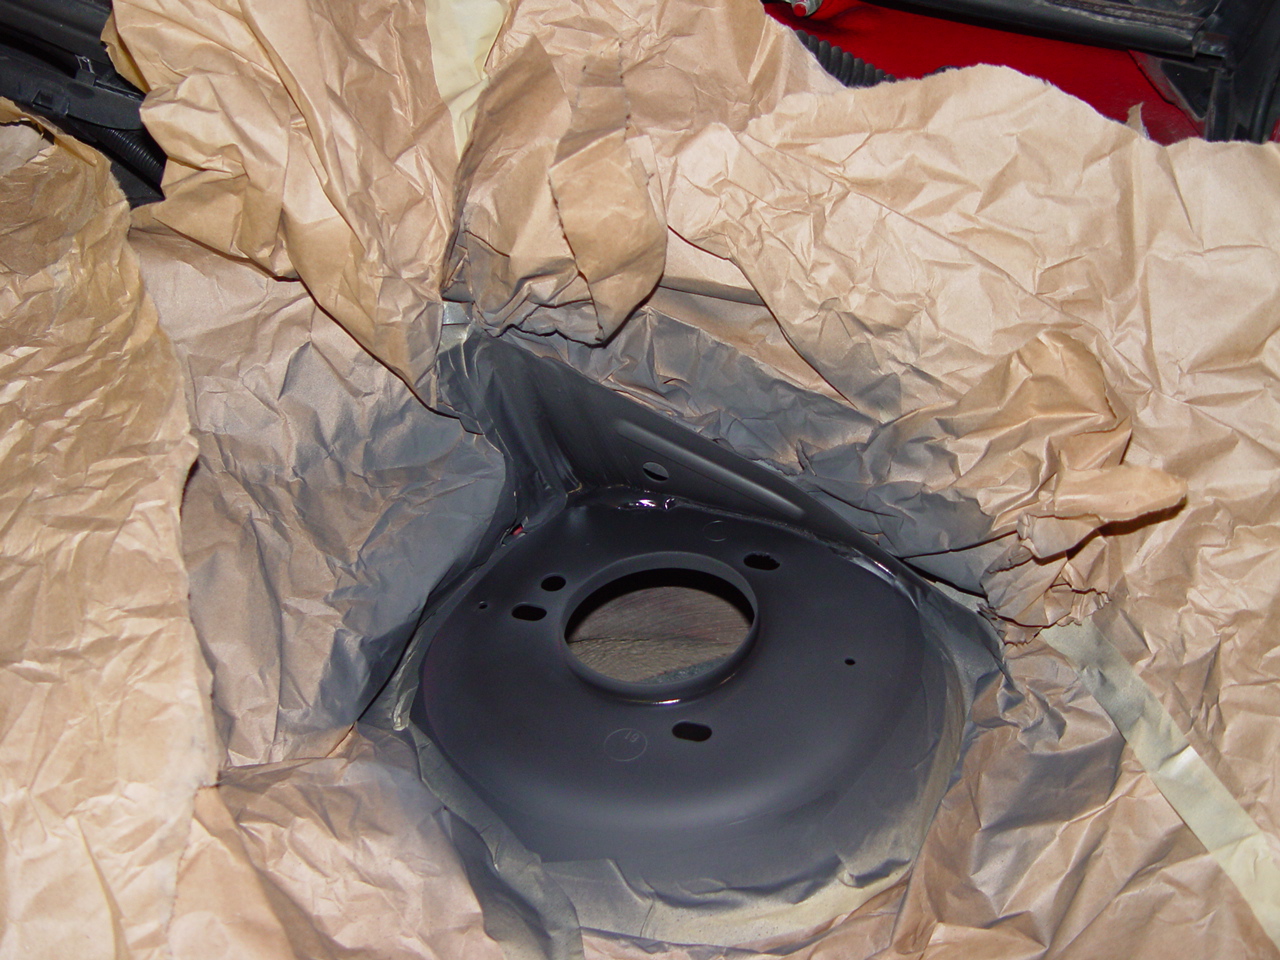
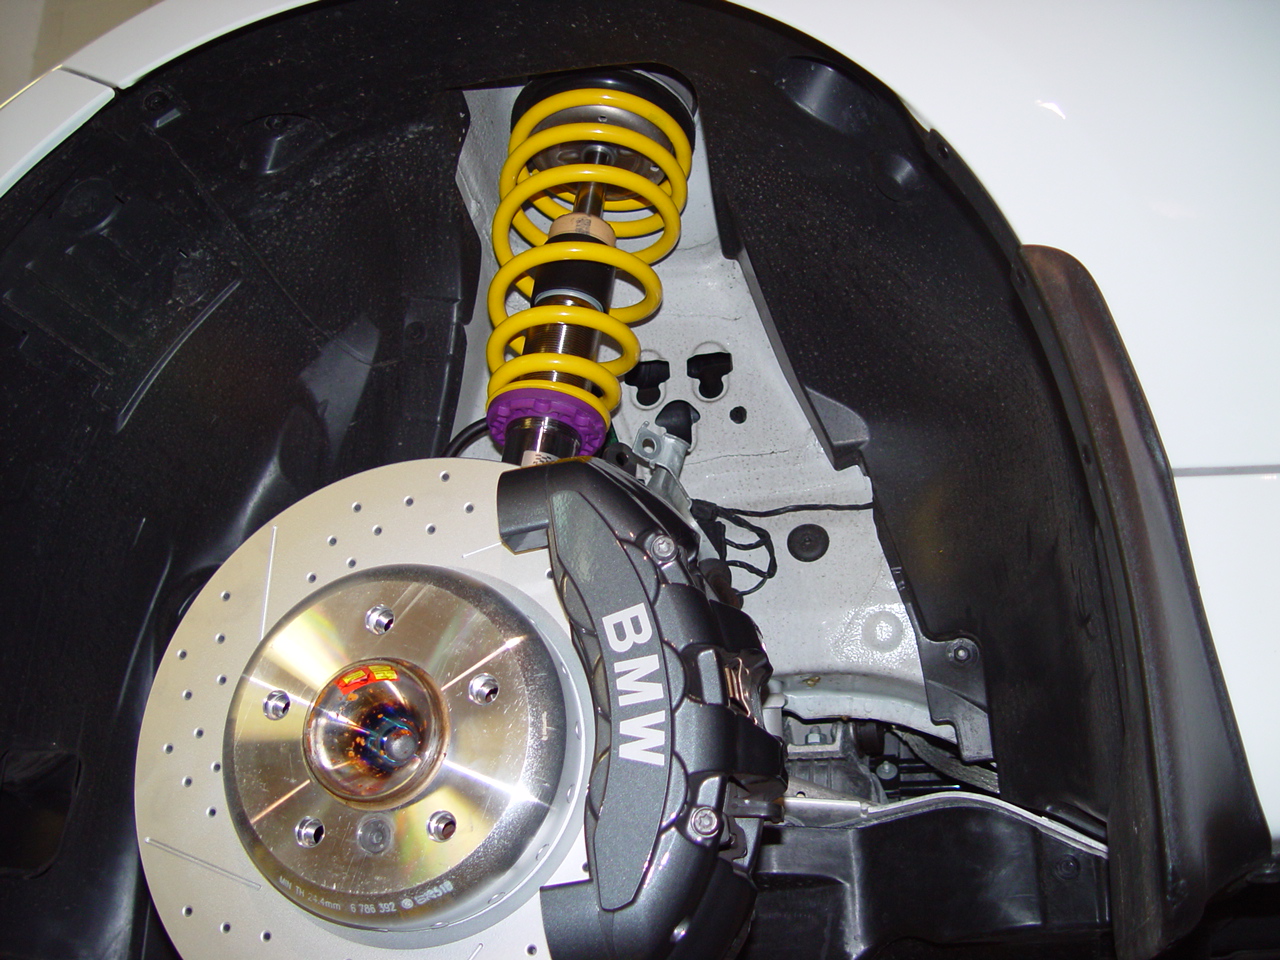
Here you can see the KW front strut assembly installed:

DSC00806.JPG

While it looks pretty complex-- and make no mistake it is-- we've done enough of these BMW suspension swaps to know the tricks to do it properly without damaging any of the ball joints and links.

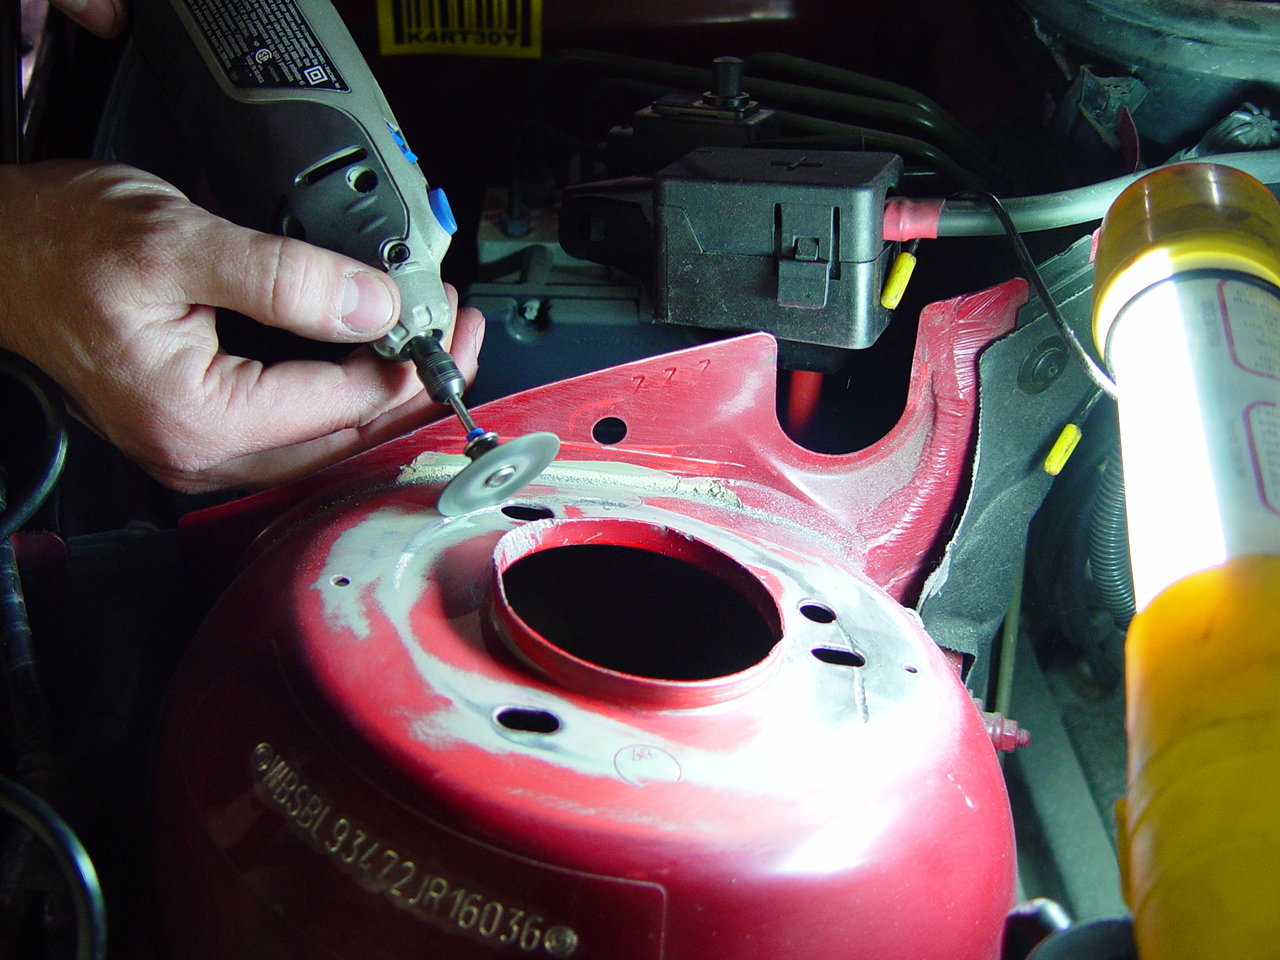
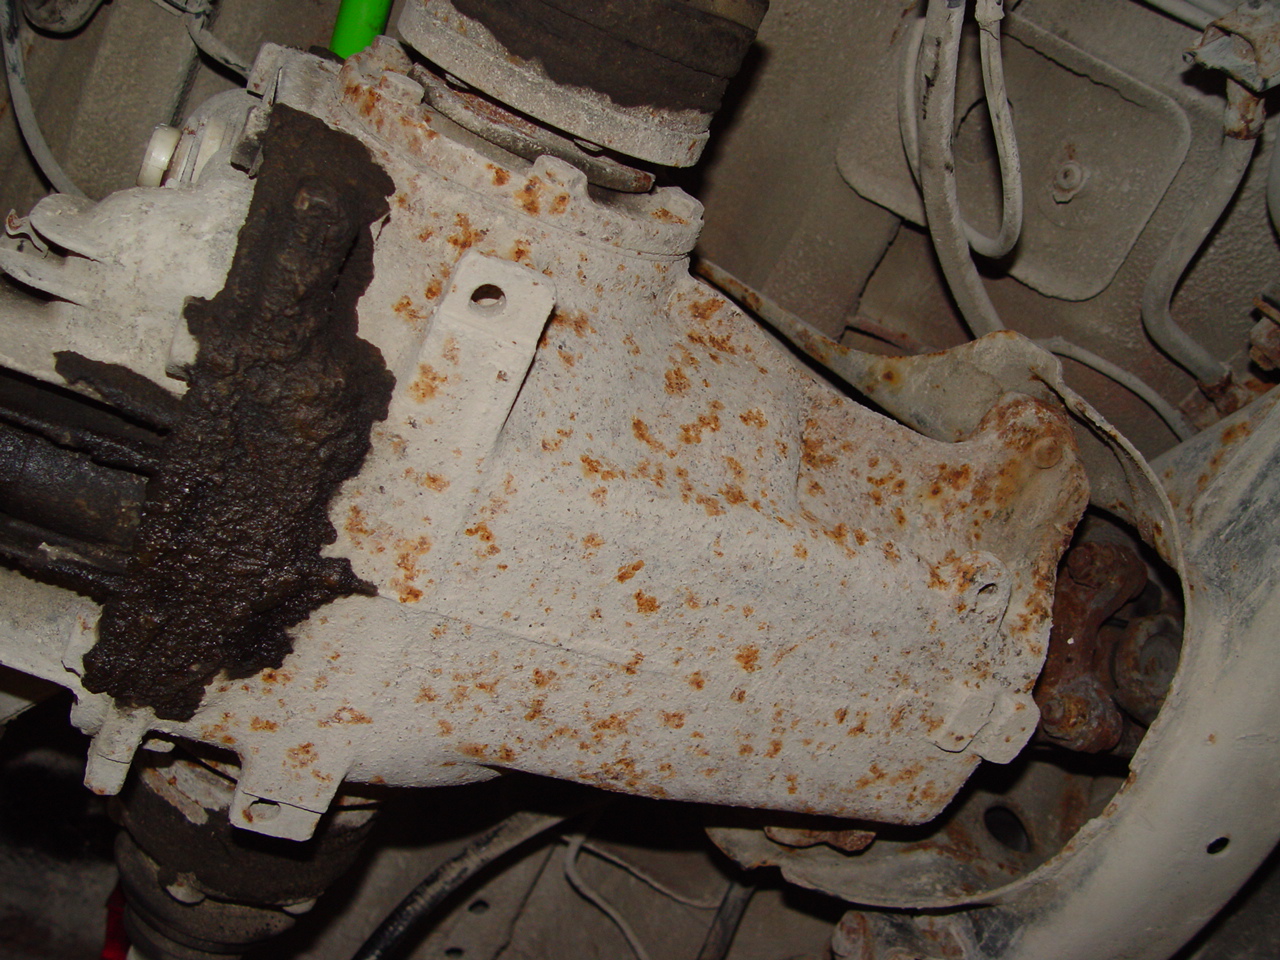
The rear suspension is typically easier to work on because there is no steering gear to get in the way. But, it still takes time and the proper tools. The entire trunk needs to be de-trimmed to get to the upper shock mounts. And-- again to do it properly-- we used a special spring compressor to get the stock springs out:

DSC00809.JPG

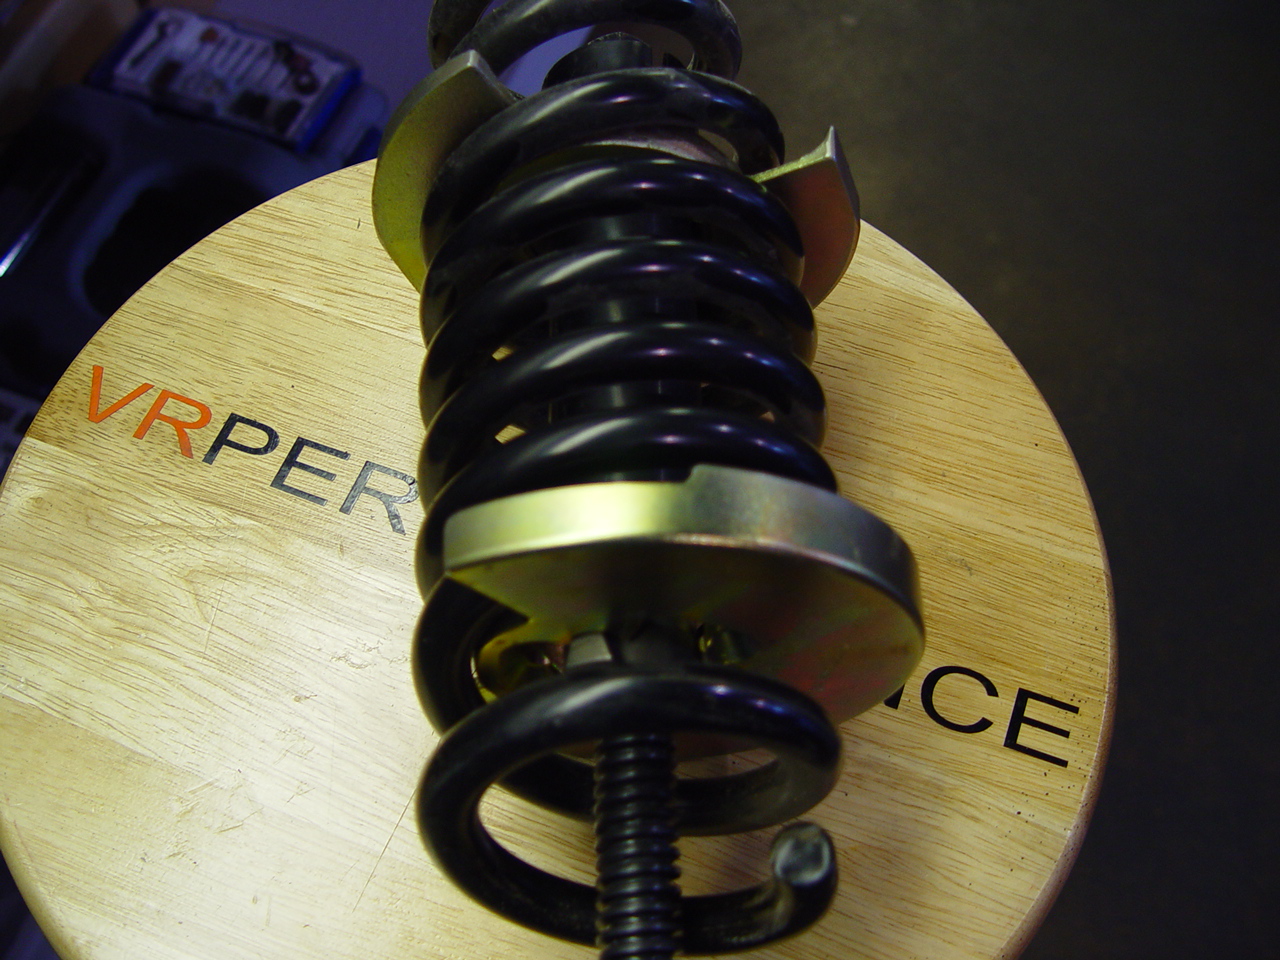
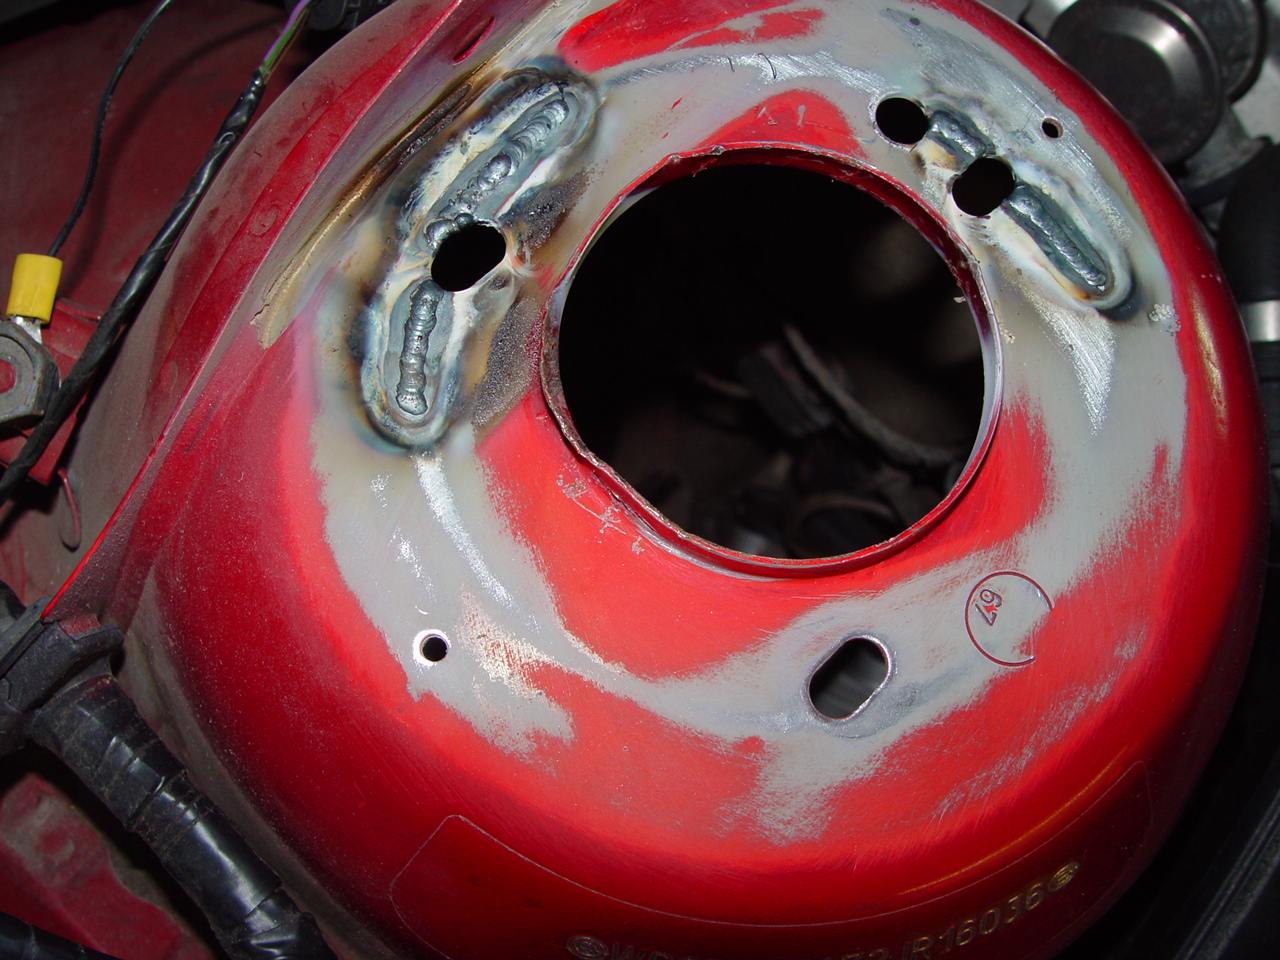
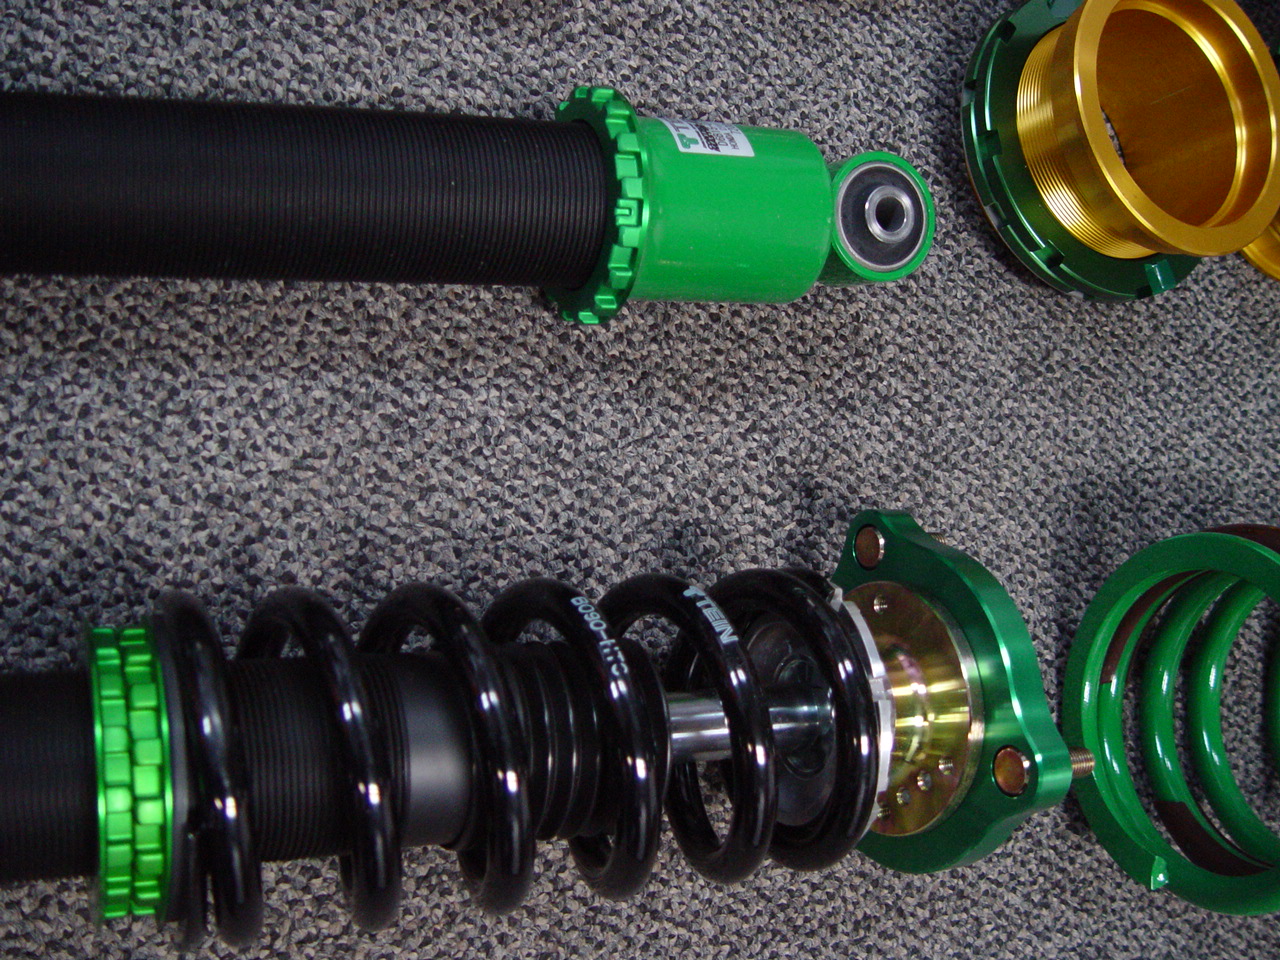
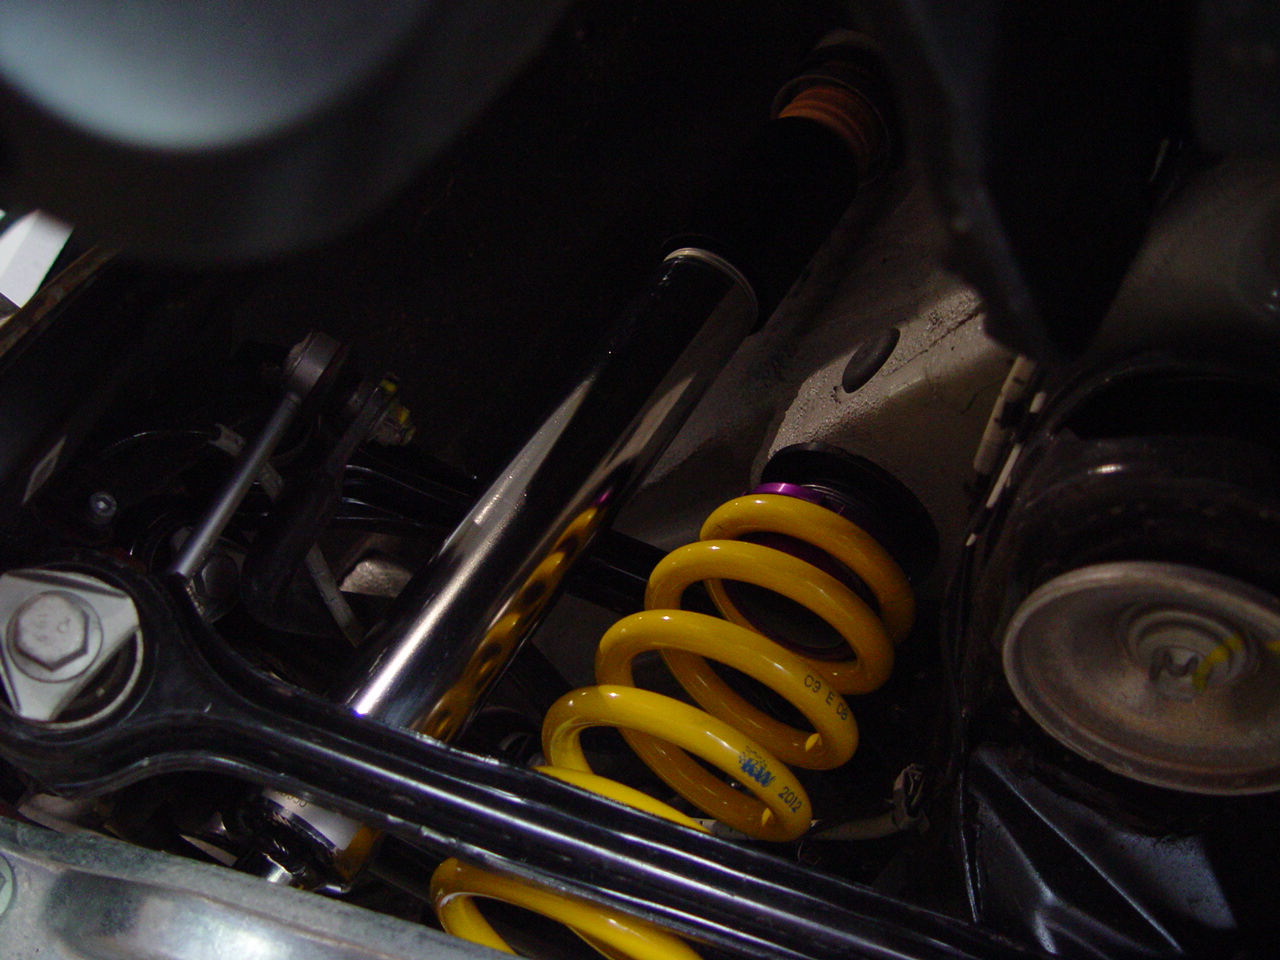
Here you can see the KW suspension installed (note the polished stainless steel damper and the height adjustable spring perch in purple):

DSC00812.JPG

We're big fans of KW suspensions, and this kit did not disappoint. The welds looked great, the hardware was top notch, and everything fit as it was supposed to. To start things off, we set the ride height about one half inch lower than stock. The springs will settle some and when the customer comes in for an alignment we can tweak the height.

DSC00815.JPG