EVO, EVO, STi: Part 3 Subie Pipes & Coils
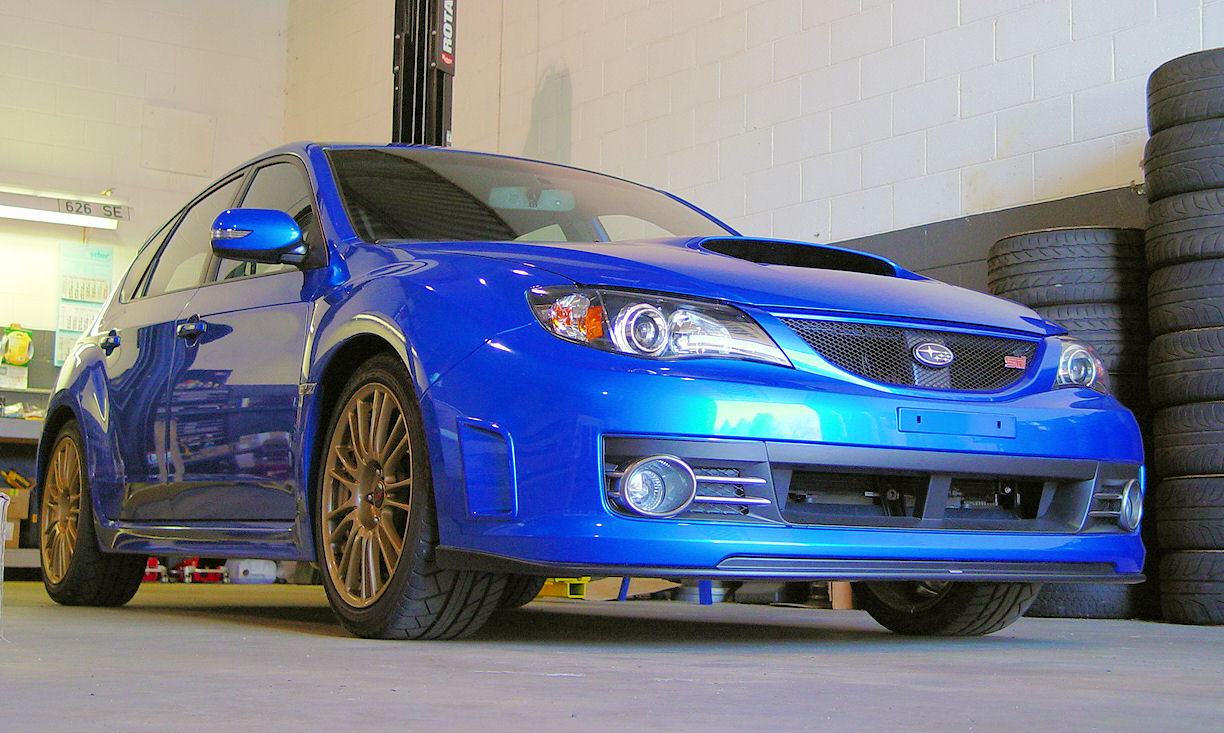
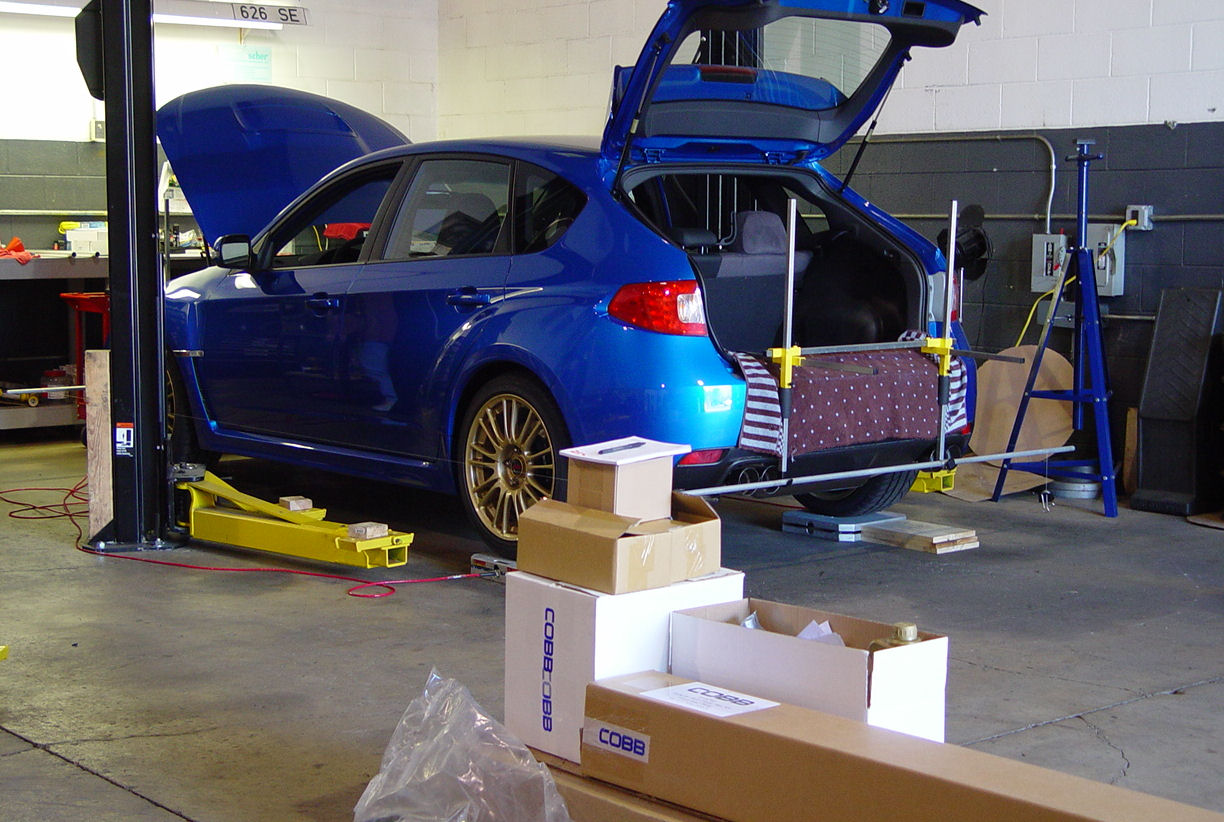
The third installment of our Japanese make-over mini series stars a 2008 STi. All new coils for the struts, sway bars front and rear, complete new exhaust including down pipe, and new trans and engine mounts.
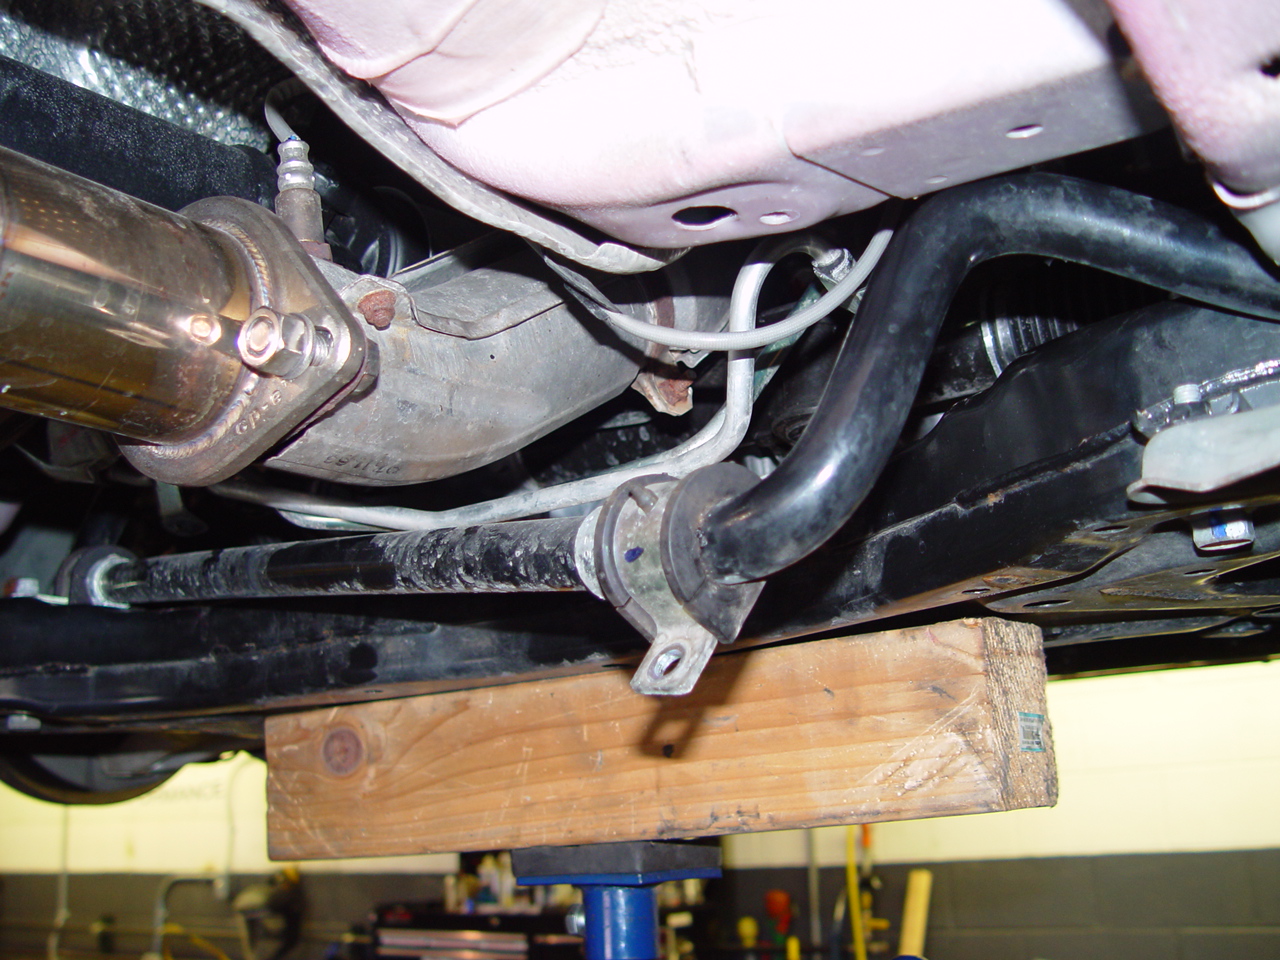
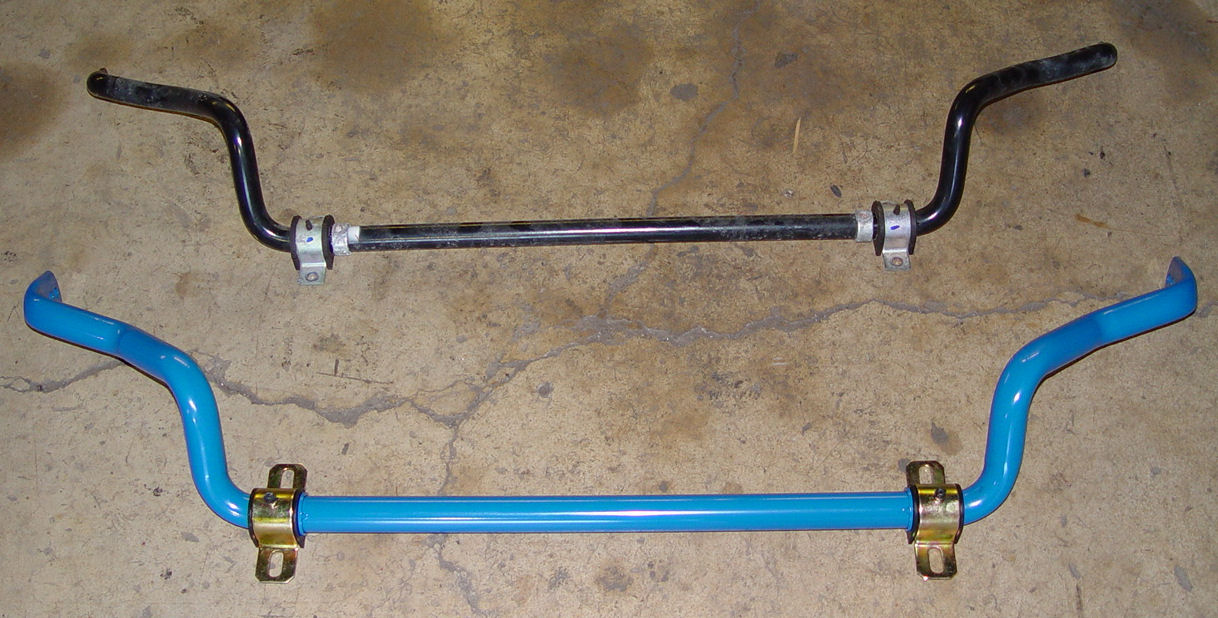
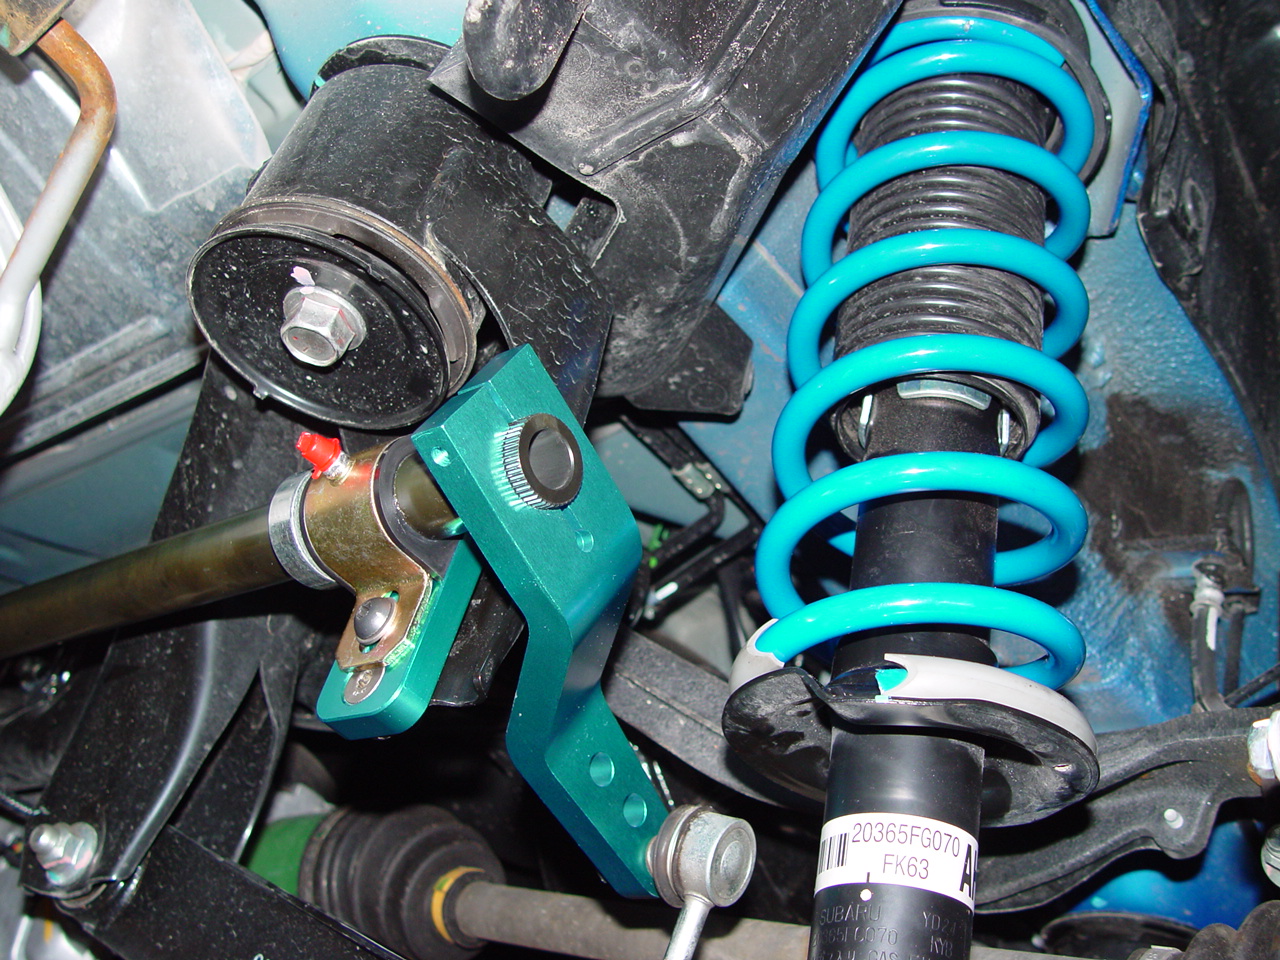
We first disconnected the sways and started on the coils for the struts. The customer decided to save some money and just swap out the stock springs with some slightly lower and stiffer aftermarket versions from Cobb instead of going the full coil-over route. The result is improved center of gravity (lower) and sportier cornering (stiffer). The overall visual effect is awesome, just enough lowering to improve the overall stance of the car without that ricer slammed looked. Aiding in the improved handling are much stiffer sway bars, also from Cobb. The rear ones, shown below, are a trick three piece set-up similar to what is used on race cars.
Here's a shot of the rear sway bar (note end link) and new coil installed on rear strut:
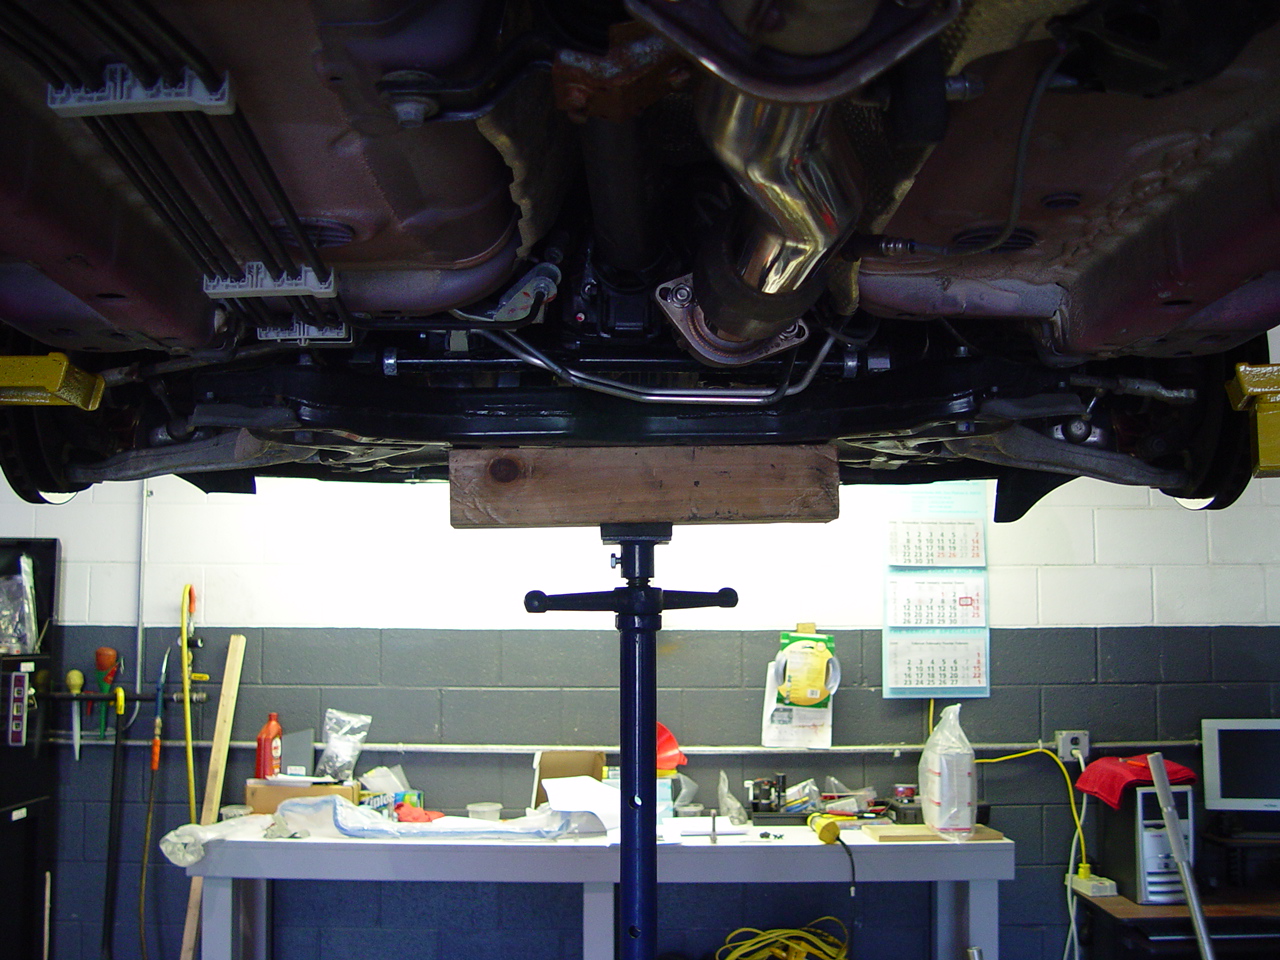
Next we moved to the engine and transmission mounts. The customer went with stiffer JDM mounts. The stiffer mounts transmit a bit more noise, vibration and harshness but the theory goes that less flex in the drivetrain makes for more precise shifting and better power delivery. The trans mount was no problem but the engine mounts required more effort. Since they reside between the engine and sub-frame, the engine mounts are tough to get to. Our solution was to hold up the engine with a standing jack, disconnect and carefully lower the sub-frame or axle carrier until the mounts were accessible.
Finally we tackled the exhaust. We had to remove the intercooler to replace the "dog bone" (engine torque limiting mount).
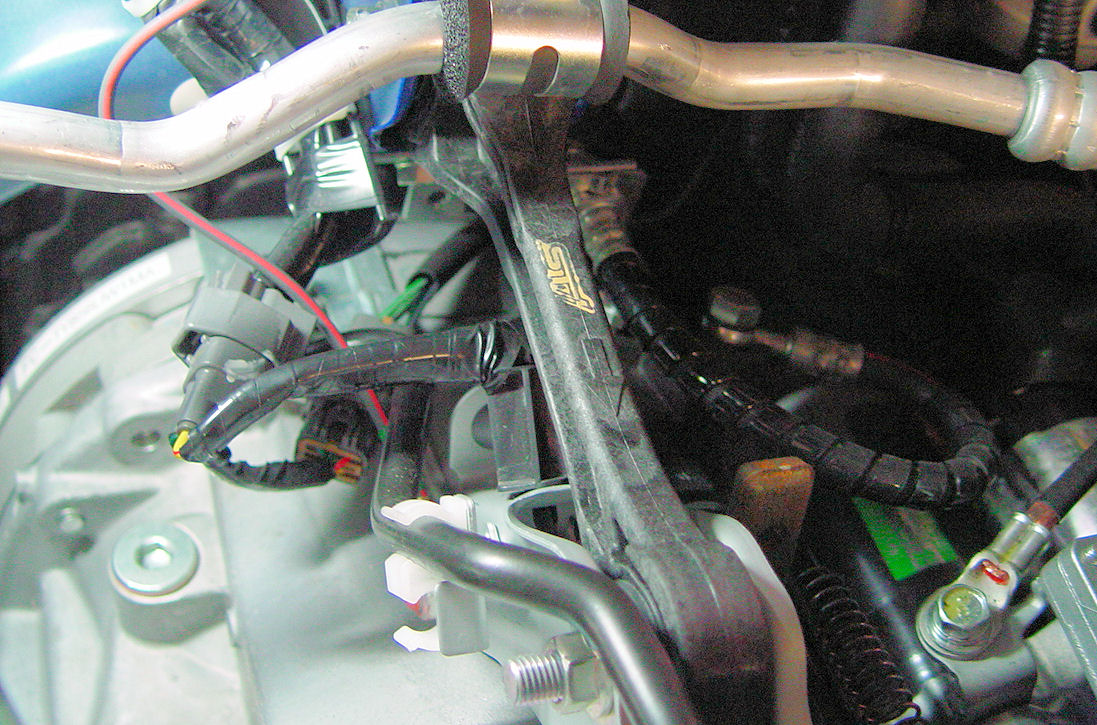
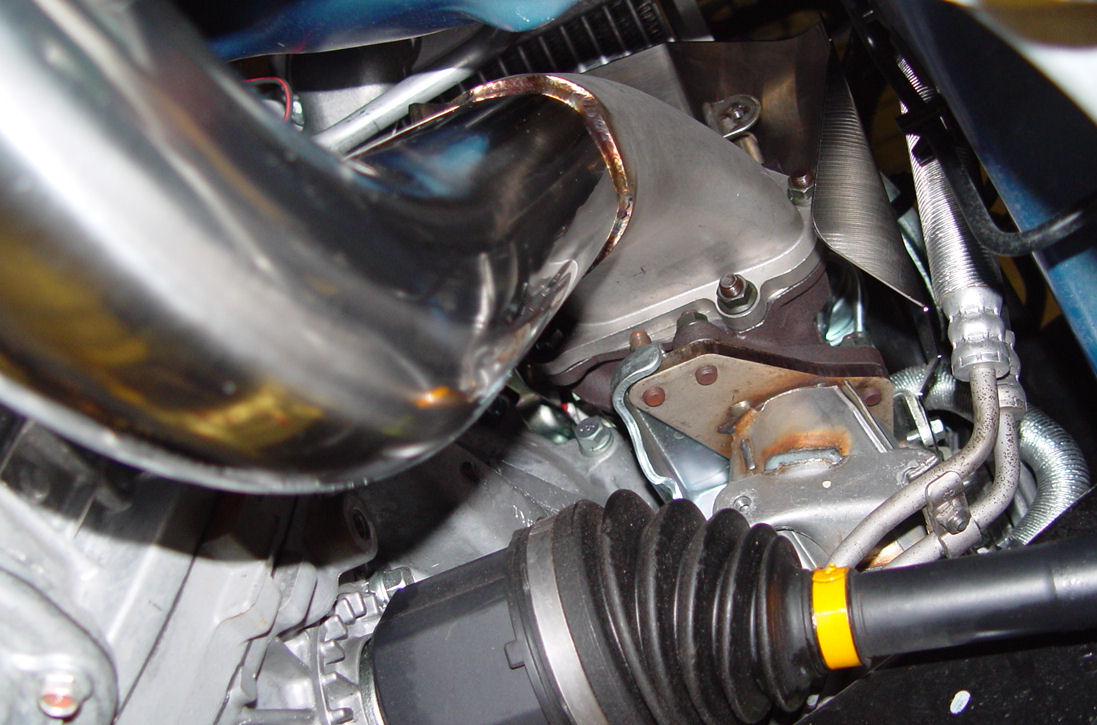
While the intercooler was out, we had better access to the downpipe. Despite only about 1000 miles on the car, the nuts that attach the downpipe to the turbo bolts were very hard to break loose. The Cobb pipe did fit perfectly, as did the new heat shield.
From the top:
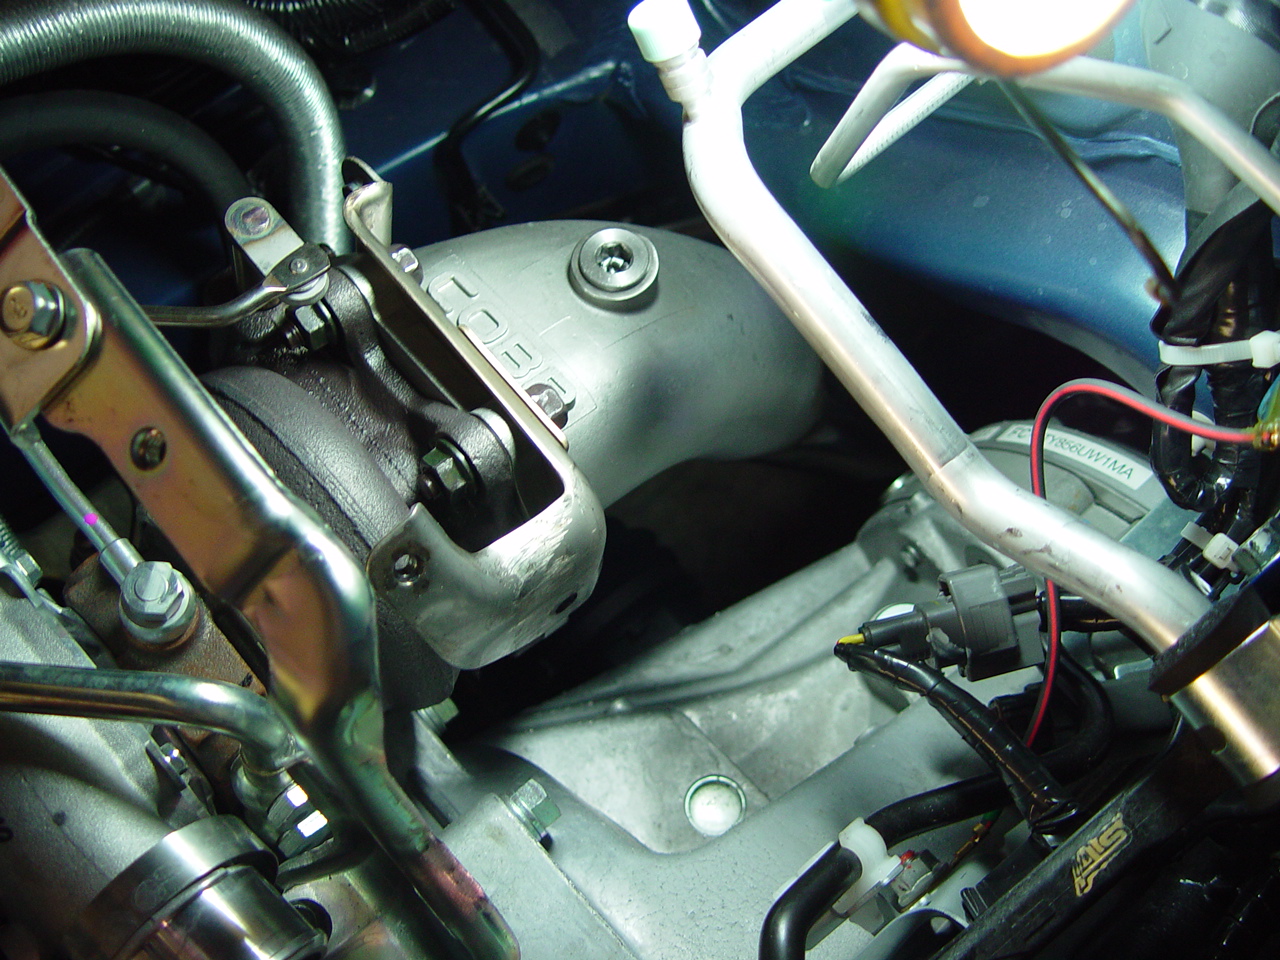
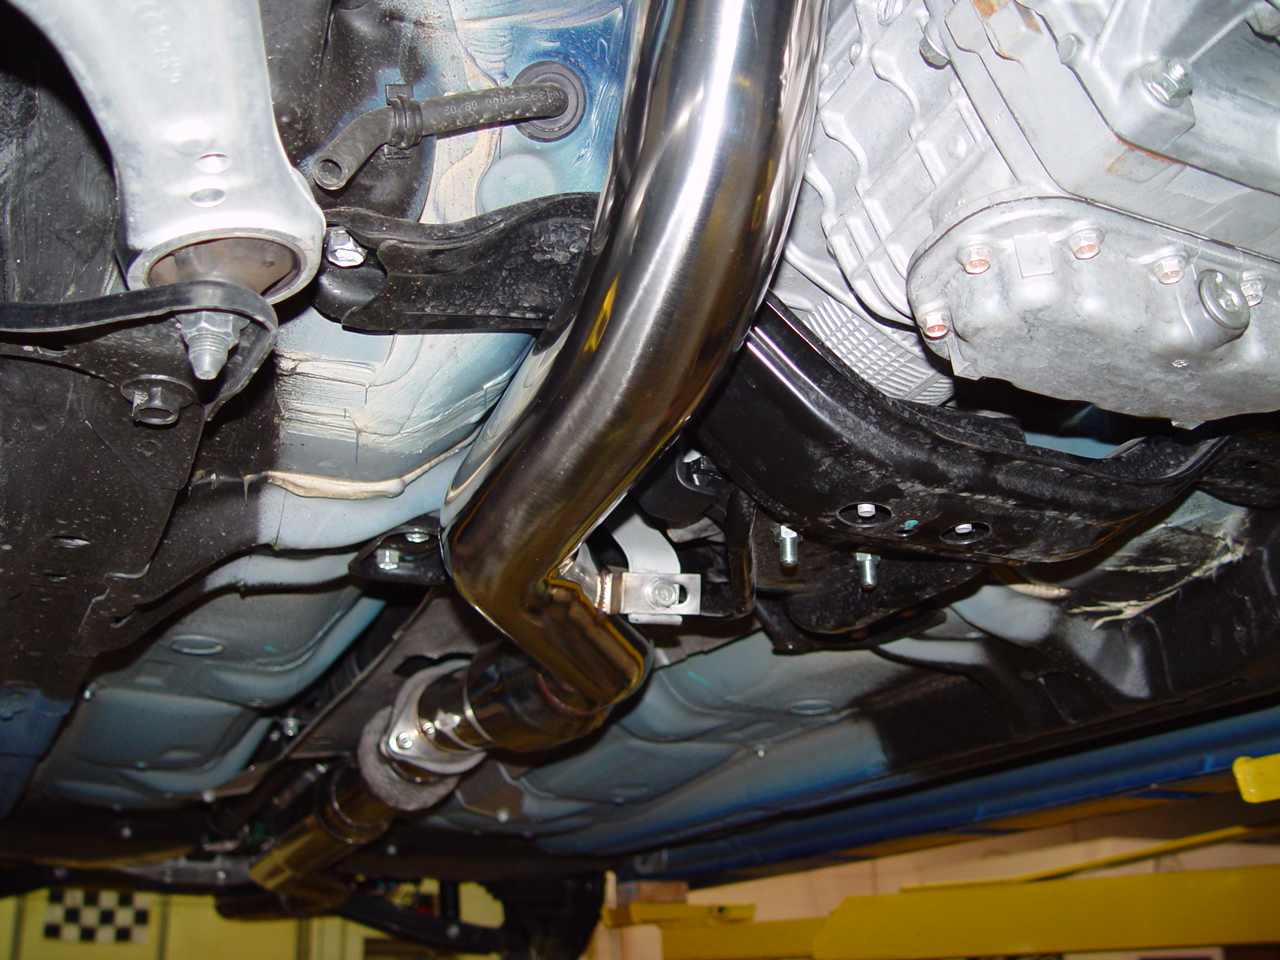
From the bottom:
We installed a Perrin exhaust system from the downpipe back. All components fit with only a minimal amount of tweaking. And the resulting sound is great!
Starting at the front:
Ending out back:

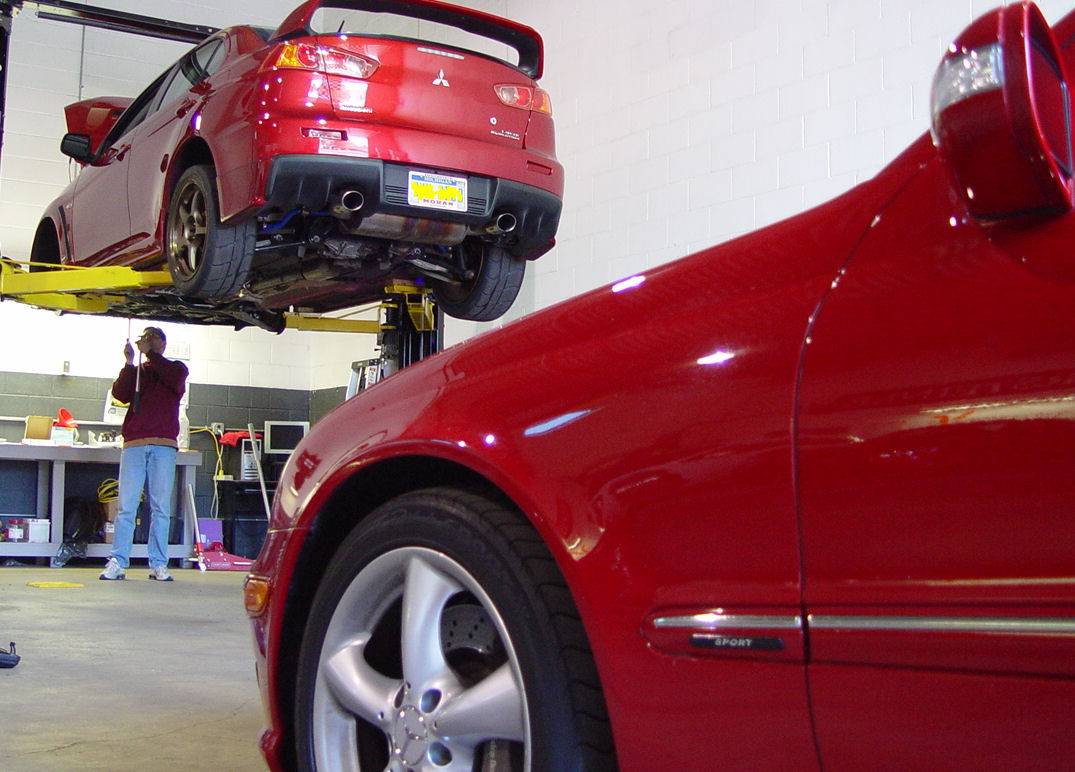
While we aligned the STi we took the time to do a quick weigh in-- so we could compare it to the EVO X we had in the shop earlier. Here are the results:
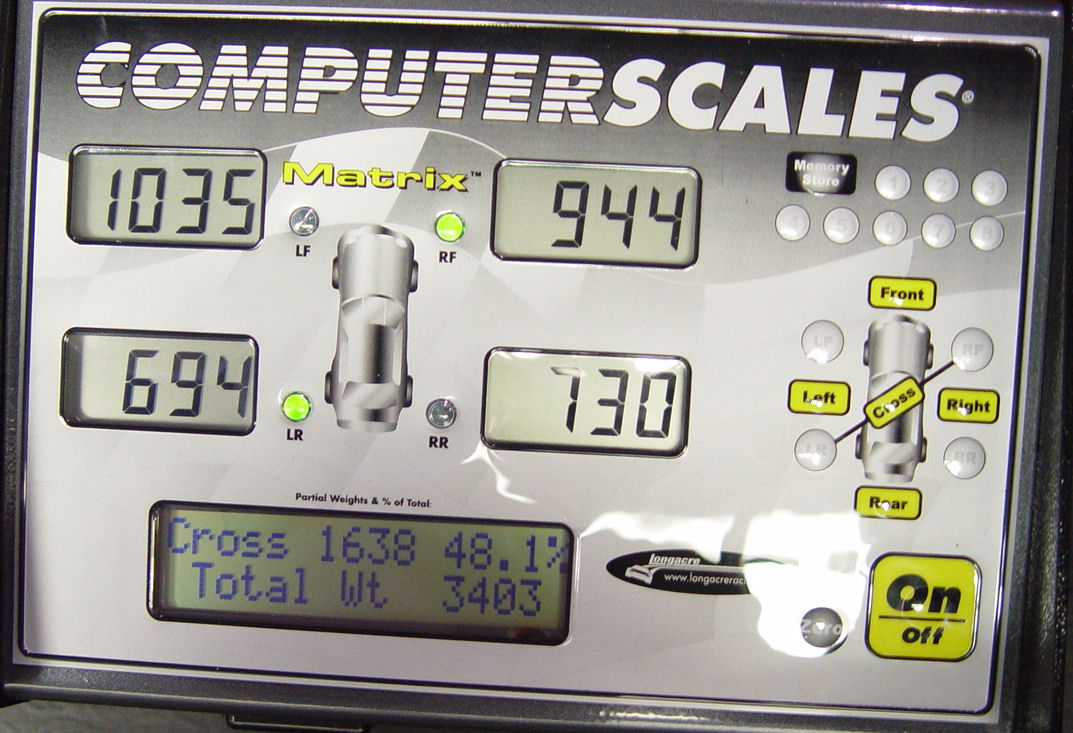
3400 lbs with a full tank of gas (about 3340 with a half tank) is not terrible, and about 100 lbs lighter than the EVO X.
We have to admit that when the latest evolution of the STi came out we were not excited. Our first impression was that Subaru went soft on us, from the frumpy hatchback to the heavier chassis and slower handling. But after spending a week with this one, we're won over. The upgrades we did really transformed the car into something we can get excited about again. And the visual tweaks the customer already made like the red tail lamp lenses and black mesh grill really help the looks.