Brake Rotor Friction Ring Replacement
To say that brakes are an important part of a car's performance is to state the obvious. Pads and rotors need to be checked often and replaced when worn or damaged. Most cars come with single piece rotors-- the friction surface that contacts the pads and the inner "hat" that bolts to the hub are formed from a single casting. Higher end brake systems, and many after market big brake kits, use two piece rotors.
The inner portion that attaches to the hub is usually made of a lighter weight material like aluminum and is bolted or pinned to the outer "friction ring". Two piece designs usually weigh less for their size, reducing unsprung weight, and they help mitigate the transfer of heat from the friction ring to the hub, saving your wheel bearings from overheating. More complex "floating" rotors allow the friction rings to grow irrespective of the hub as well as insuring even pad contact. This float allows for better modulation of the brake torque applied during stopping.
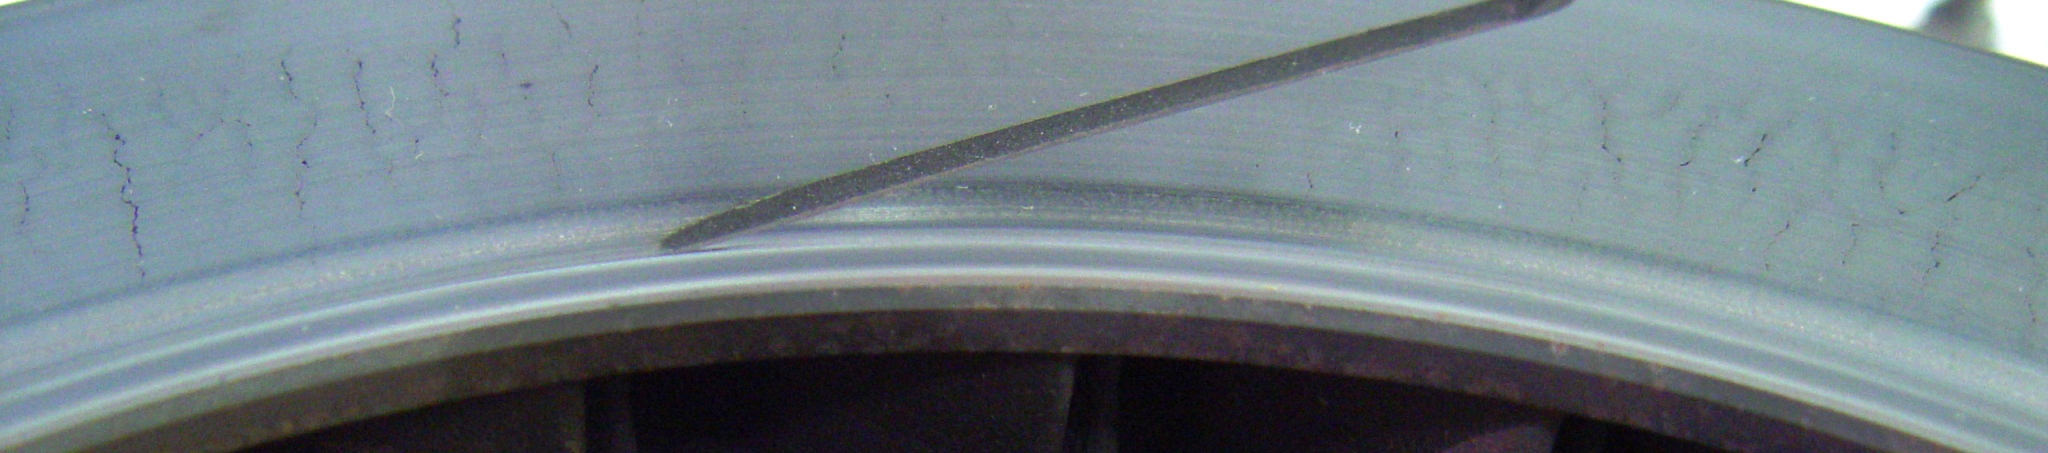
Here we replace the friction ring of a standard ST40 Stop Tech big brake kit. Despite not being worn down to its minimum thickness, we felt it was time to replace thanks to the radial cracks in the ring as well as the deep concentric groves.
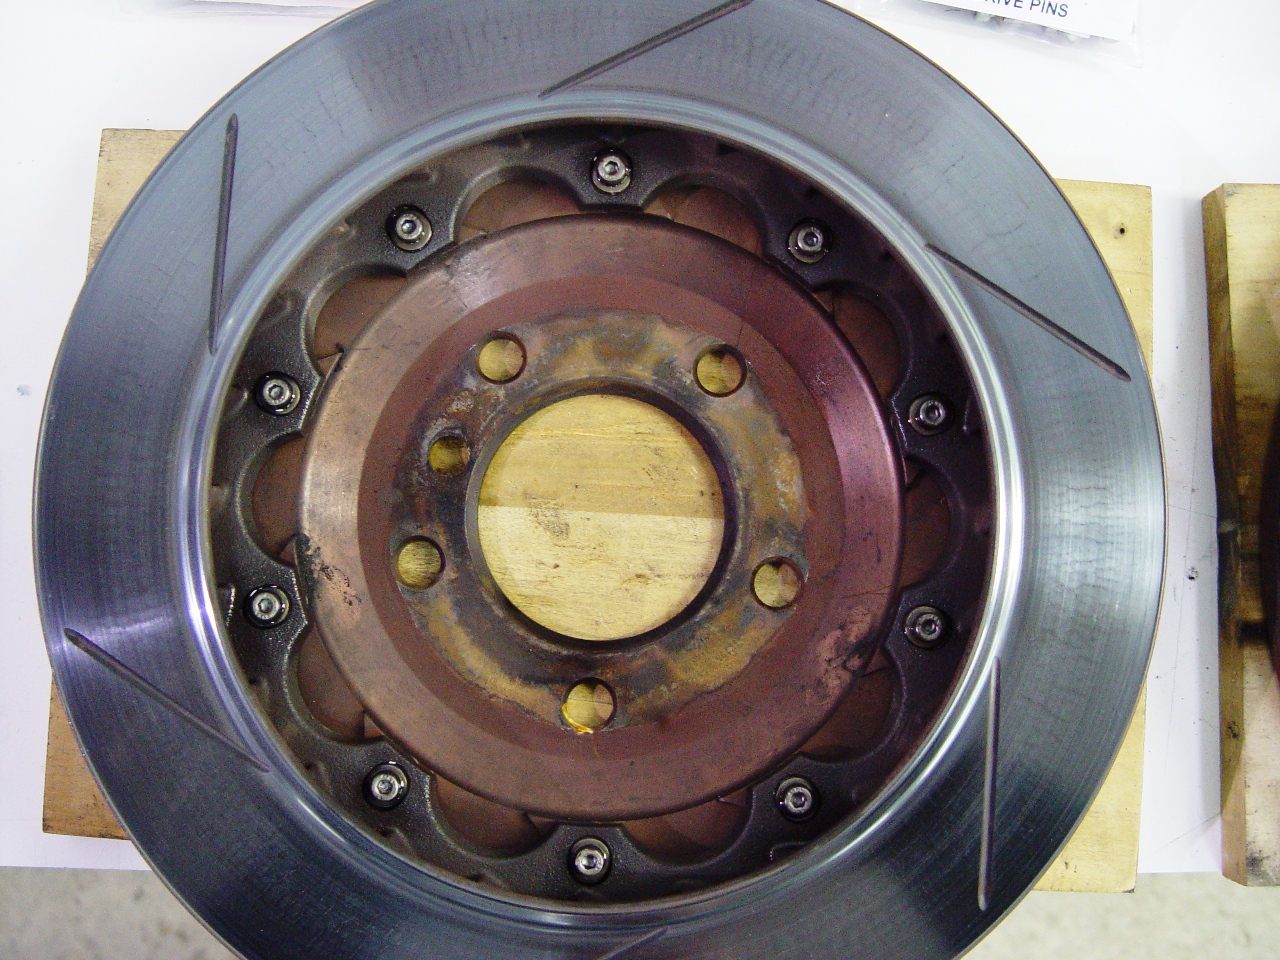
The first step is to take the existing rotor apart by loosening the small bolts that hold the ring to the hat. These are often frozen in place, so it’s a good idea to apply penetrating fluid 15 minutes before your try to crack them loose. (Back side view)

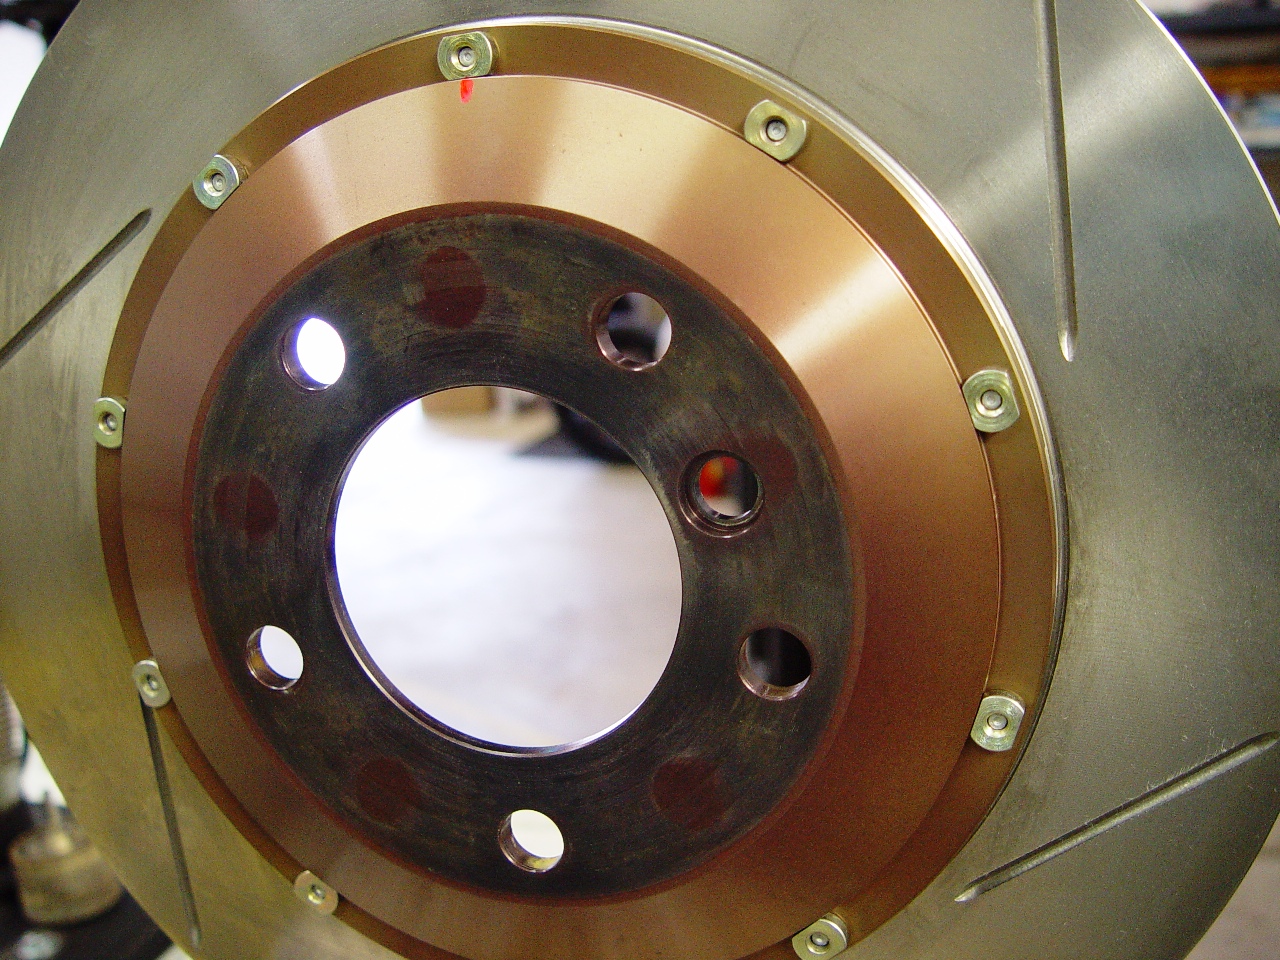
The next step involves lining up and installing the new friction ring to the existing hat. Always use new hardware! We find it easier to do this with the ring vertical in a vise.
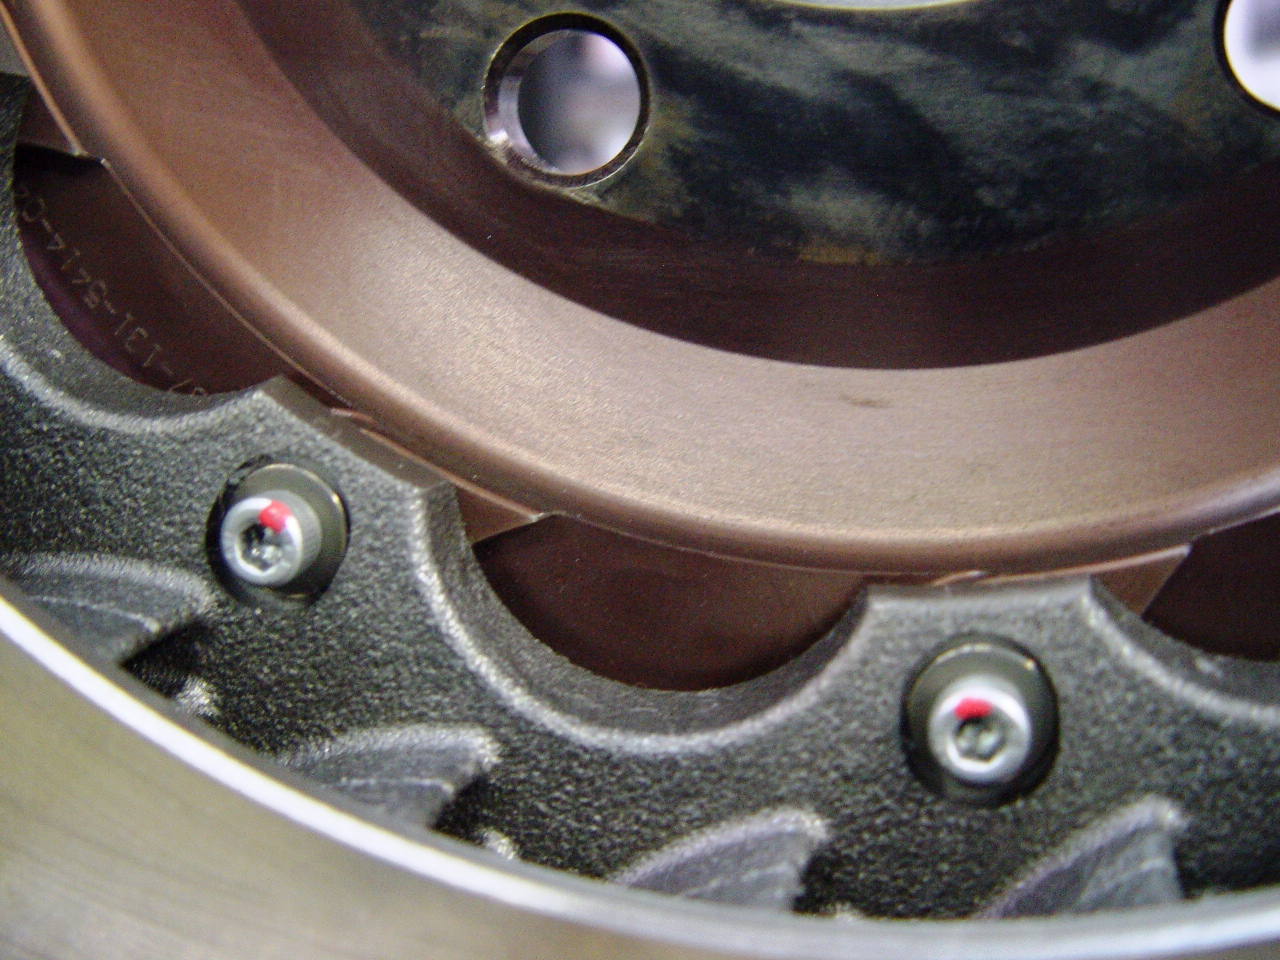
Once all the new nuts and bolts are in place, follow the maker's torque specifications (usually pretty light). We like to tighten in a criss-cross pattern, for example starting at the 12 o'clock position and then 6 o'clock and so on, marking each bolt with a paint marker once it's been torqued.
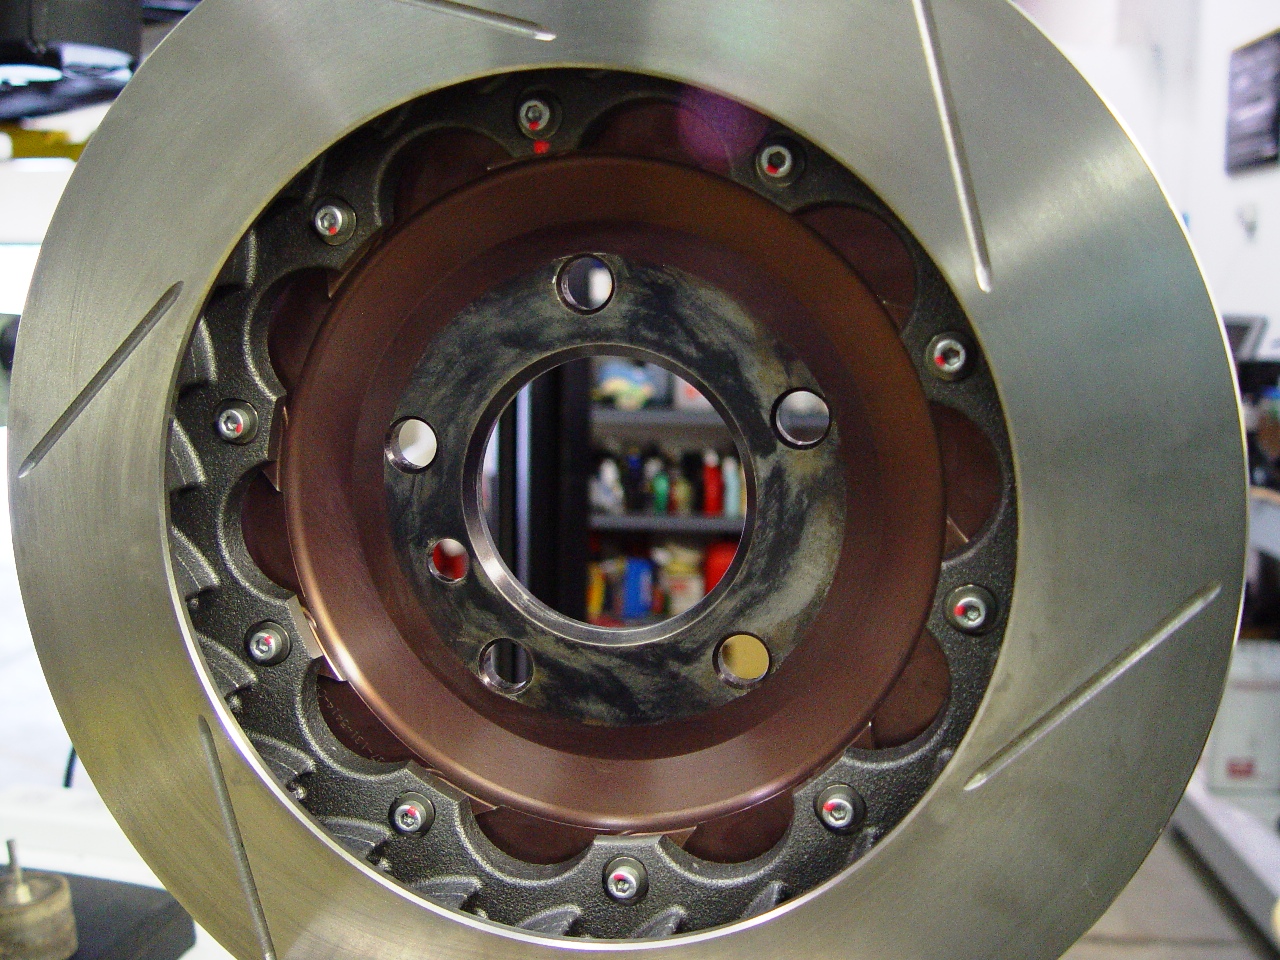
When the two piece rotors are all assembled, they're fitted back onto the car as any other rotor.