Splitter Install (again)
Aerodynamics on a street car is important for efficiency-- how easily it can punch a hole through the atmosphere. On a race car, aero is even more important for handling. A splitter-- typically a horizontal plane extending out from below the front bumper, helps push the front end of the car down and consequently aids front end grip or traction. Balanced with a wing at the back, a splitter is an integral part in the car's handling.
Because the splitter is usually very low, it is vulnerable to trailer ramps, track burms and digging into wet grass should you have an "off". If it's attached to the front fascia and you have an off and bad things happen, you can kiss the front end of the car good-bye. The solution is to attach the splitter to something more robust, while allowing it to break away should an unfortunate incident occur.
You'll remember we installed a splitter on the E36 M3 race car once before-- well that one was torn off at the last track day taking with it the entire front fascia. To avoid this from happening again, we installed its replacement differently.
Bimmerworld provides a hardware kit for the E36 M3 EVO II splitter that attaches it to the aluminum bumper beam instead of the lower lip of the plastic fascia. Here is how we installed the kit.
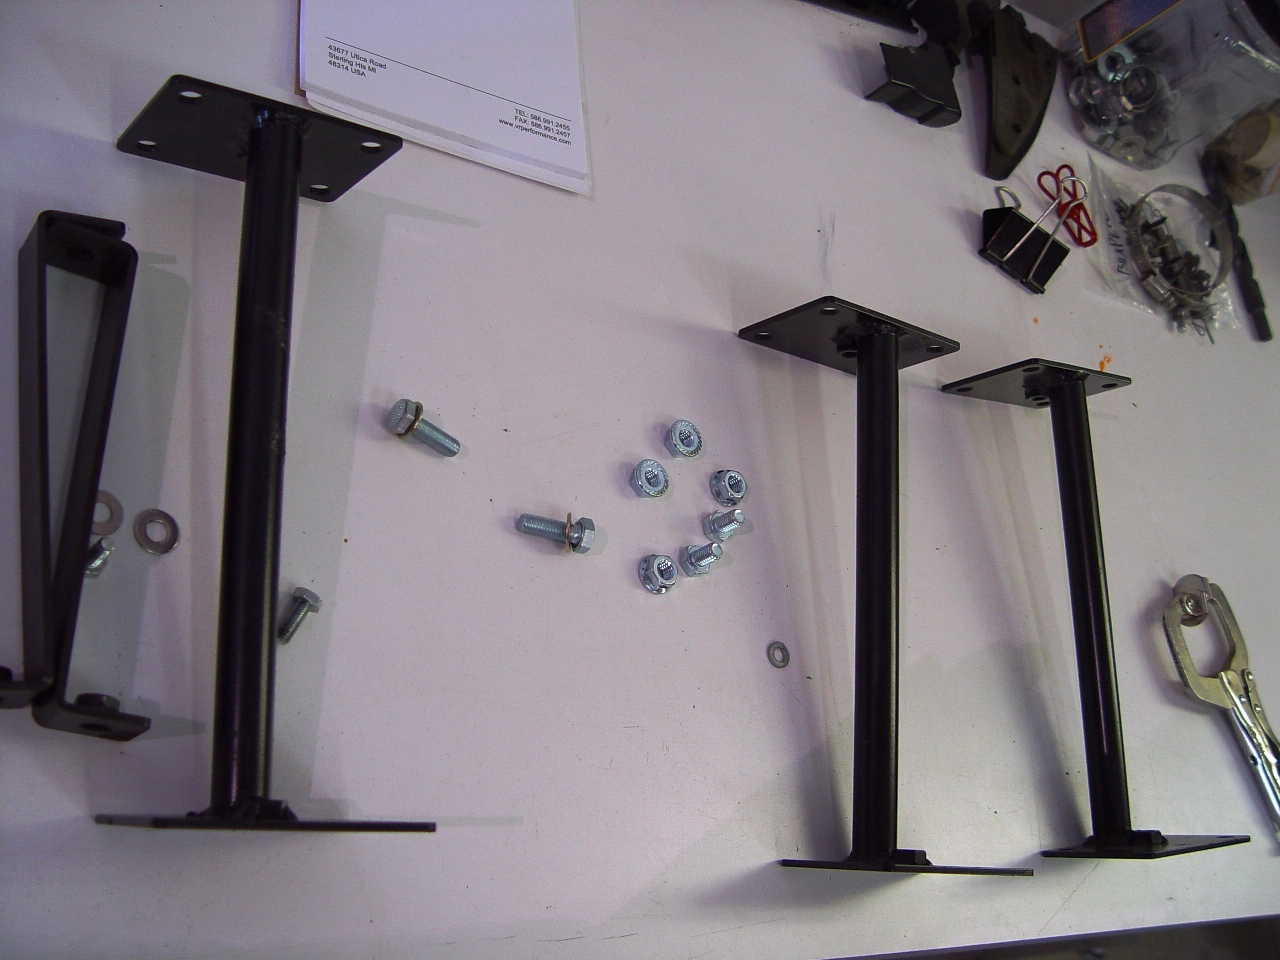
The kit: three stanchions, 2 metal straps and hardware:
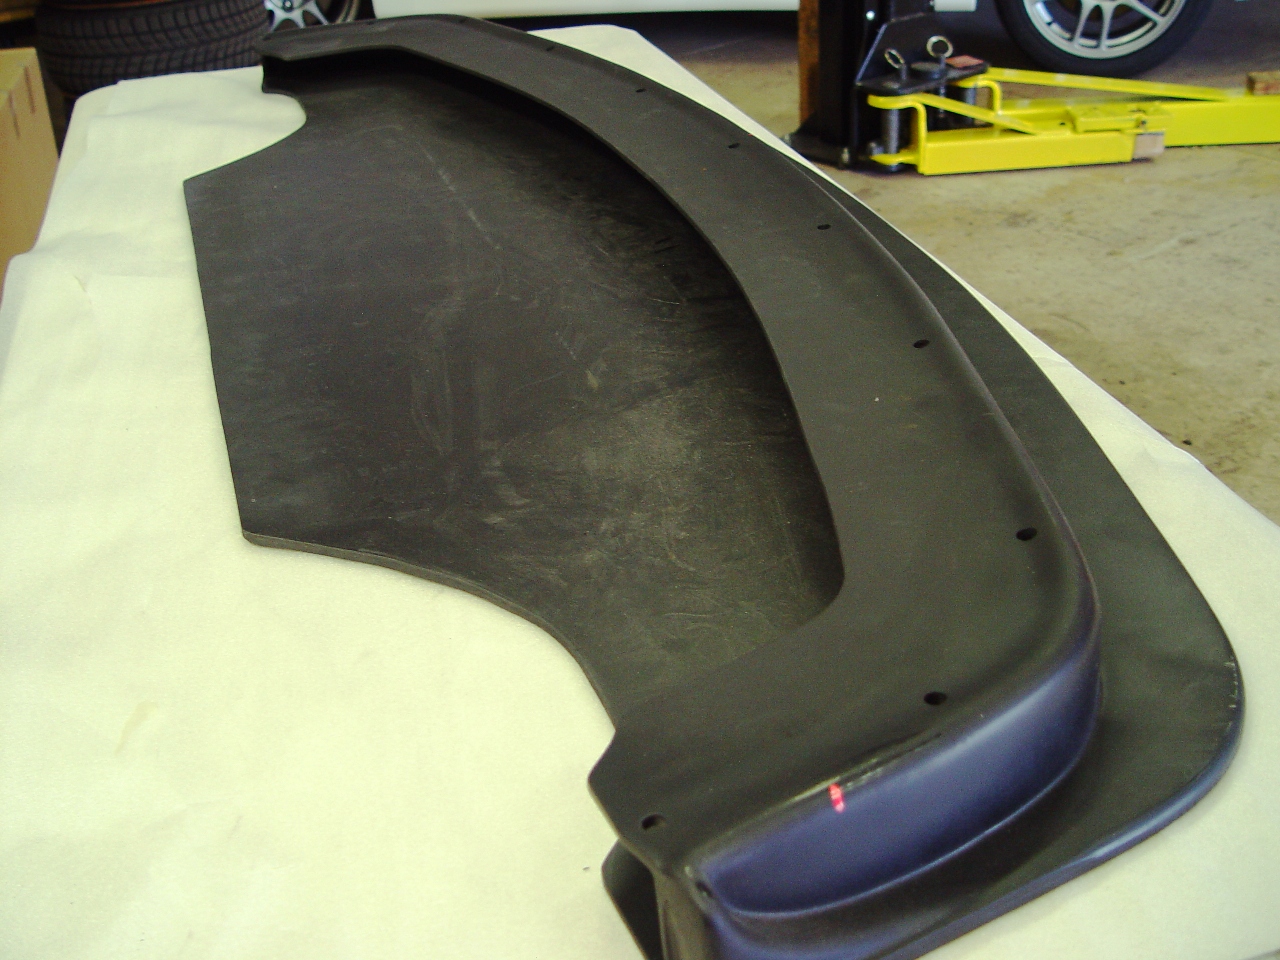
The EVO II track splitter:
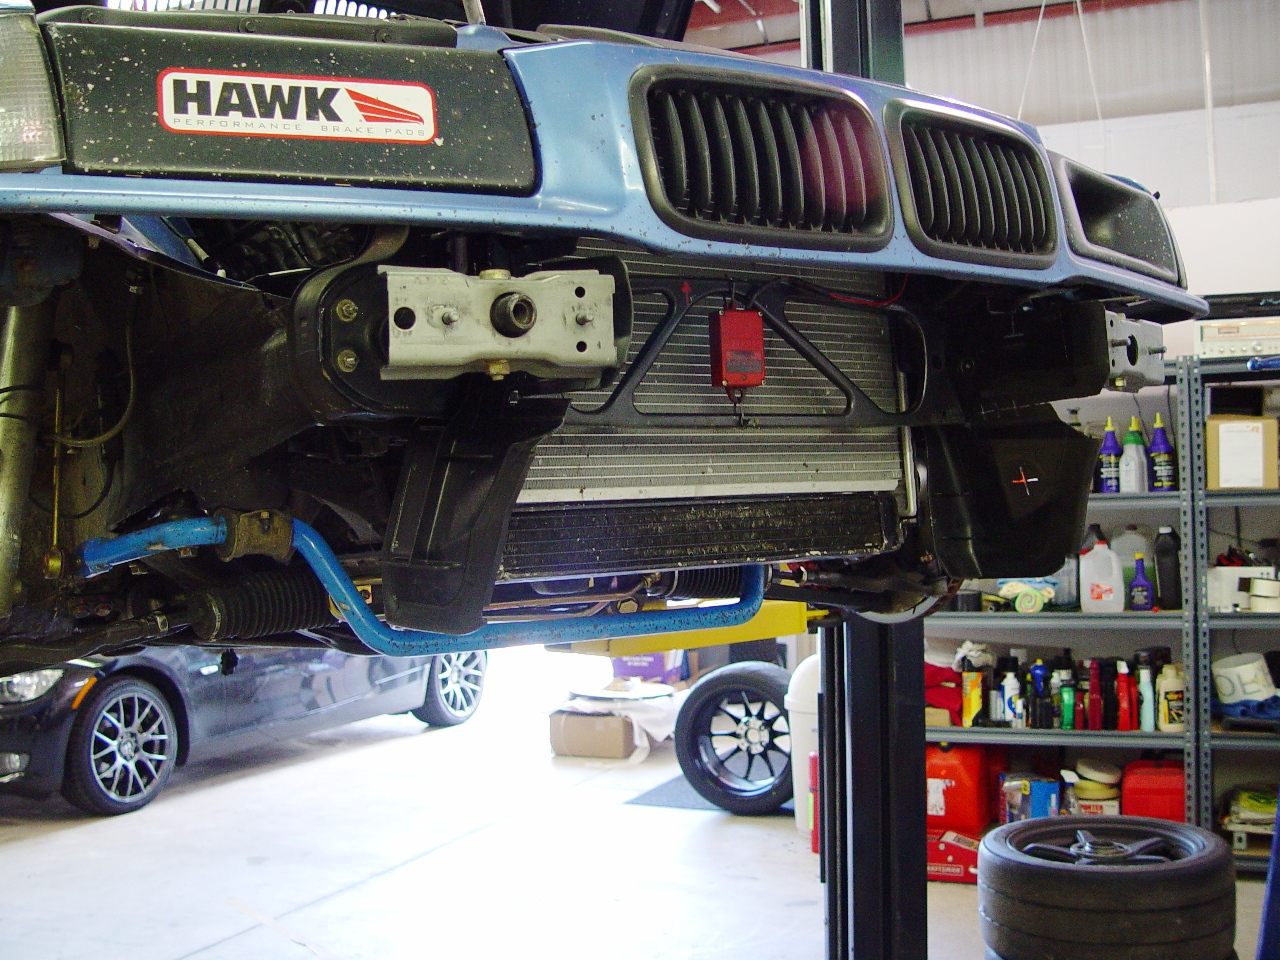
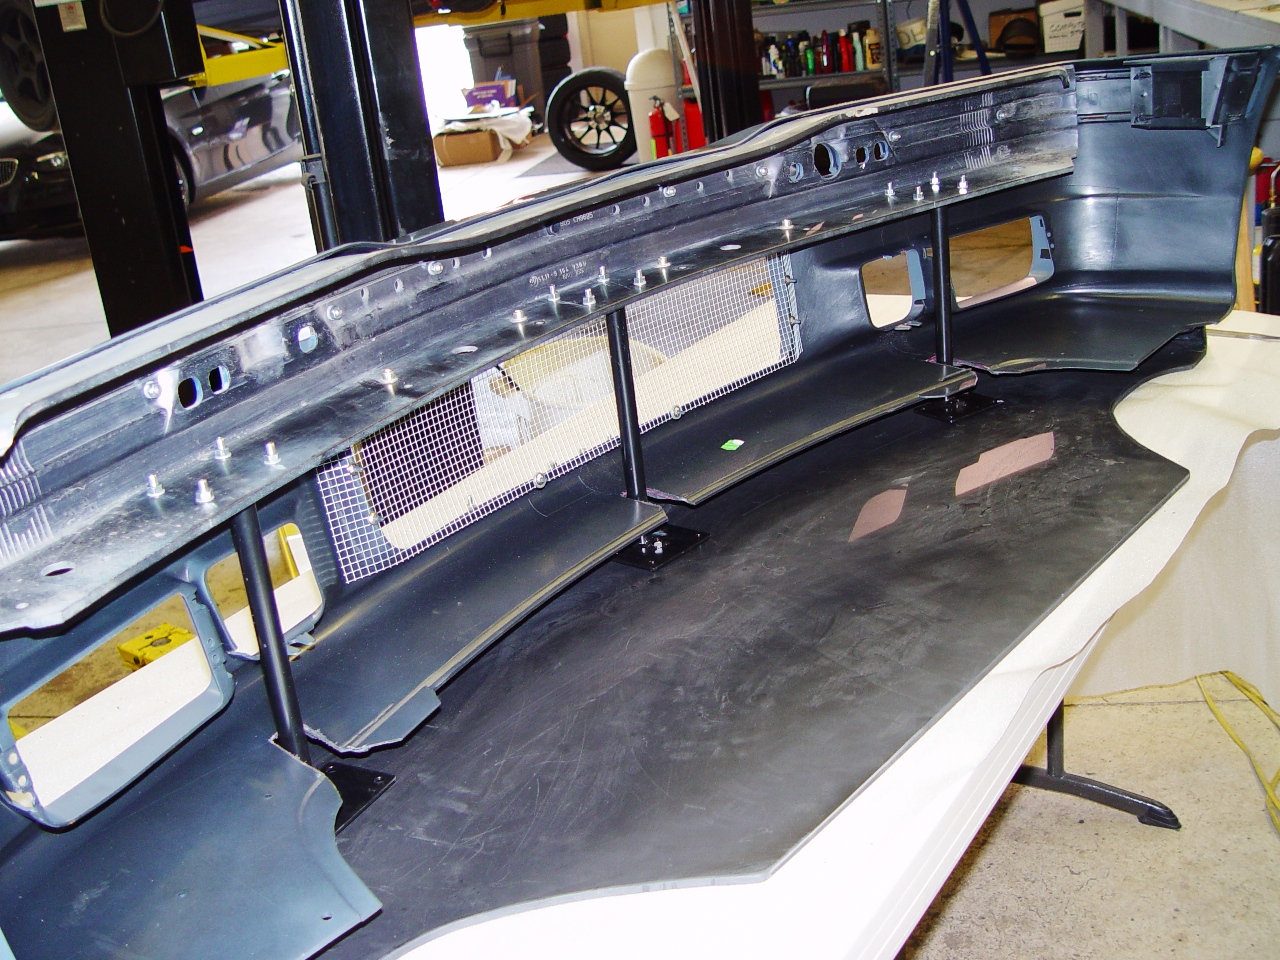
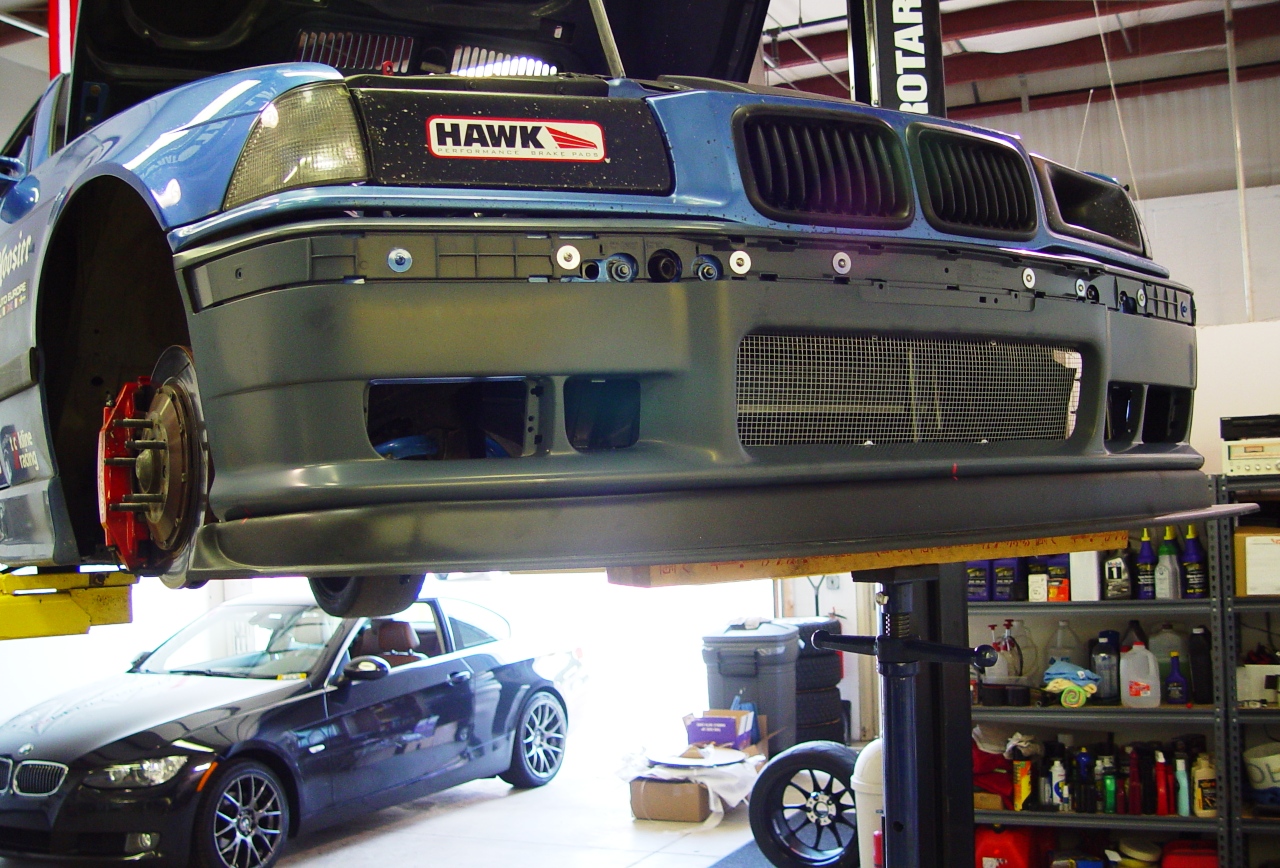
The front end:
Since the kit is not originally designed to fit the OEM fascia and the splitter, modifications had to be made to each. After deciding where we wanted to attach the stanchions, or "uprights" to the bumper beam, we had to cut reliefs in the fascia and splitter.
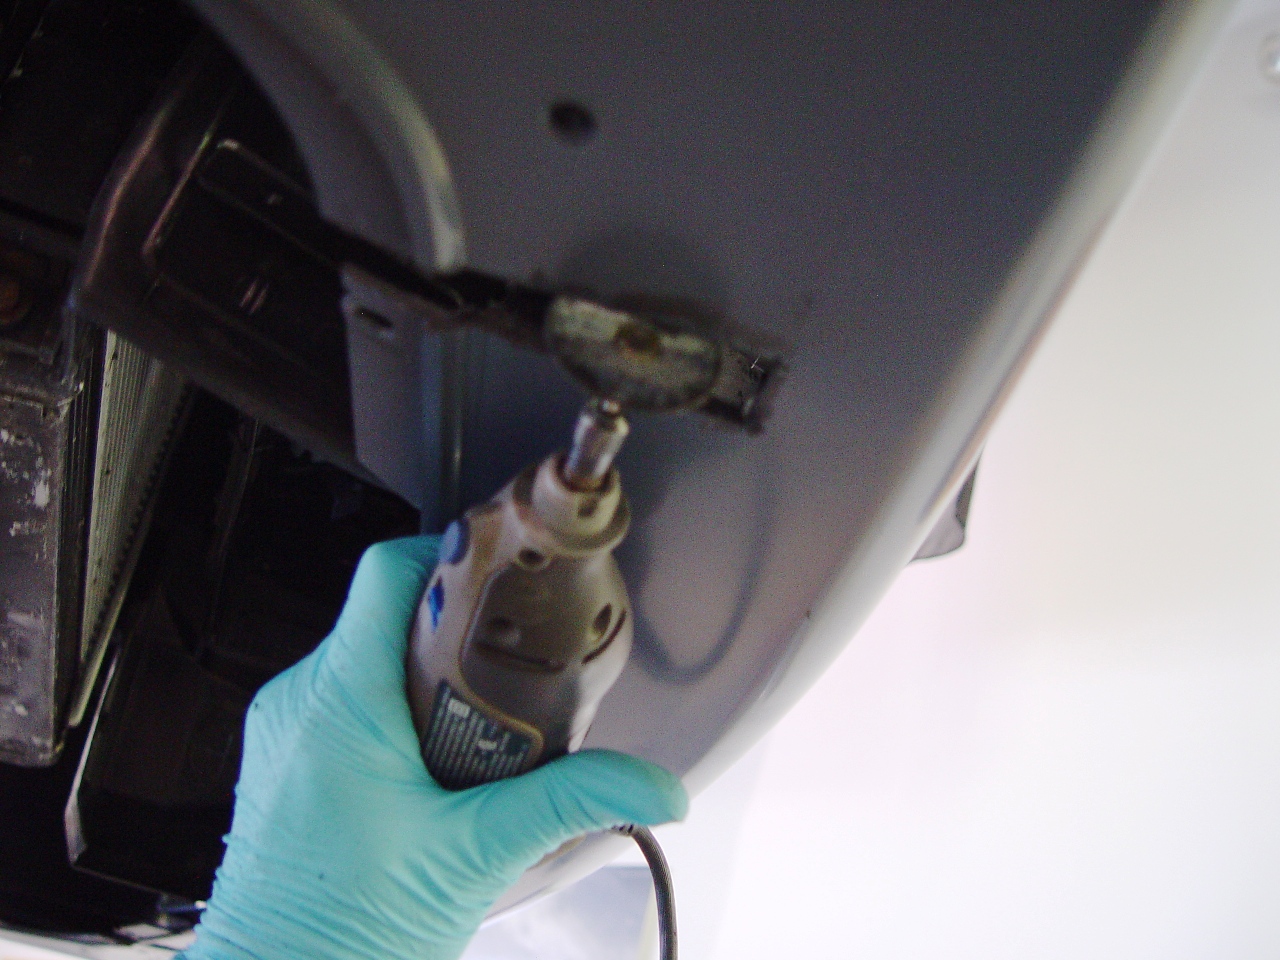
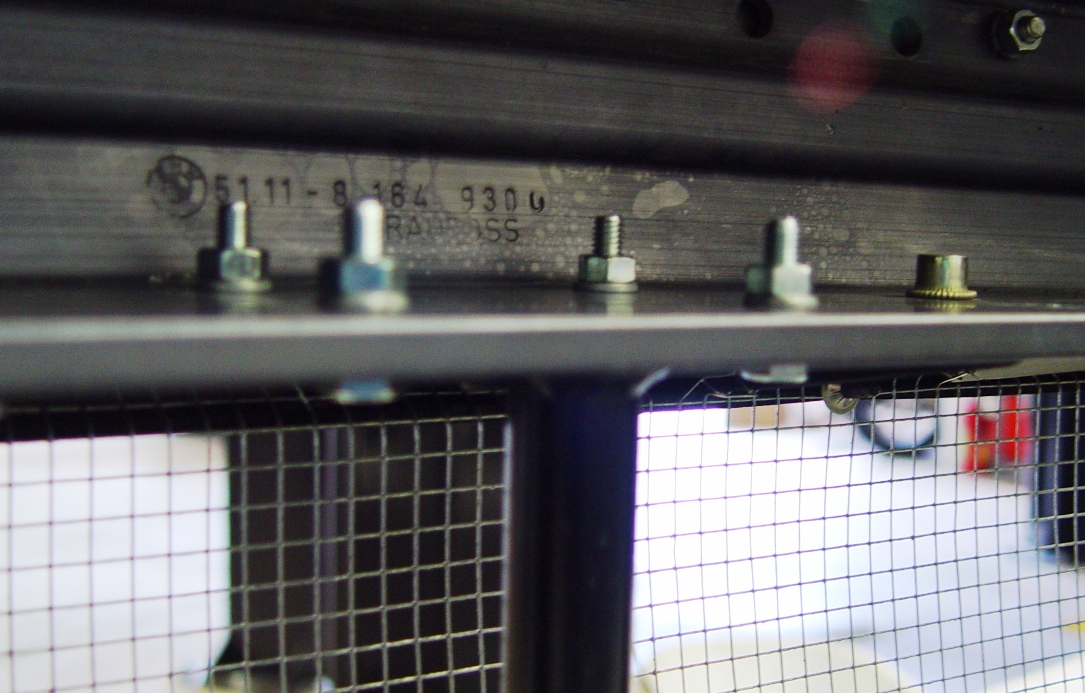
To attach the stanchions to the bumper beam, four holes for the bolts had to be drilled.
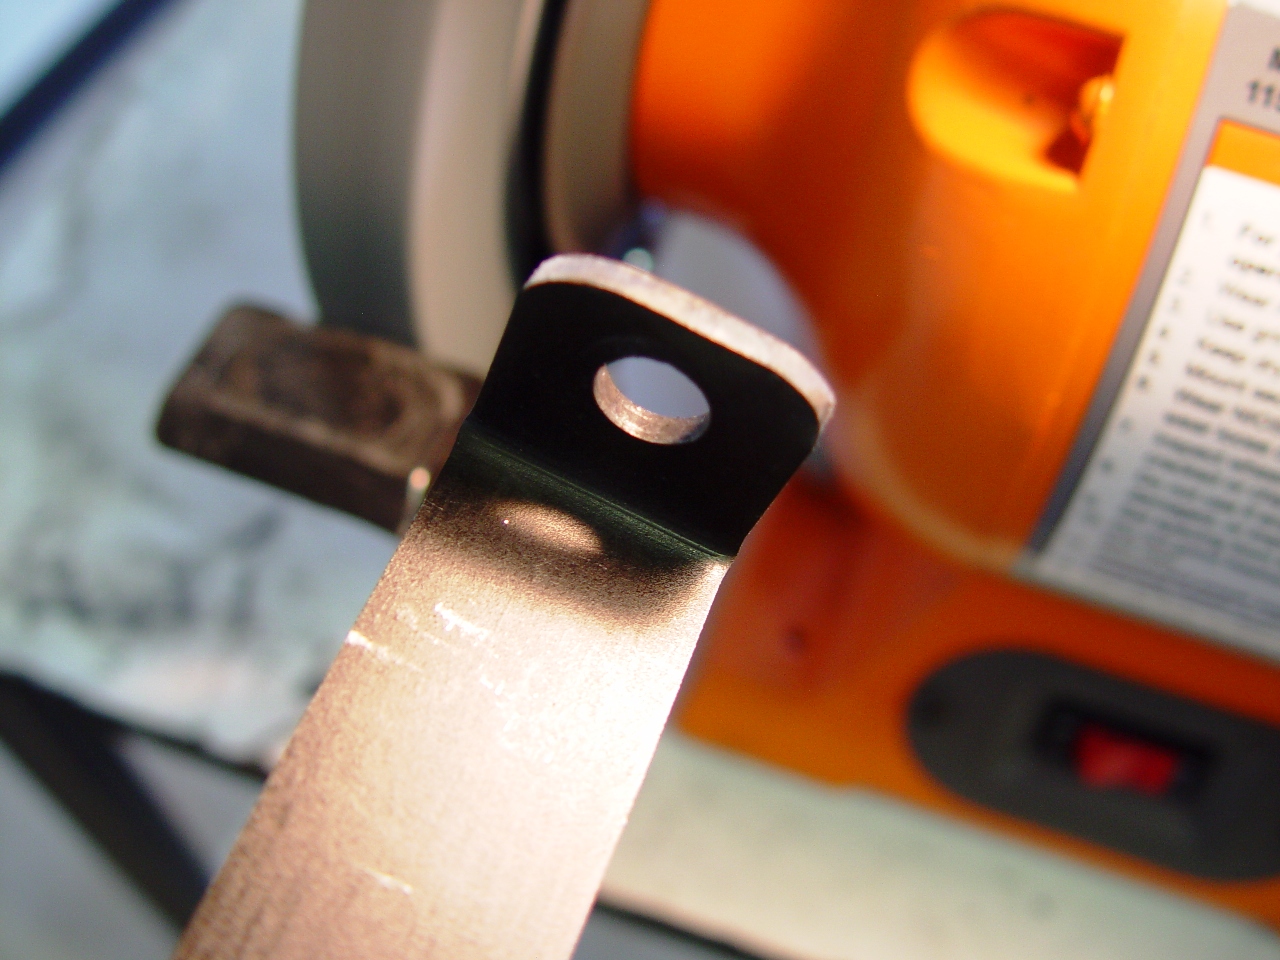
The trailing edge of the splitter is attached to the anti-roll bar mounting points using the two metal straps. At first they did not fit so we had to grind away some material.
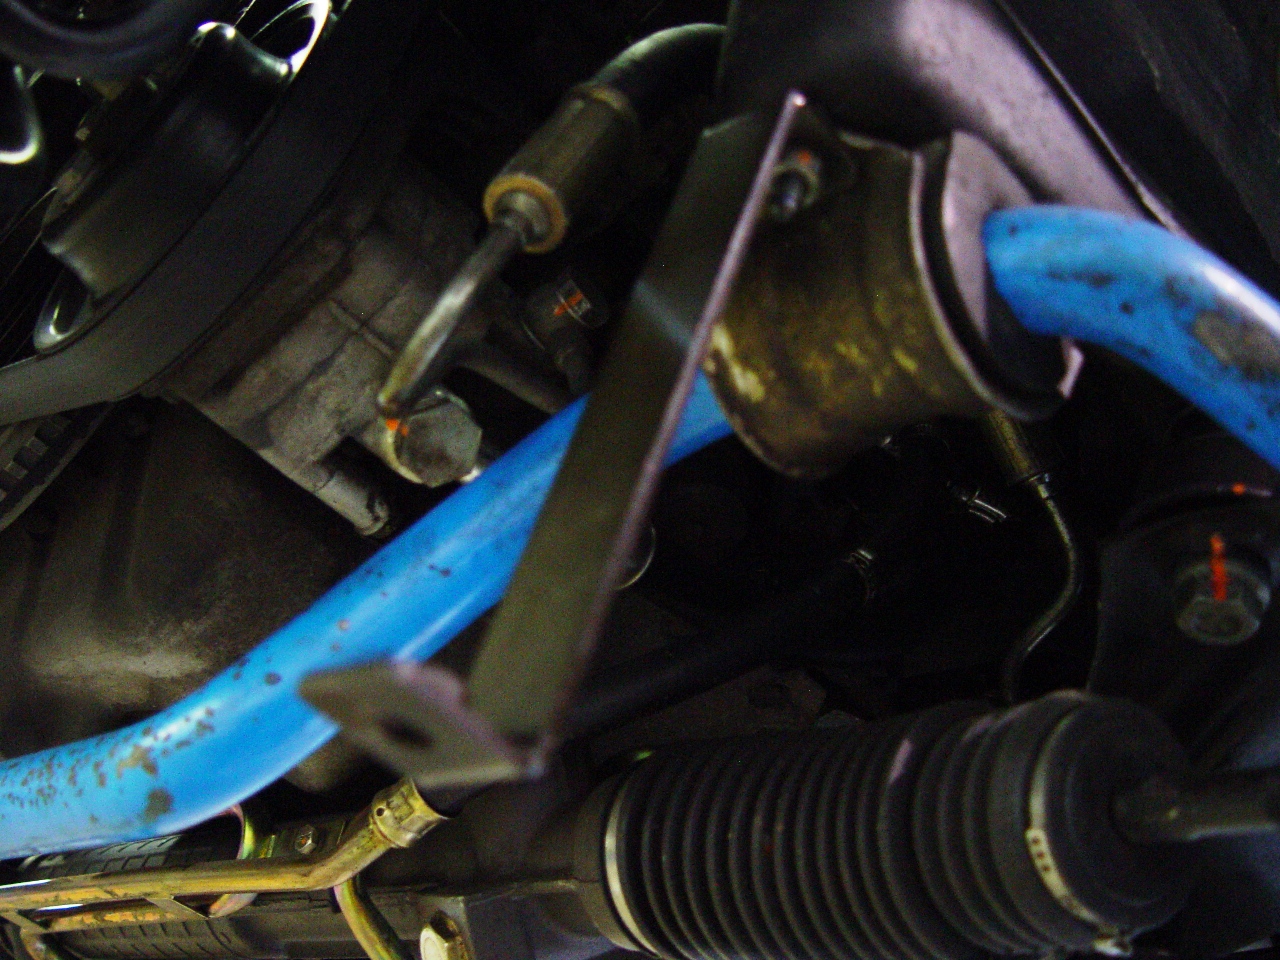
After aligning all the components on the car, corresponding bolt holes for the straps and stanchions-- which have nuts welded to them-- had to be drilled into the splitter. Finally the splitter could be test fitted to the car with the fascia installed.
It was a straight forward procedure that nonetheless took quite a bit of time. We were very careful to make sure everything aligns perfectly on the car and that the splitter is optimally positioned to work efficiently and provide the desired downforce. And now, should the leading edge of the splitter dig into anything, it’s the only thing that will be sacrificed.